 Rocket.Chat
Rocket.Chat is a modern, open-source communication platform designed for secure team chat, collaboration, and file sharing. Deployable on your own Linux server, it empowers organizations with complete data control and advanced customization options. Rocket.Chat supports real-time messaging, audio and video calls, flexible channels, integration with business tools and bots, and powerful role management. The platform is ideal for businesses, communities, and IT teams that require a scalable, private, and extensible alternative to SaaS messengers.
Core Features
- Team chat and channels: organize communication in public, private, or group channels with threaded conversations.
- Self-hosted deployment: install Rocket.Chat on your Linux server for full data ownership and security.
- Voice and video calls: collaborate in real time with integrated audio and video conferencing.
- File sharing and storage: securely share and manage documents, images, and other files in channels or direct messages.
- Integrations and bots: connect with business tools, automation systems, or create custom bots with a robust API.
- Advanced search and notifications: quickly find messages and files, stay informed with configurable alerts.
- Role-based access: flexible user roles, permission control, and guest access for external collaborators.
- Mobile and desktop apps: use Rocket.Chat from any device with official clients for Windows, macOS, Linux, iOS, and Android.
Deployment Features
| Installation timeTime | OS | RAM | Disk |
|---|---|---|---|
| 20–30 min | 2Gb | 20Gb |
- Installed software:
Docker CEDocker Compose
- Used containers:
registry.rocket.chat/rocketchat/rocket.chatpercona/mongodb_exporteralpinenatsdocker.io/bitnamilegacy/mongodbdocker.io/bitnamilegacy/mongodb-exporterdocker.io/traefik(Reverse proxy that automatically generates certificates, enabling secure HTTPS access to your Rocket.Chat instance via the specified domain.)
- Open ports:
80,443– Web access (HTTP/HTTPS)
- Files path:
/opt/rocketchat
By default, we install the latest stable version of the software from the developer's website or official repositories.
Getting Started After Rocket.Chat Deployment
After completing your payment, you will receive an email at the address provided during registration notifying you that your server is ready. This email will include the IP address of your VPS and login credentials to access the Rocket.Chat web interface:
- Link: https://example.com
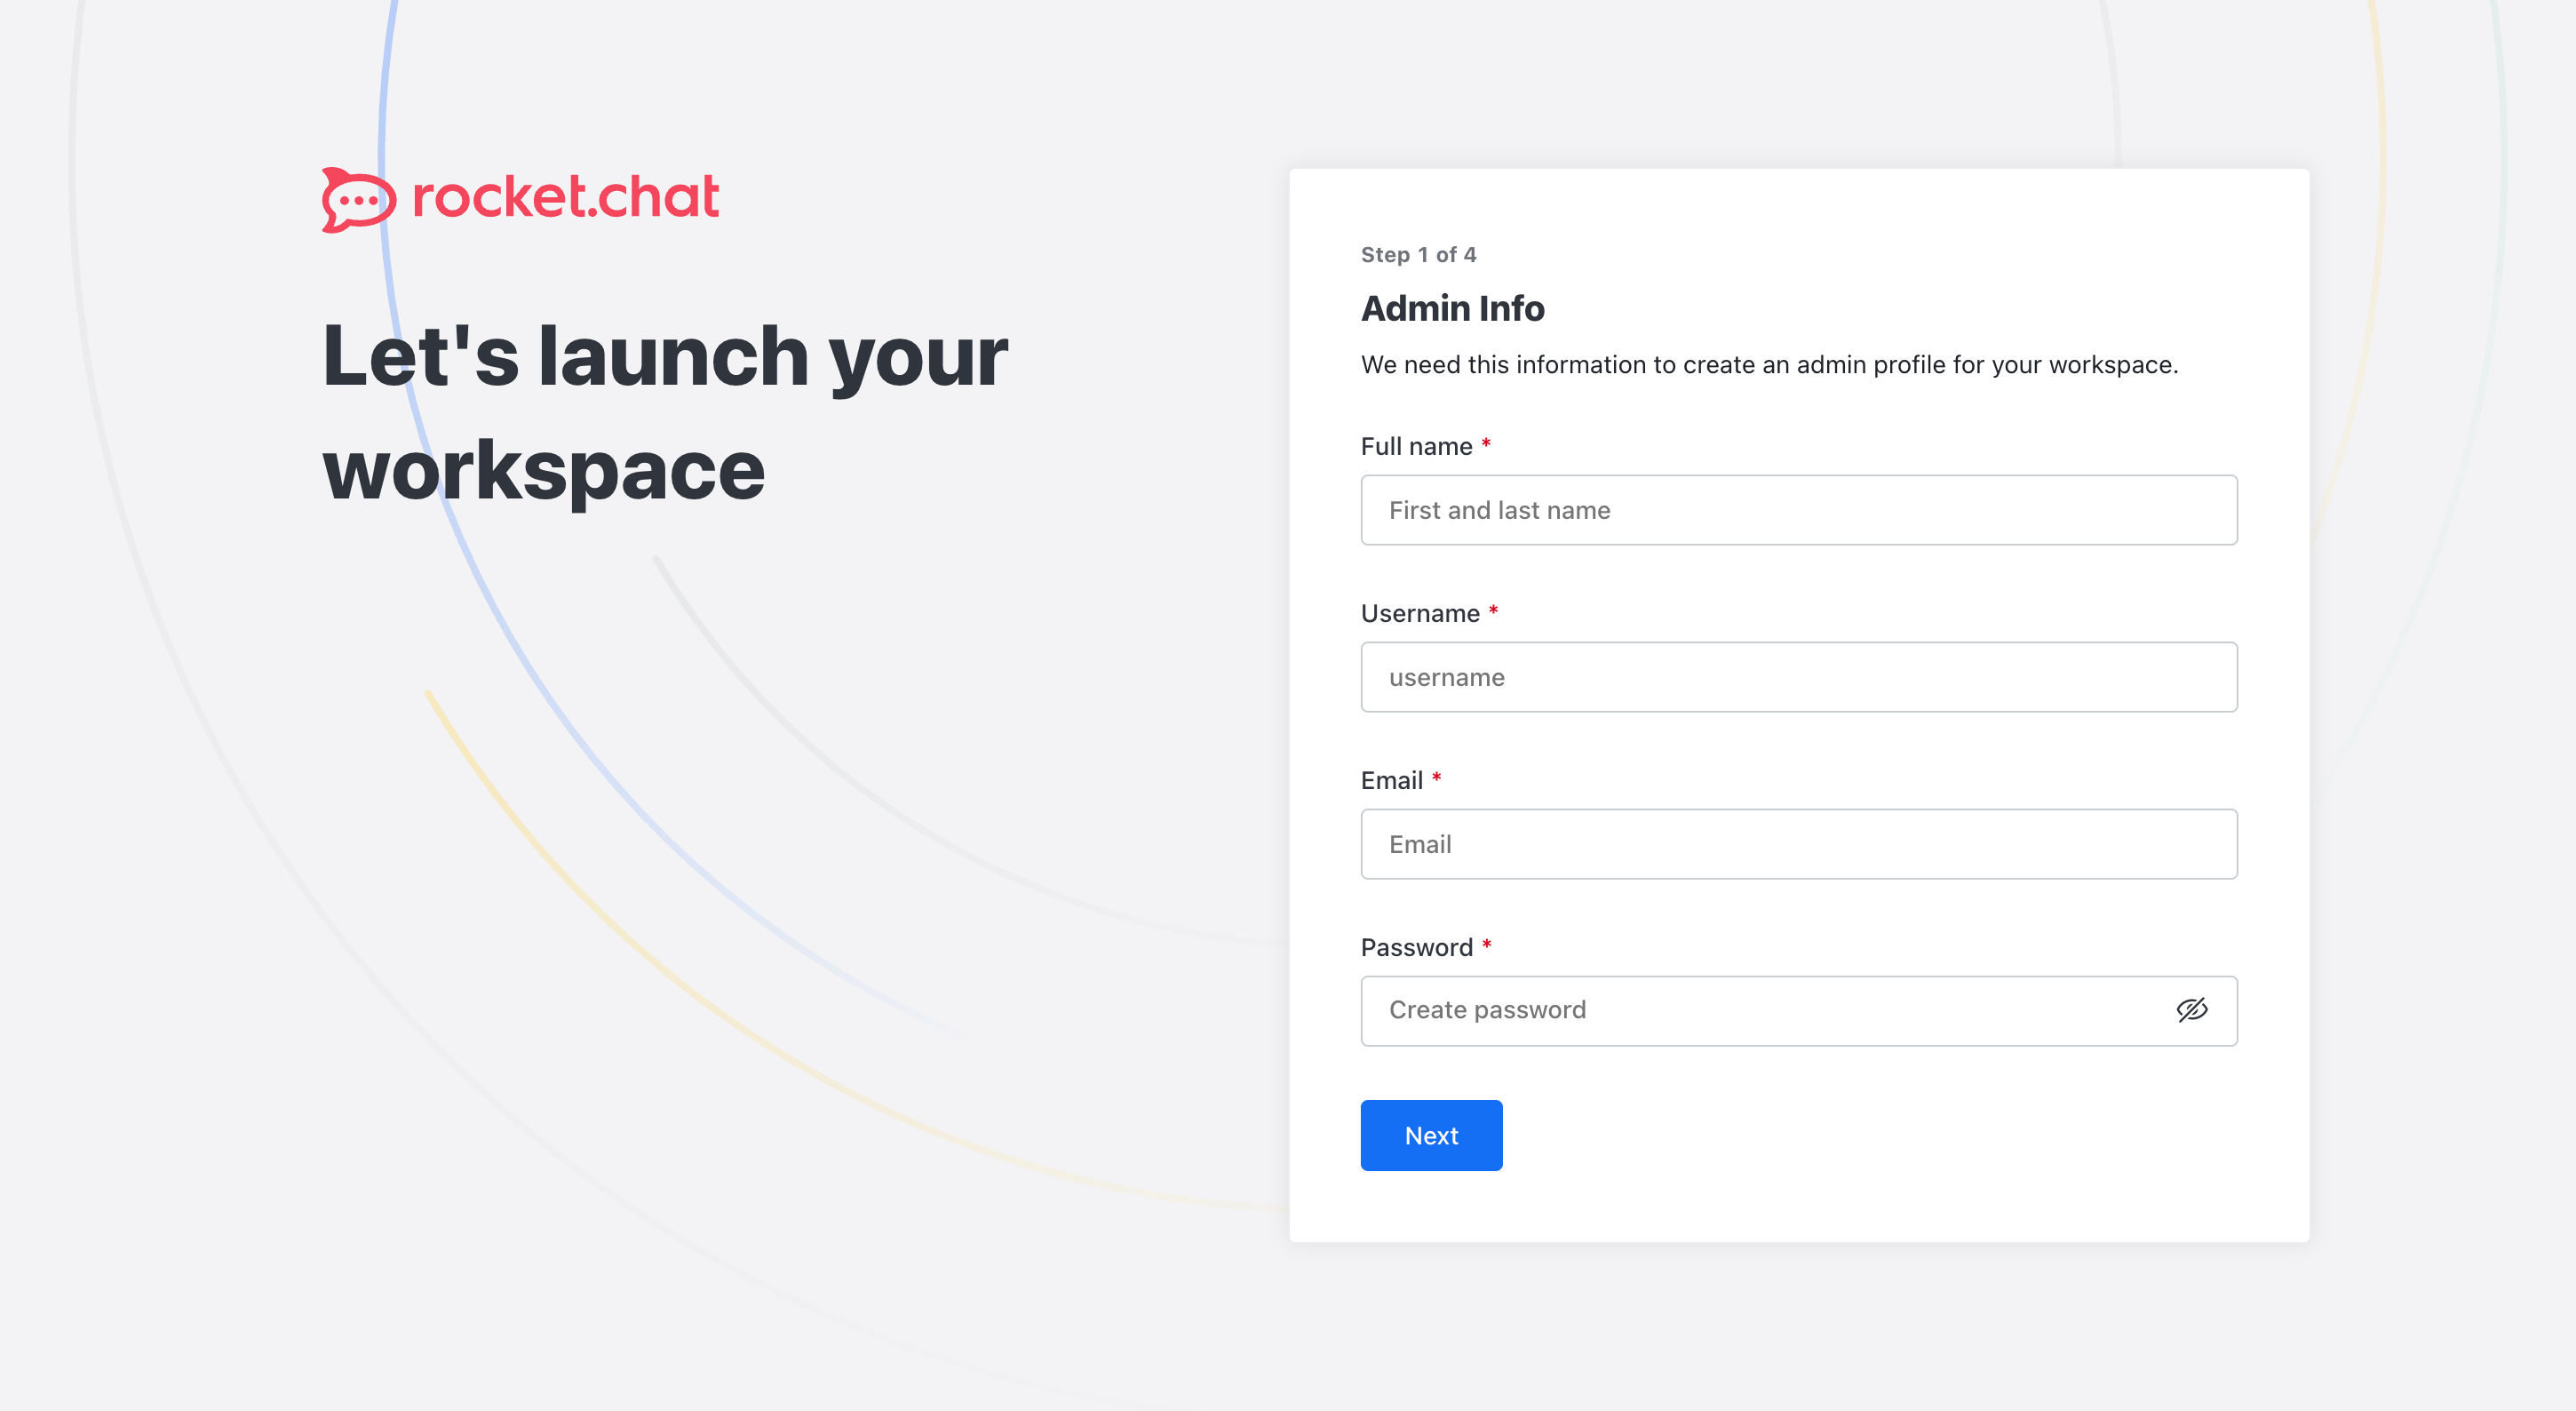
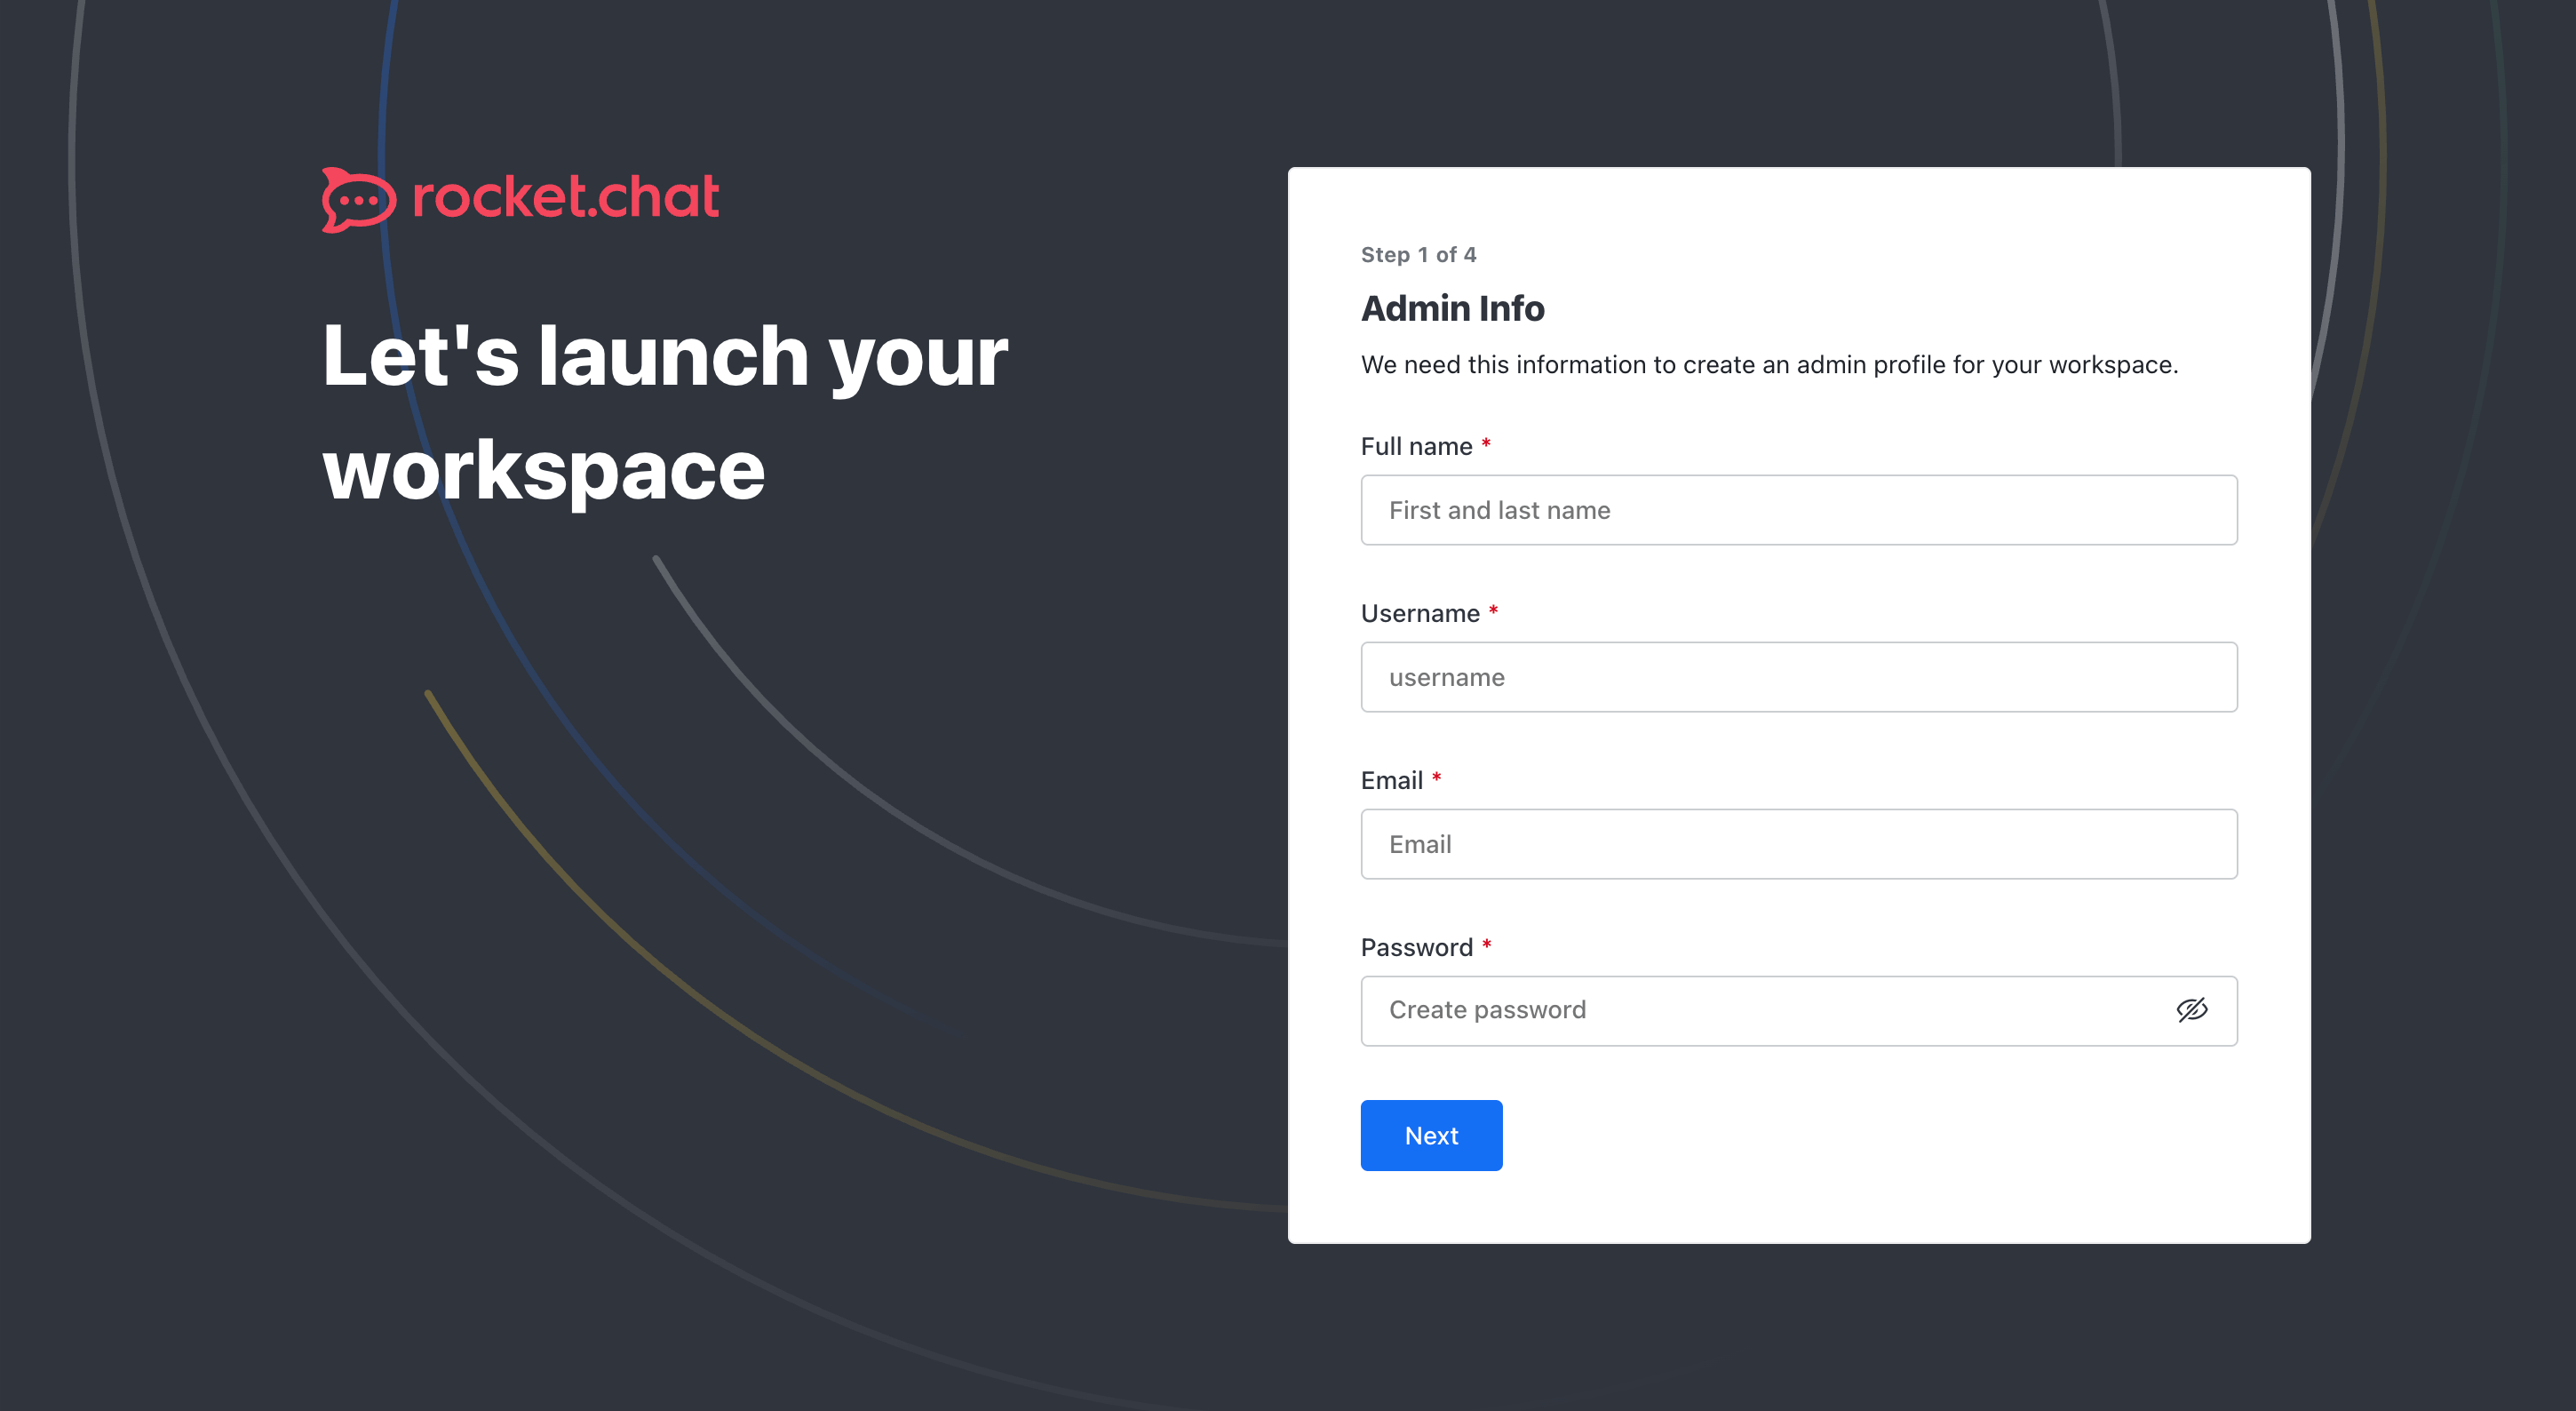
When you first log in to Rocket.Chat, a simple onboarding wizard will help you set up your workspace. The first step is to create an administrator account by providing your full name, username, email address, and password. This initial setup ensures your workspace is ready for collaboration and secure communication:
The access credentials for your VPS are listed in the "Virtual Servers" section — select your server and click "Instructions." This information is also provided in the email you receive after installation.
Initial Setup
After registering, Rocket.Chat creates a workspace for your team, giving immediate access to chats, channels, invitations, and helpful tips for getting started.
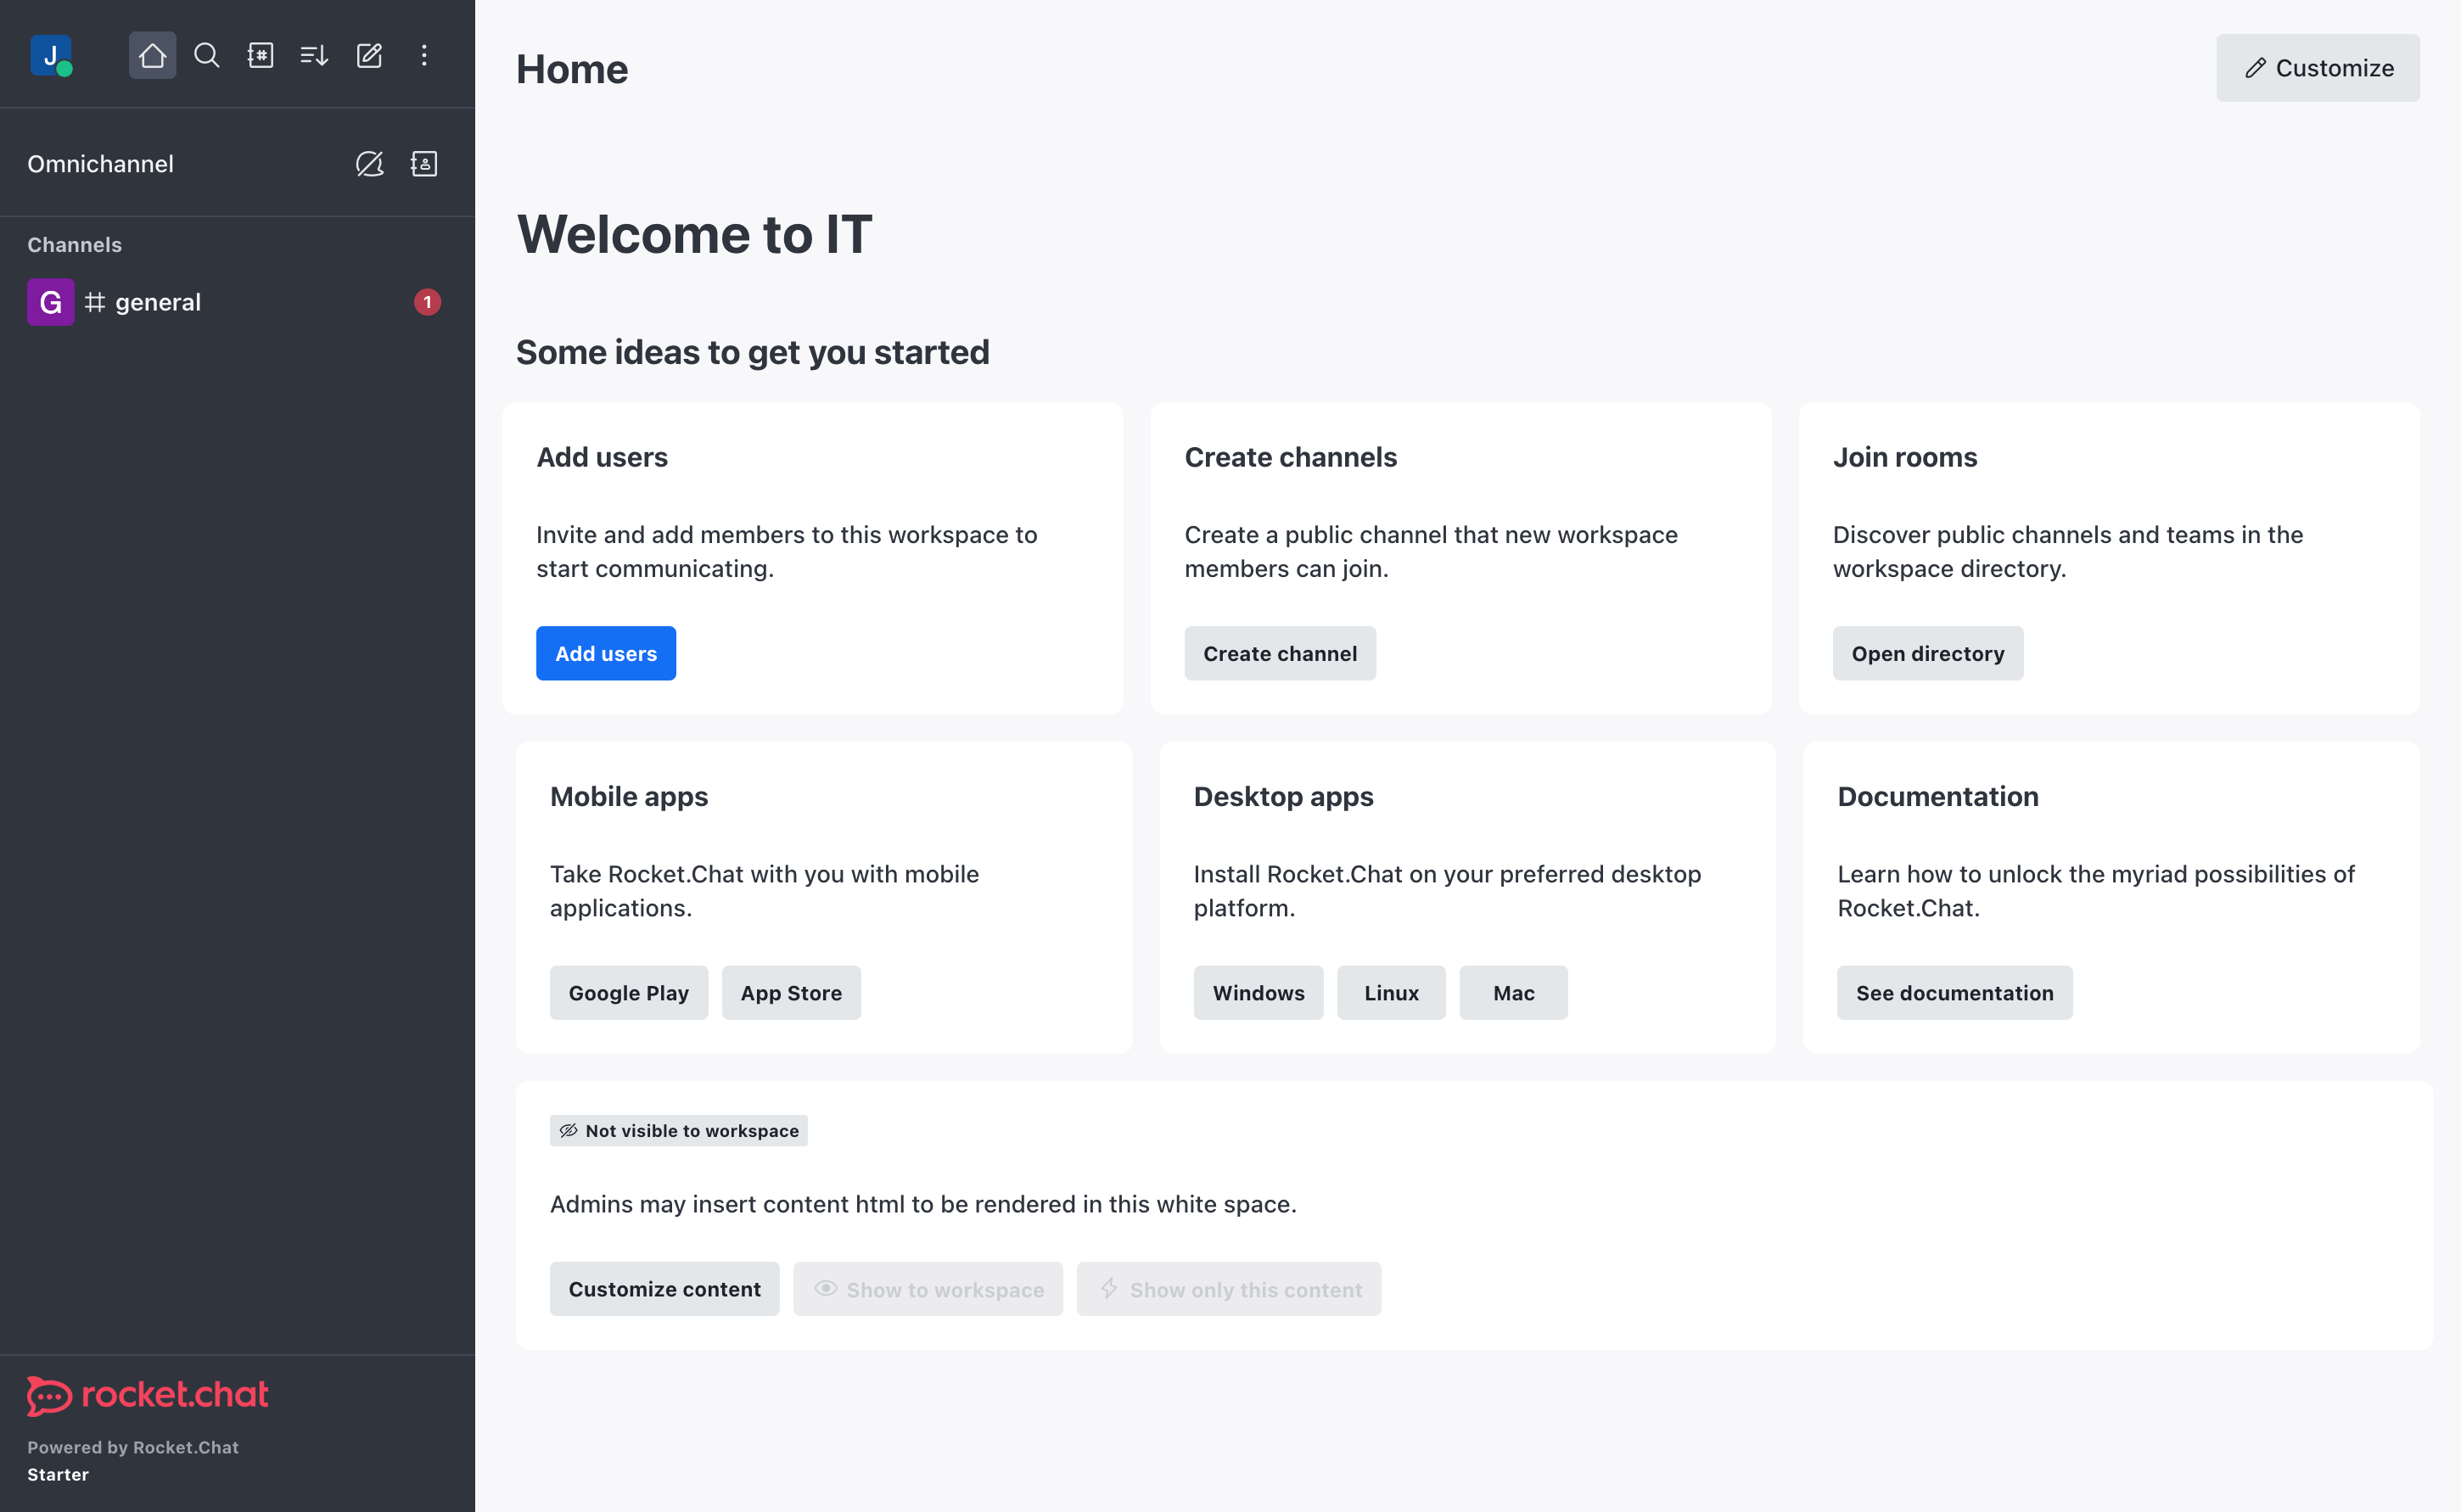
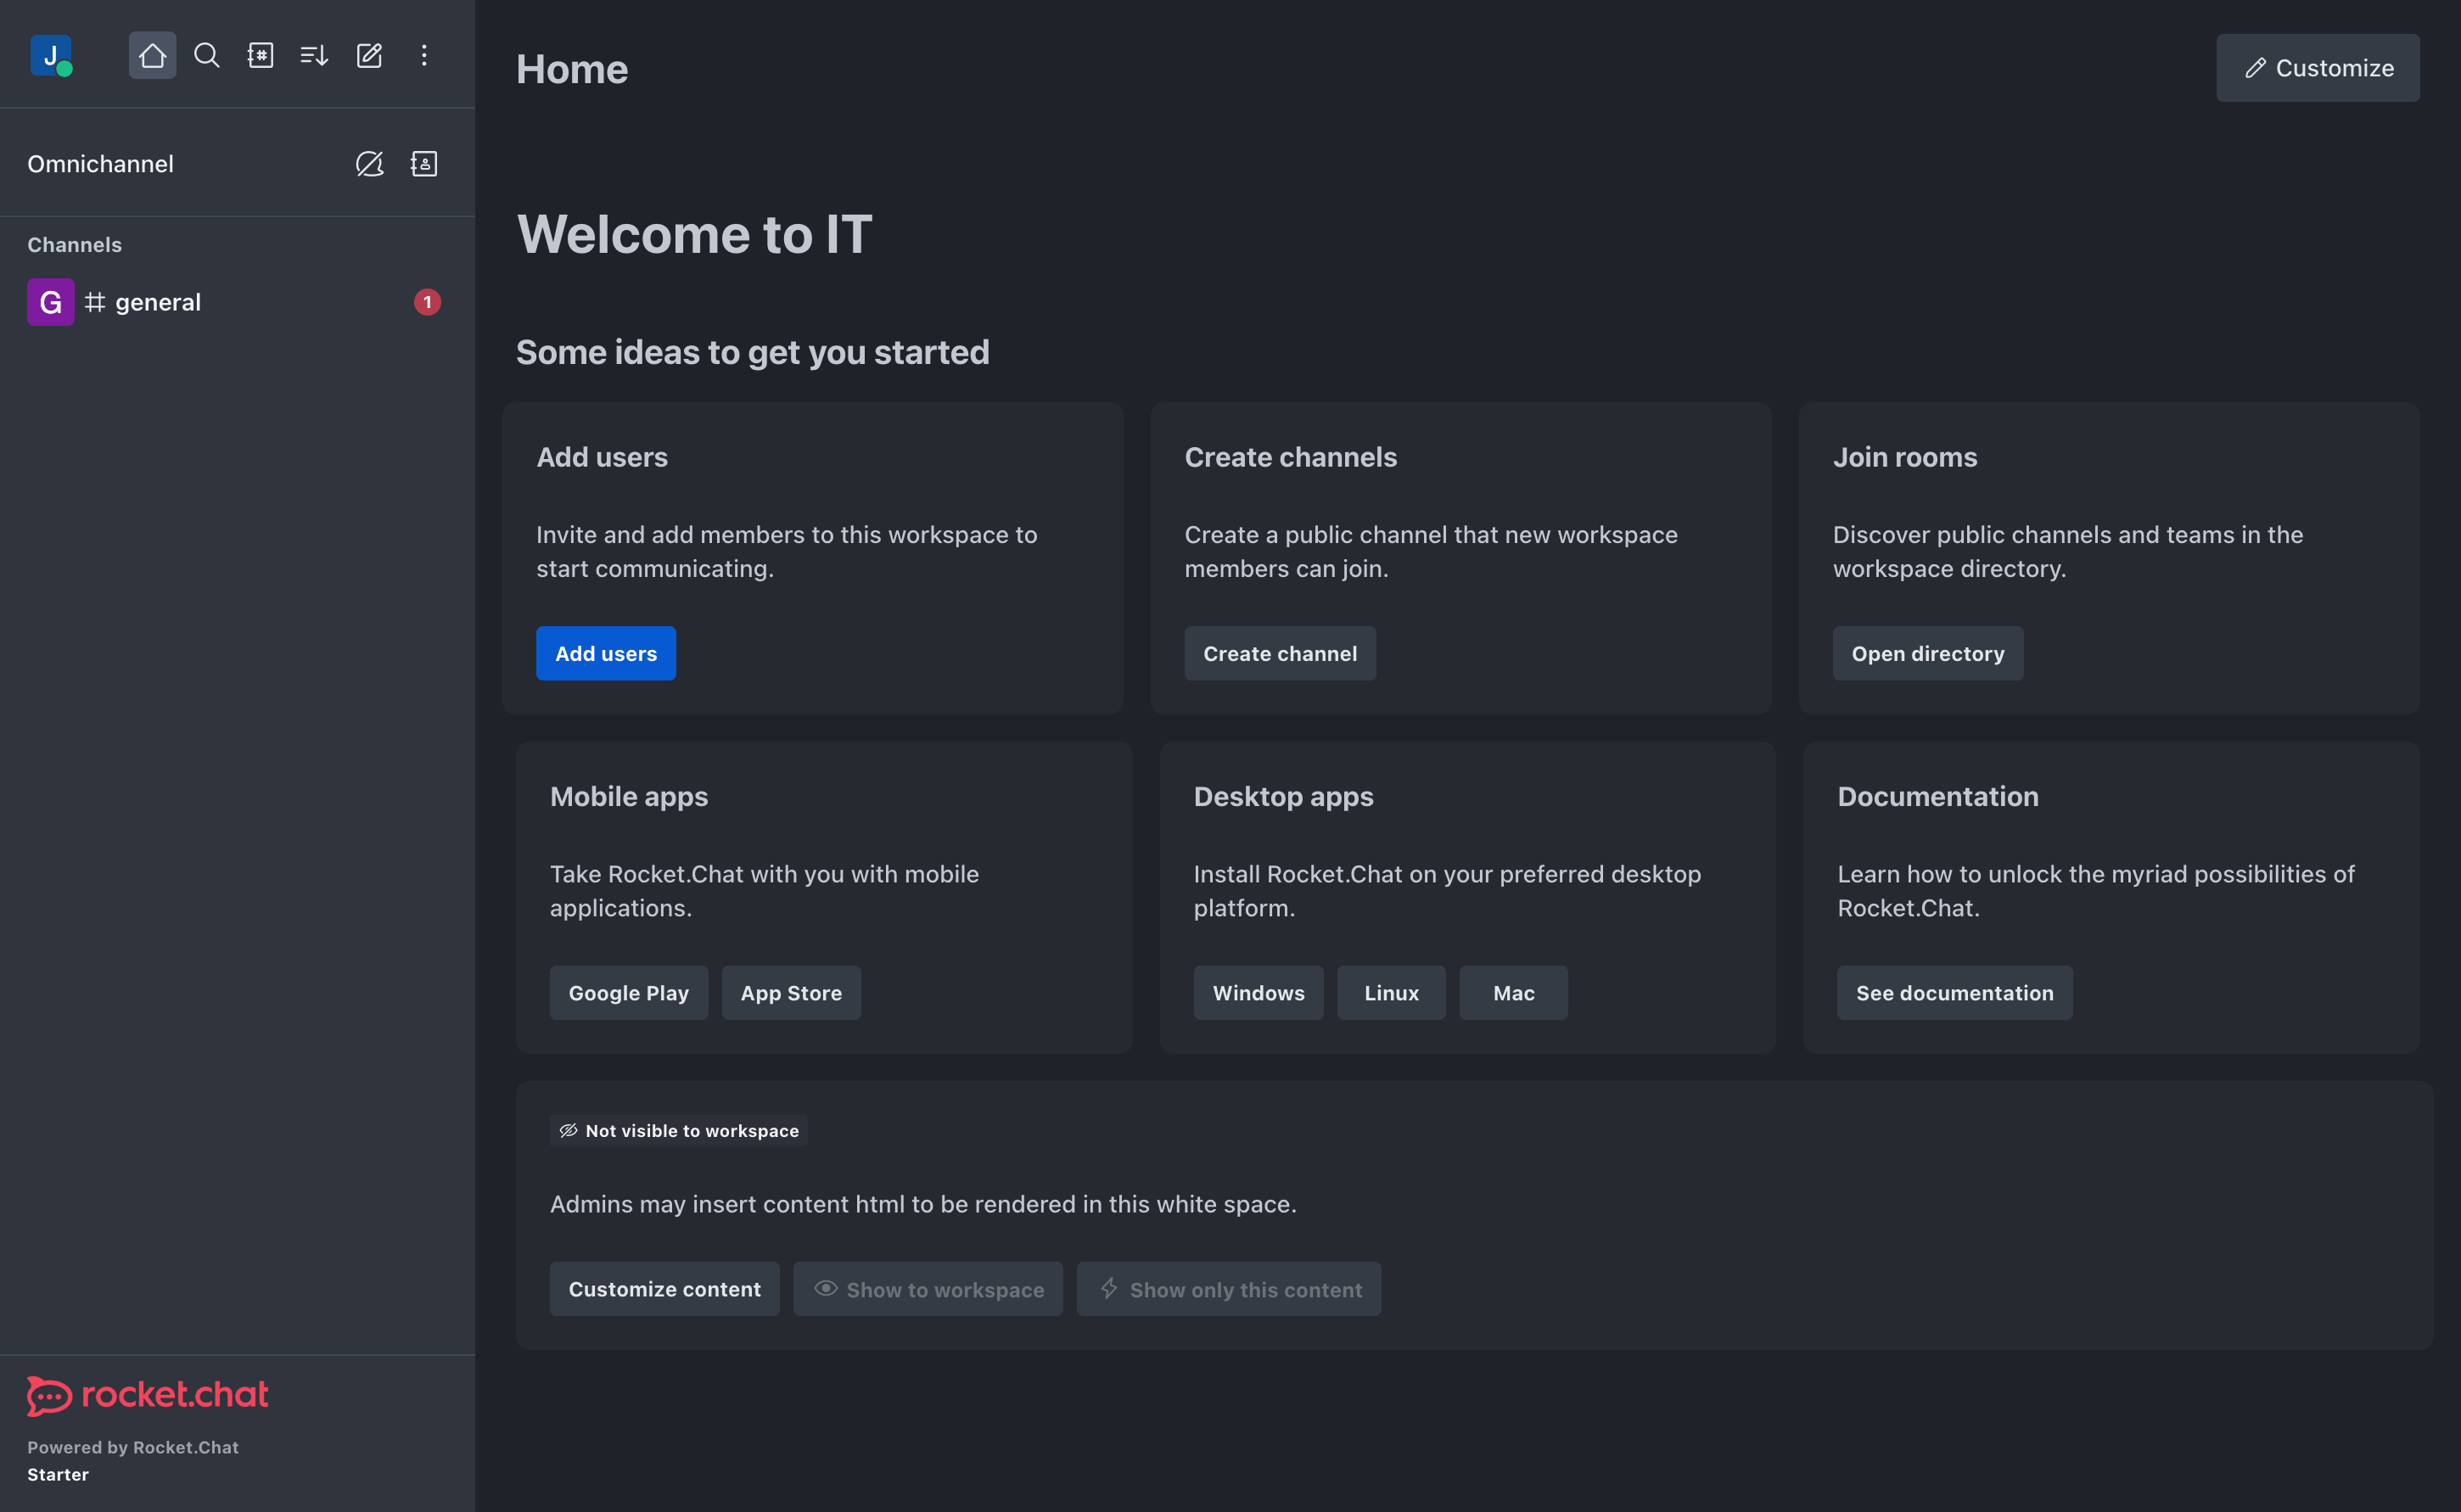
- Add users: Invite and add new team members to your workspace for communication and collaboration.
- Create channels: Organize conversations by creating public or private channels for specific topics or teams.
- Join rooms: Browse and join public channels or teams in the workspace directory.
- Mobile apps: Download Rocket.Chat for your smartphone to stay connected on the go (Google Play, App Store).
- Desktop apps: Install Rocket.Chat desktop client for Windows, Linux, or Mac for enhanced experience.
Detailed information on the main Rocket.Chat settings can be found in the developer documentation.
Updating Rocket.Chat
When a new version of Rocket.Chat is released, you can safely update the containers — only the application version will change, while all your settings and data will be preserved. You can learn about new releases on the official website.
cd /opt/rocketchat-compose
docker compose -f compose.database.yml -f compose.traefik.yml -f compose.yml pull
docker compose -f compose.database.yml -f compose.traefik.yml -f compose.yml -d[/opt@server ~]# cd /opt/rocketchat-compose
[root@server rocketchat-compose]# docker compose -f compose.database.yml -f compose.traefik.yml -f compose.yml pull
[+] Pulling 7/7
✔ mongodb-exporter Pulled
✔ nats Pulled
✔ rocketchat Pulled
✔ traefik-init Pulled
✔ traefik Pulled
✔ mongodb Pulled
✔ nats-exporter Pulled
[root@server rocketchat-compose]# docker compose -f compose.database.yml -f compose.traefik.yml -f compose.yml up -d
[+] Running 7/7
✔ Container rocketchat-compose-traefik-init-1 Running
✔ Container rocketchat-compose-mongodb-1 Running
✔ Container rocketchat-compose-nats-1 Running
✔ Container rocketchat-compose-mongodb-exporter-1 Running
✔ Container rocketchat-compose-nats-exporter-1 Running
✔ Container rocketchat-compose-traefik-1 Running
✔ Container rocketchat-compose-rocketchat-1 RunningRocket.Chat Mobile and Desktop Apps
If you already have access to a Rocket.Chat server, you can connect directly using the server address or invitation link. Simply enter the provided URL in the Rocket.Chat desktop or mobile app, or open it in your web browser to log in with your credentials and start collaborating.

iOS
iOS 13.4+

Android
Android 7.0+

Windows
10+

macOS
11+

Linux
Snap
Opening SMTP Ports
For security reasons, outgoing TCP ports (25, 465, and 587) are blocked by default on all VPS servers. This measure aims to prevent spam distribution. To lift the block, follow these steps:
- Register your domain zone. The A-record for your domain must point to your server’s IP address.
- Submit a request to technical support specifying that you need to open outgoing SMTP ports for sending email and the domain (or subdomain) from which it will be sent.
- After analyzing your domain name, we will make a decision on opening the SMTP ports and notify you.
Opening SMTP ports may require additional details about your domain name and its intended use.