 PufferPanel
PufferPanel is a free and open-source game server management panel for Linux. It allows you to easily deploy, manage, and monitor a wide range of game servers (Minecraft, CS:GO, ARK, Terraria, and more) through a modern web interface. PufferPanel supports multi-node setups, fine-grained user permissions, SFTP access, mod and plugin management, and automated server tasks. Designed for both individuals and hosting providers, PufferPanel makes hosting and maintaining game servers secure and convenient.
Core Features
- Wide game support: deploy and manage servers for Minecraft, ARK, CS:GO, Valheim, Terraria, and other popular games.
- Multi-node architecture: manage servers across multiple physical or virtual machines from a single panel.
- User management and permissions: invite other users, assign roles, and set granular access controls per server.
- SFTP file access: each user can securely upload, download, and manage game server files through SFTP.
- Prebuilt & custom templates: ready-to-use templates for quick deployment, with the ability to create your own for any game or app.
- Automated tasks and commands: schedule server starts, restarts, or custom commands for automation.
- Resource monitoring: real-time statistics for CPU, RAM, and disk usage, plus live server logs.
- Open API: RESTful API for integrating with billing systems, automation, and other third-party tools.
- Free & open source: no hidden fees — extend and customize PufferPanel to fit your hosting needs.
Deployment Features
| Time | OS | RAM | Disk |
|---|---|---|---|
| 20–30 min | 4Gb | 40Gb |
- Installed software:
PufferPanelnginx(Used as a reverse proxy for handling HTTPS traffic.)acme.sh(Used to automatically obtain and renew TLS certificates from Let's Encrypt.)Docker CEDocker Compose
- Open ports:
80,443– Web access (HTTP/HTTPS)5657– SFTP access
These ports are already open and are required for PufferPanel to function properly. Please make sure they remain unblocked in the future.
PufferPanel can be installed in two different environments depending on your server and project needs:
- Docker environment: Game servers run inside isolated Docker containers. This improves security, makes it easier to manage dependencies, and allows you to run multiple server types on one machine. Recommended for most users, especially if you plan to host different games or want a flexible, easily scalable setup.
- Standard environment: Game servers are run directly on the host system without Docker. This option is suitable for simple or resource-limited environments, or if you prefer to avoid containerization.
Note: We install and configure both environments by default, so you can choose the optimal method for your servers at any time.
By default, we install the latest stable version of the software from the developer's website or official repositories.
Getting Started After PufferPanel Deployment
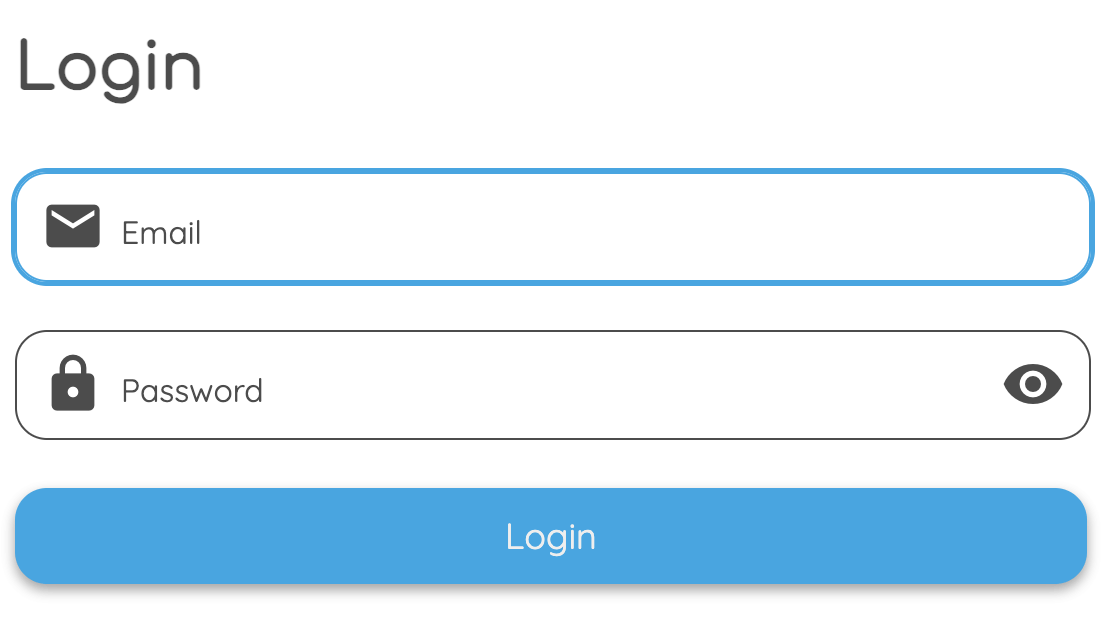
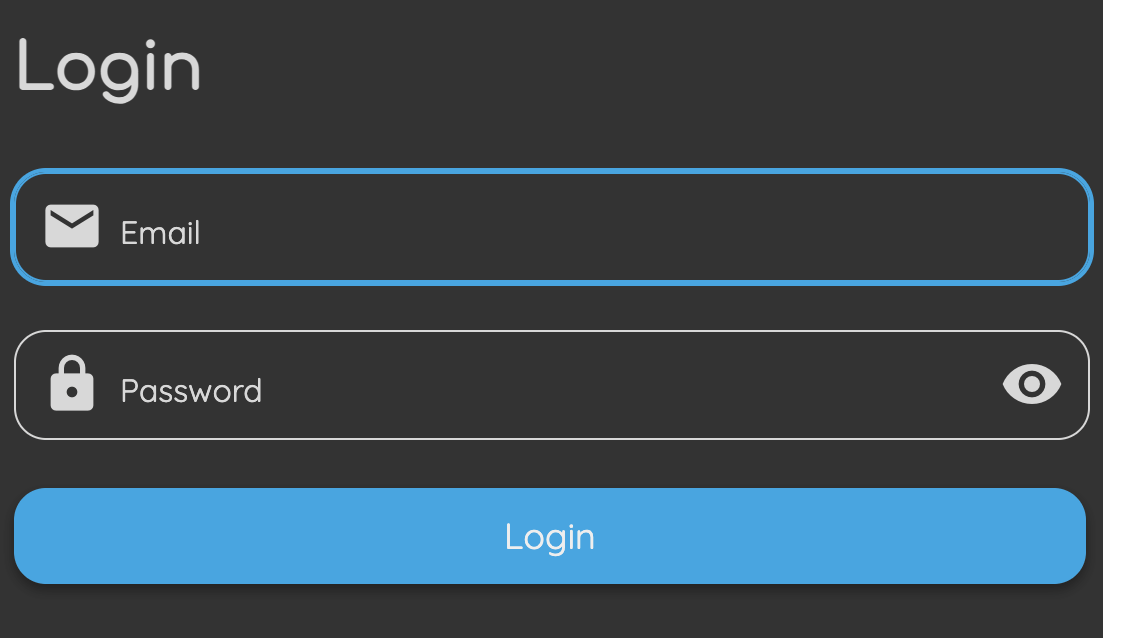
After completing your payment, you will receive an email at the address provided during registration notifying you that your server is ready. This email will include the IP address of your VPS and login credentials to access the PufferPanel web interface:
- Link: https://example.com
- User: admin
- Password: ****** (Sent via email)
The access credentials for your VPS are listed in the "Virtual Servers" section — select your server and click "Instructions." This information is also provided in the email you receive after installation.
Initial Setup
After logging into PufferPanel, you are greeted by a simple and modern dashboard. The navigation menu on the left provides access to all core functions for managing servers, hosts (nodes), users, templates, and settings. This structure makes it easy to add new servers and manage your entire infrastructure, whether you are just starting or already have experience:
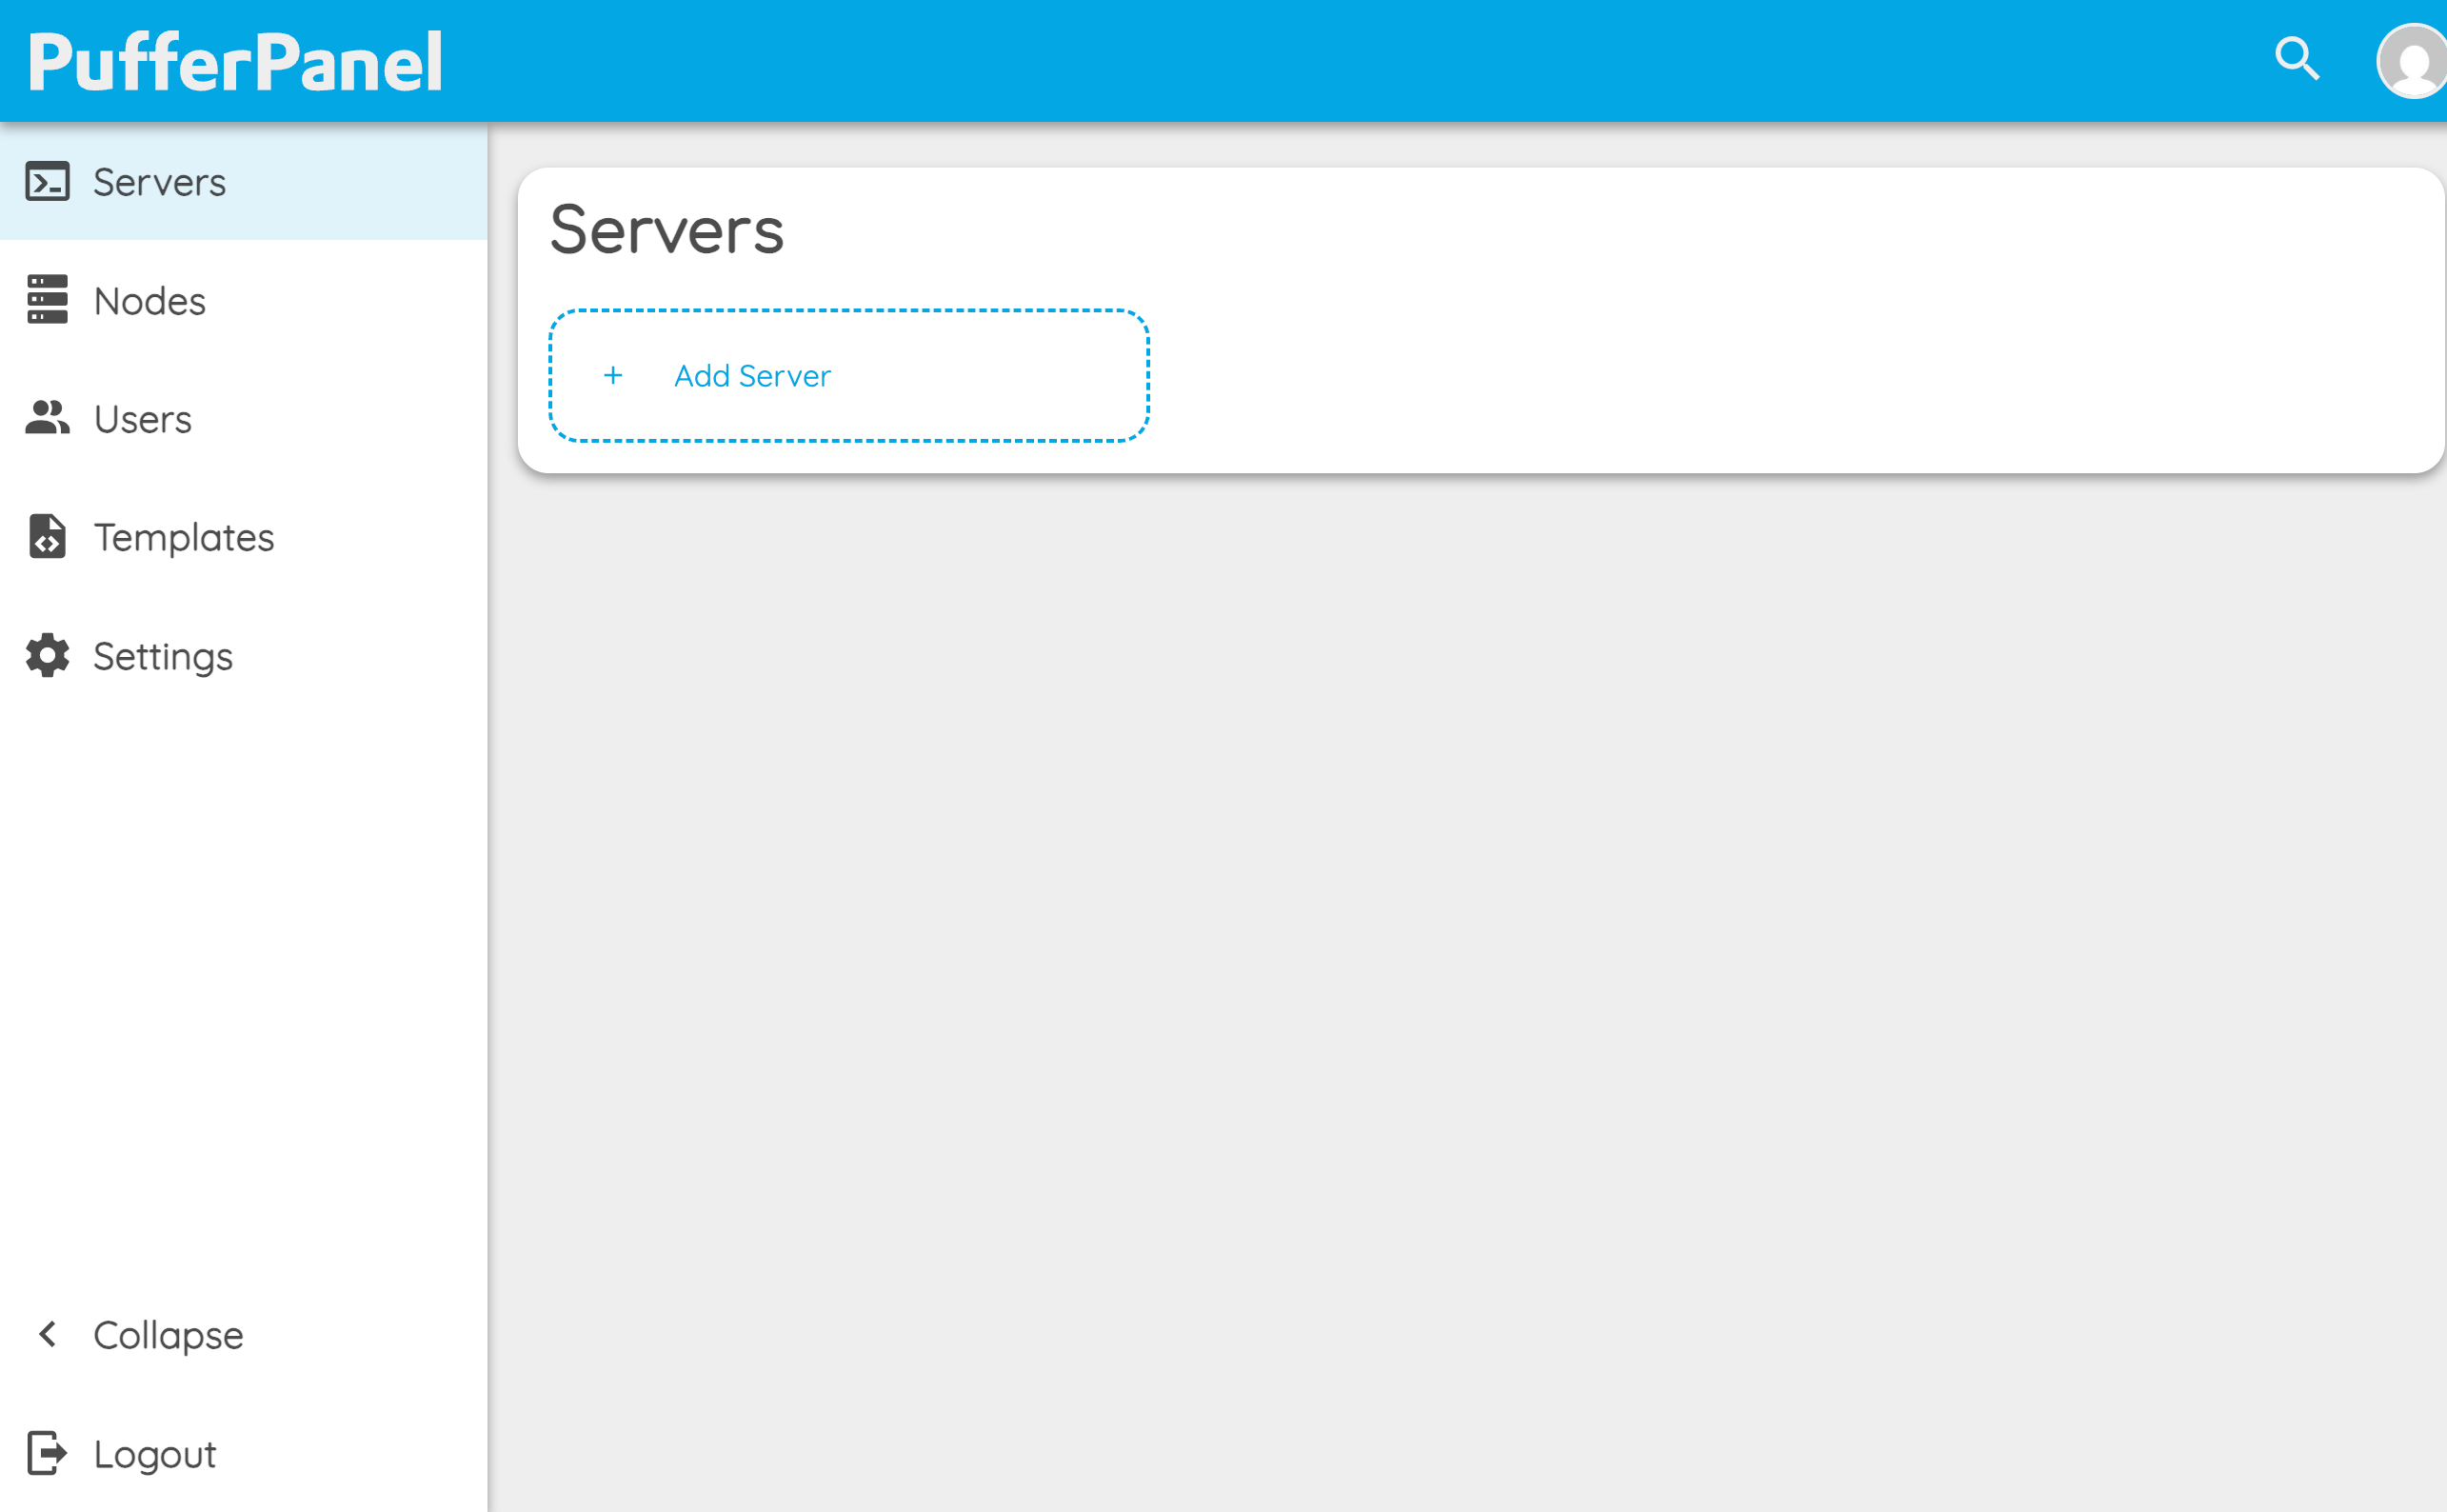
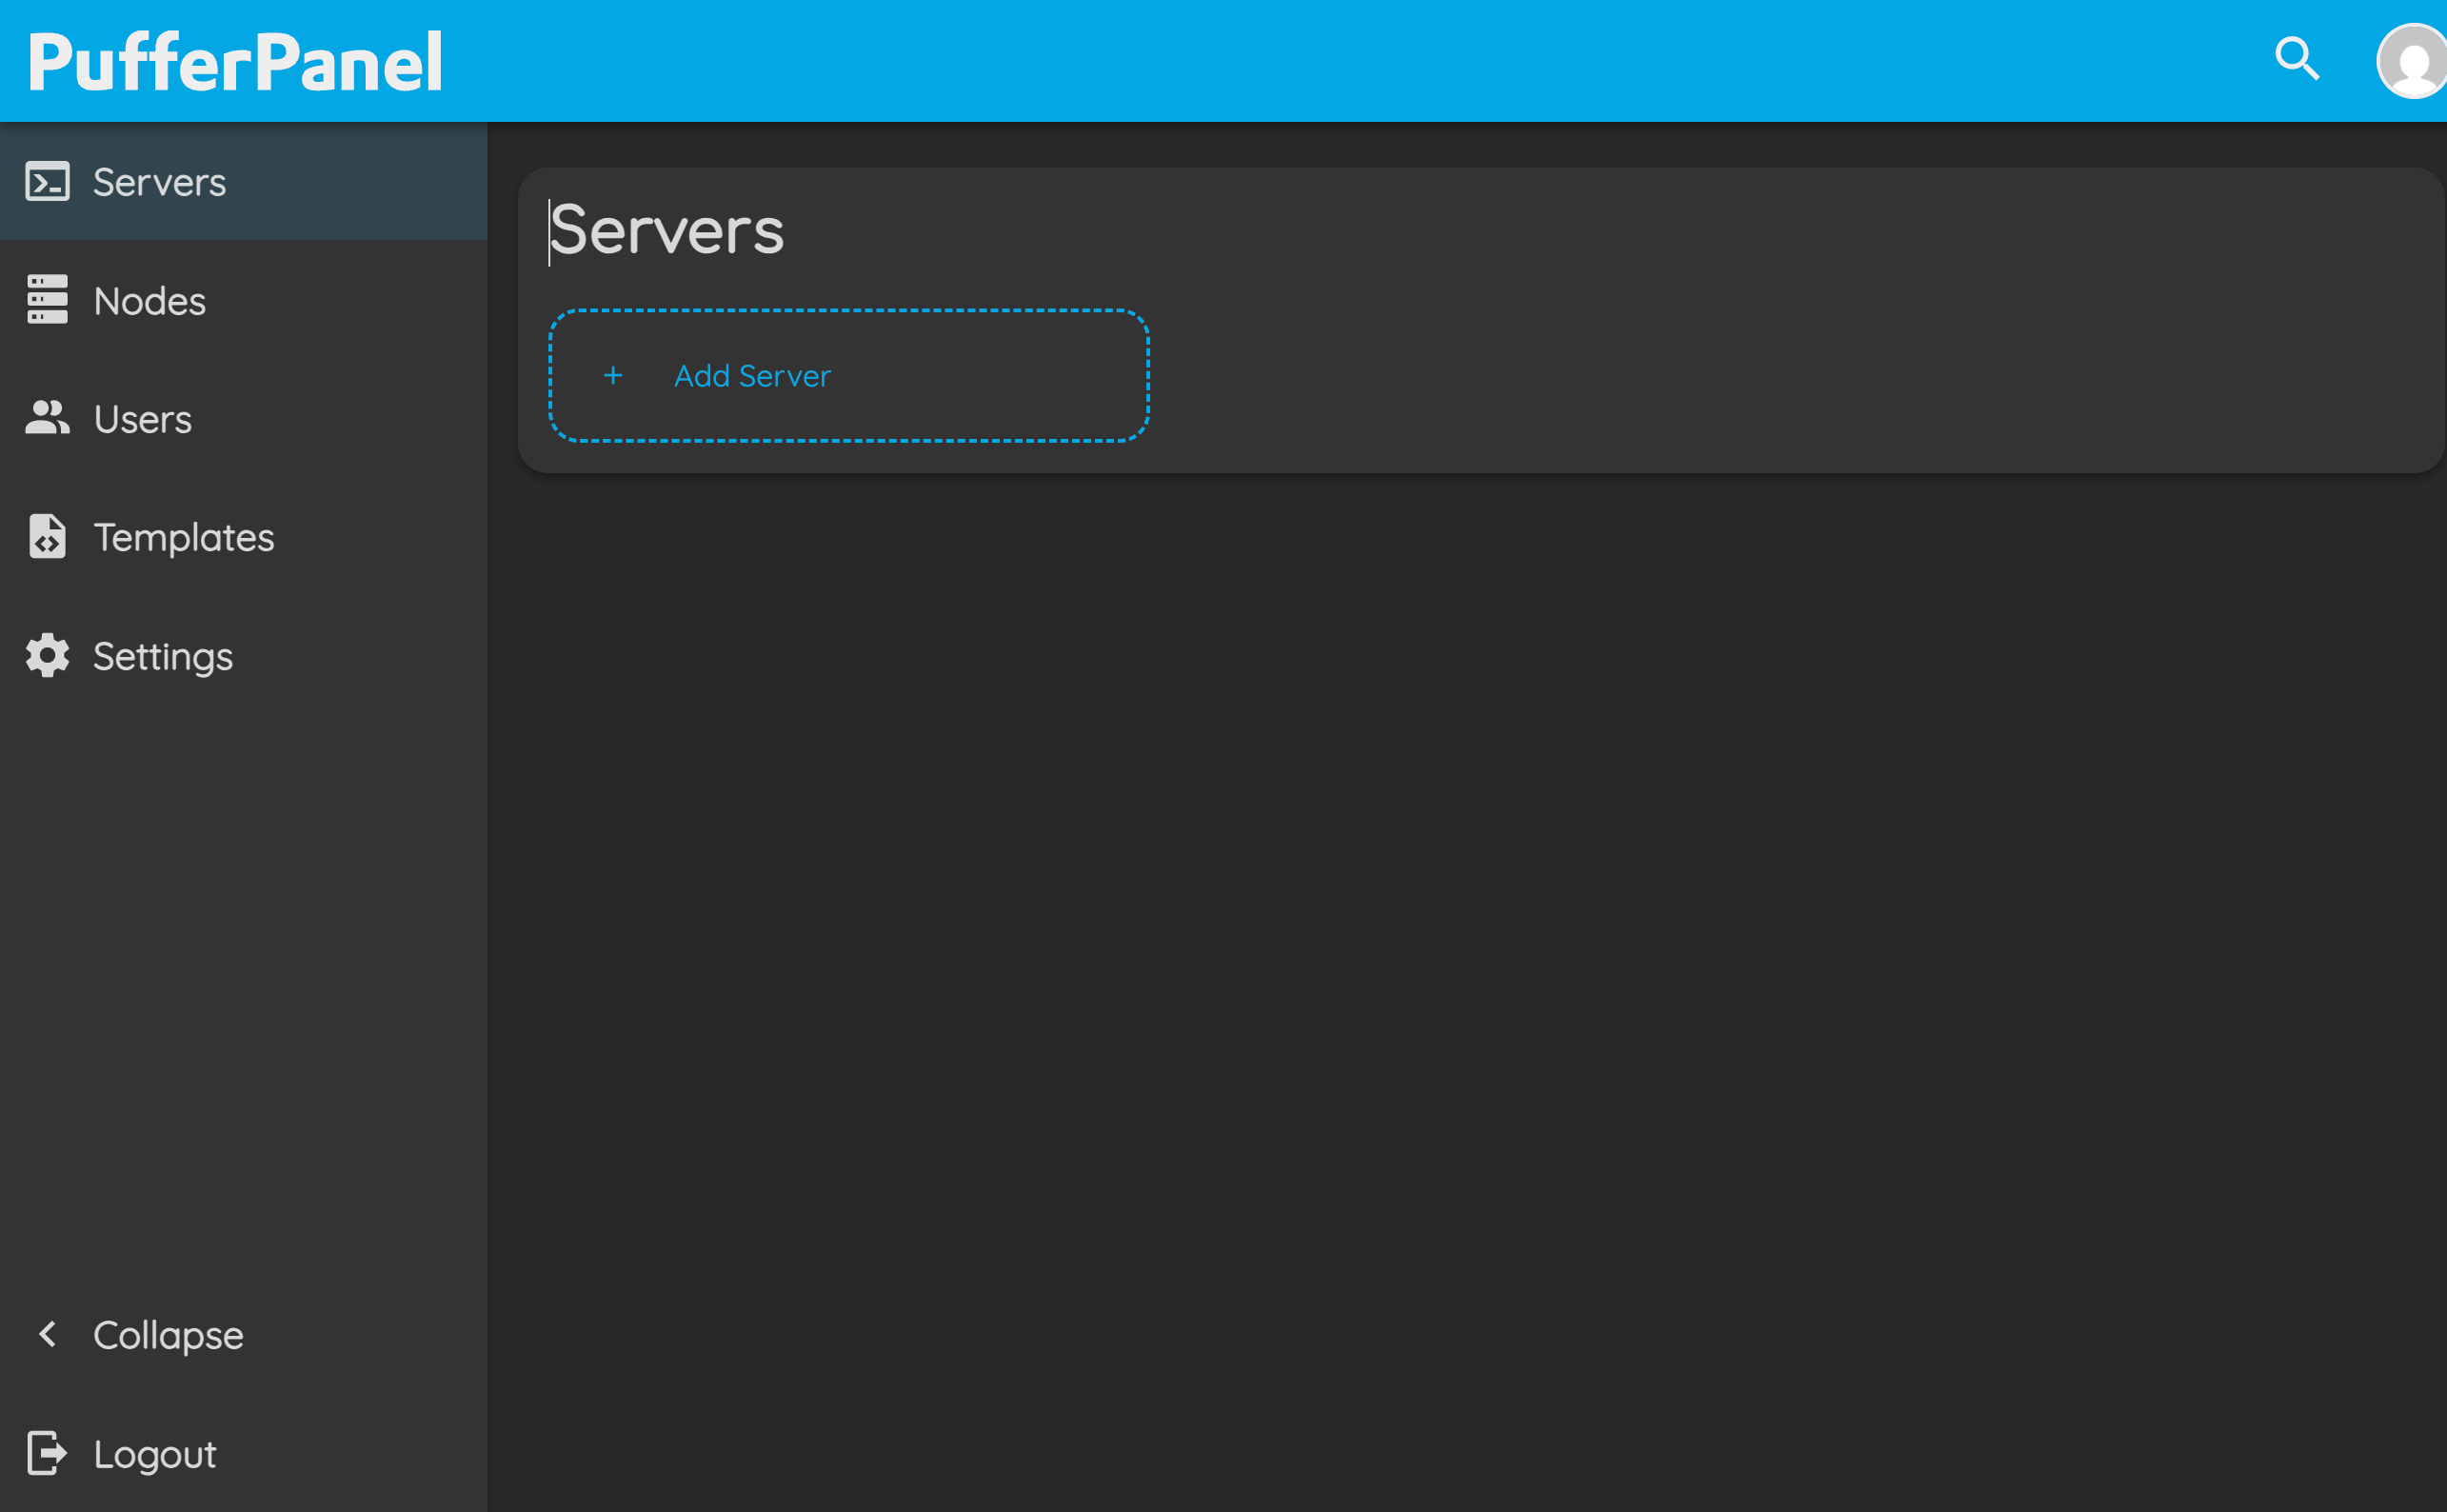
- Servers: Add new servers, configure existing ones, and monitor their status and resources.
- Nodes: Manage physical or virtual hosts (nodes) where your game servers run.
- Users: Create and manage panel user accounts, set roles and permissions.
- Templates: Manage server templates for quick deployment of supported game servers.
- Settings: Panel-wide settings including configuration, integrations, and other options.
Detailed information on the main PufferPanel settings can be found in the developer documentation.
Adding and Configuring a Game Server
To add a new game server in PufferPanel, begin by clicking the "Add Server" button. You will see the initial configuration step, where you need to specify basic server information:
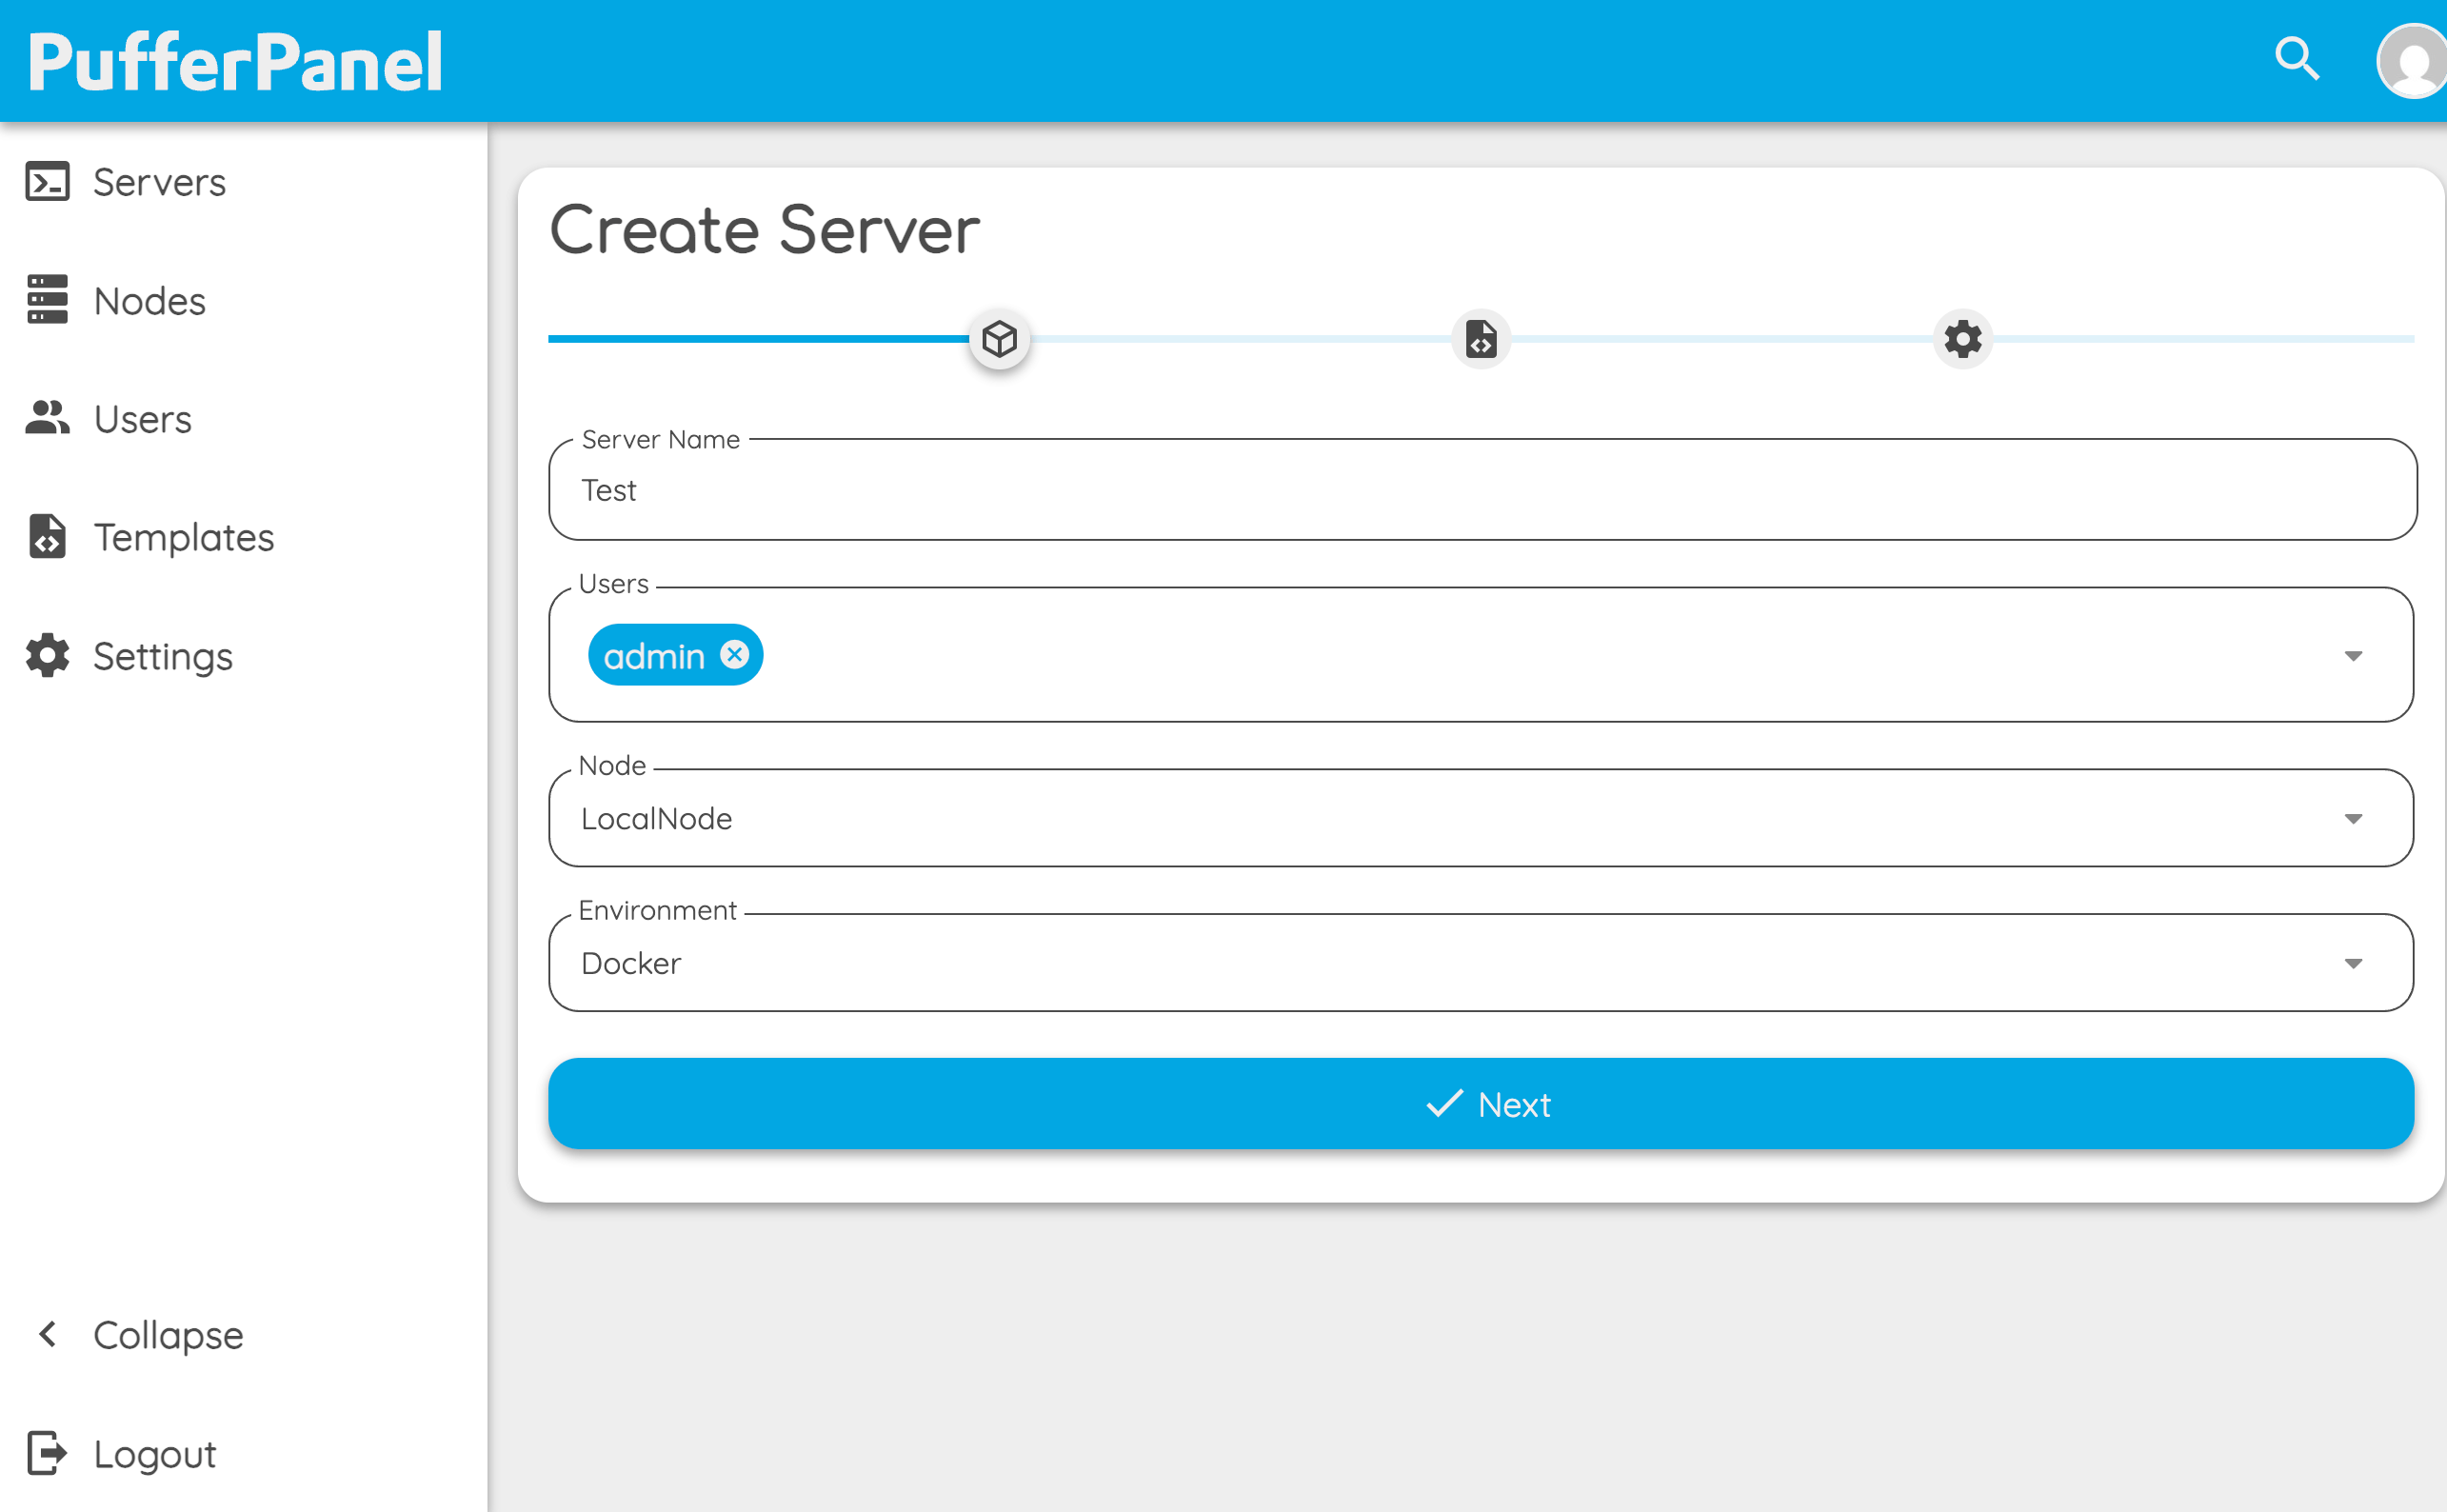
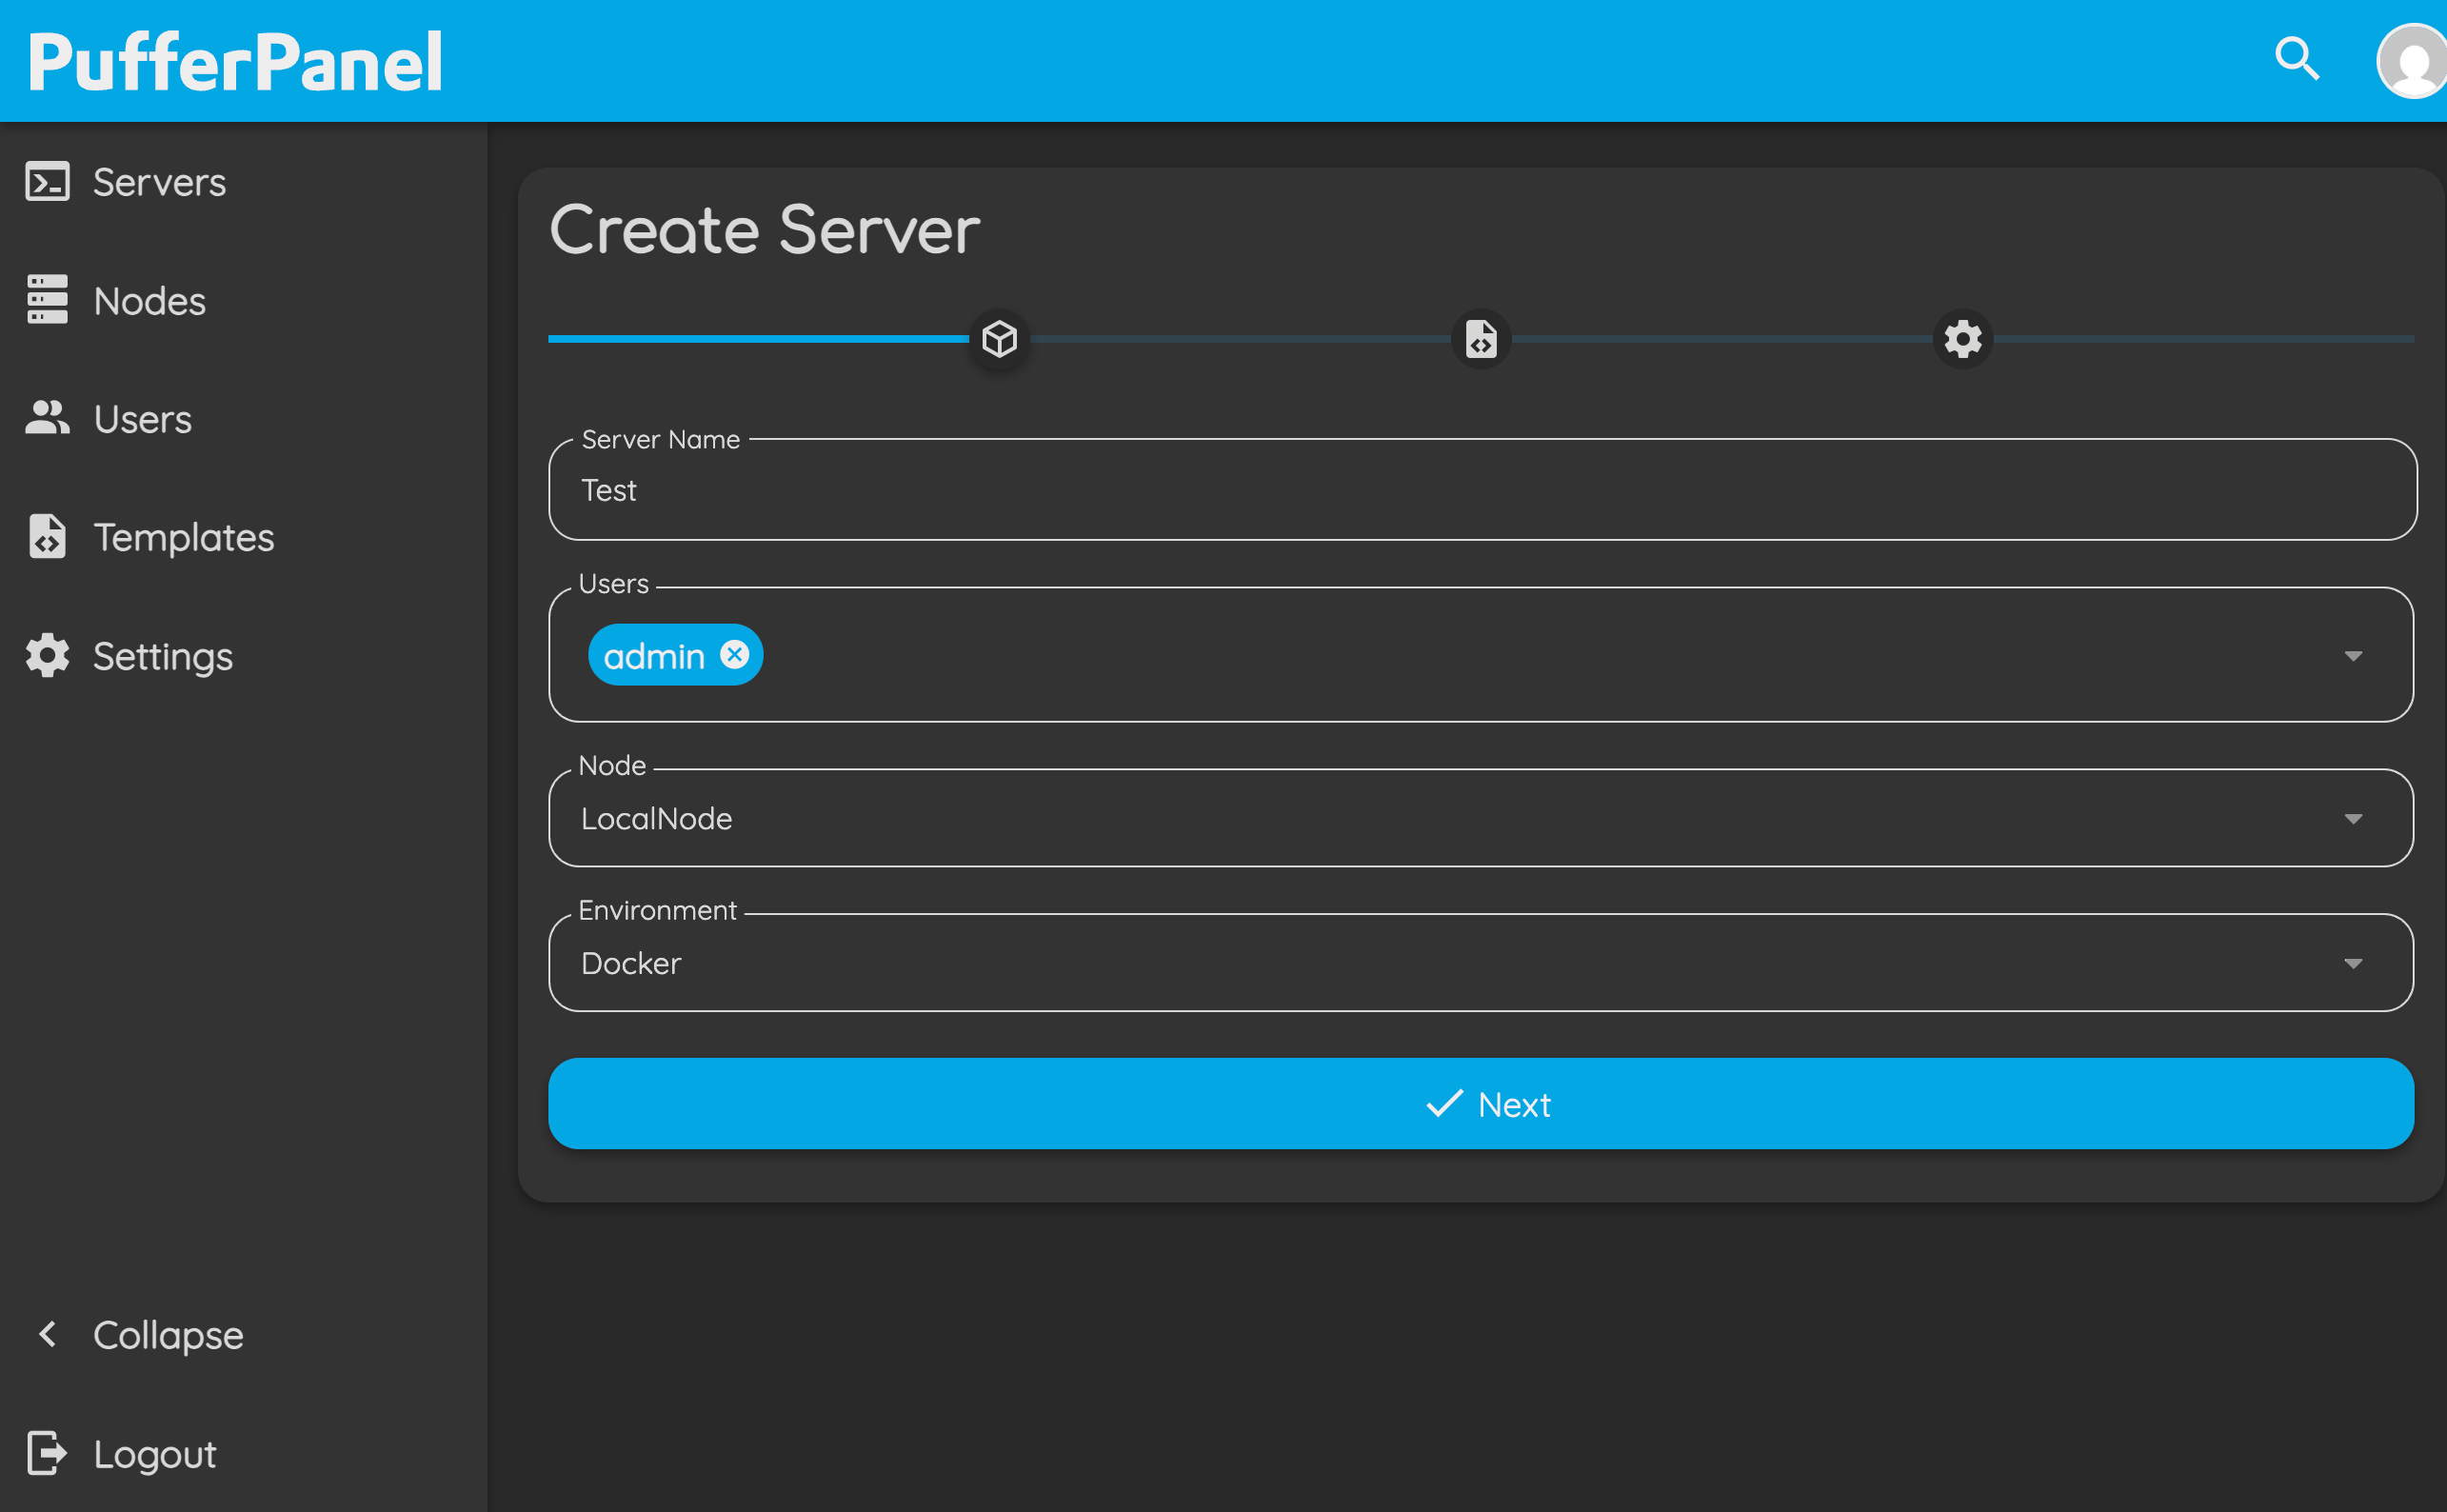
- Server Name: Enter a descriptive name for your game server. This will help you identify it later.
- Users: Select which panel users will have access to manage this server.
- Node: Choose the node (host) where the game server will be deployed. For a local installation, this is typically "LocalNode."
- Environment: Choose the type of environment for the server. There are two main options:
- Docker: Recommended in most cases. The server will run in an isolated Docker container, which increases security, simplifies management, and allows running different types of servers with their own dependencies. This is especially useful if you plan to host multiple game servers or need to avoid software conflicts.
- Standard: The server will run directly on the host system, without Docker. This option is suitable for advanced users who want direct access to system resources, need custom configurations, or run software that may not be compatible with Docker. However, standard mode is less isolated and may pose higher security risks if used incorrectly.
- Click Next to continue to the next configuration step.
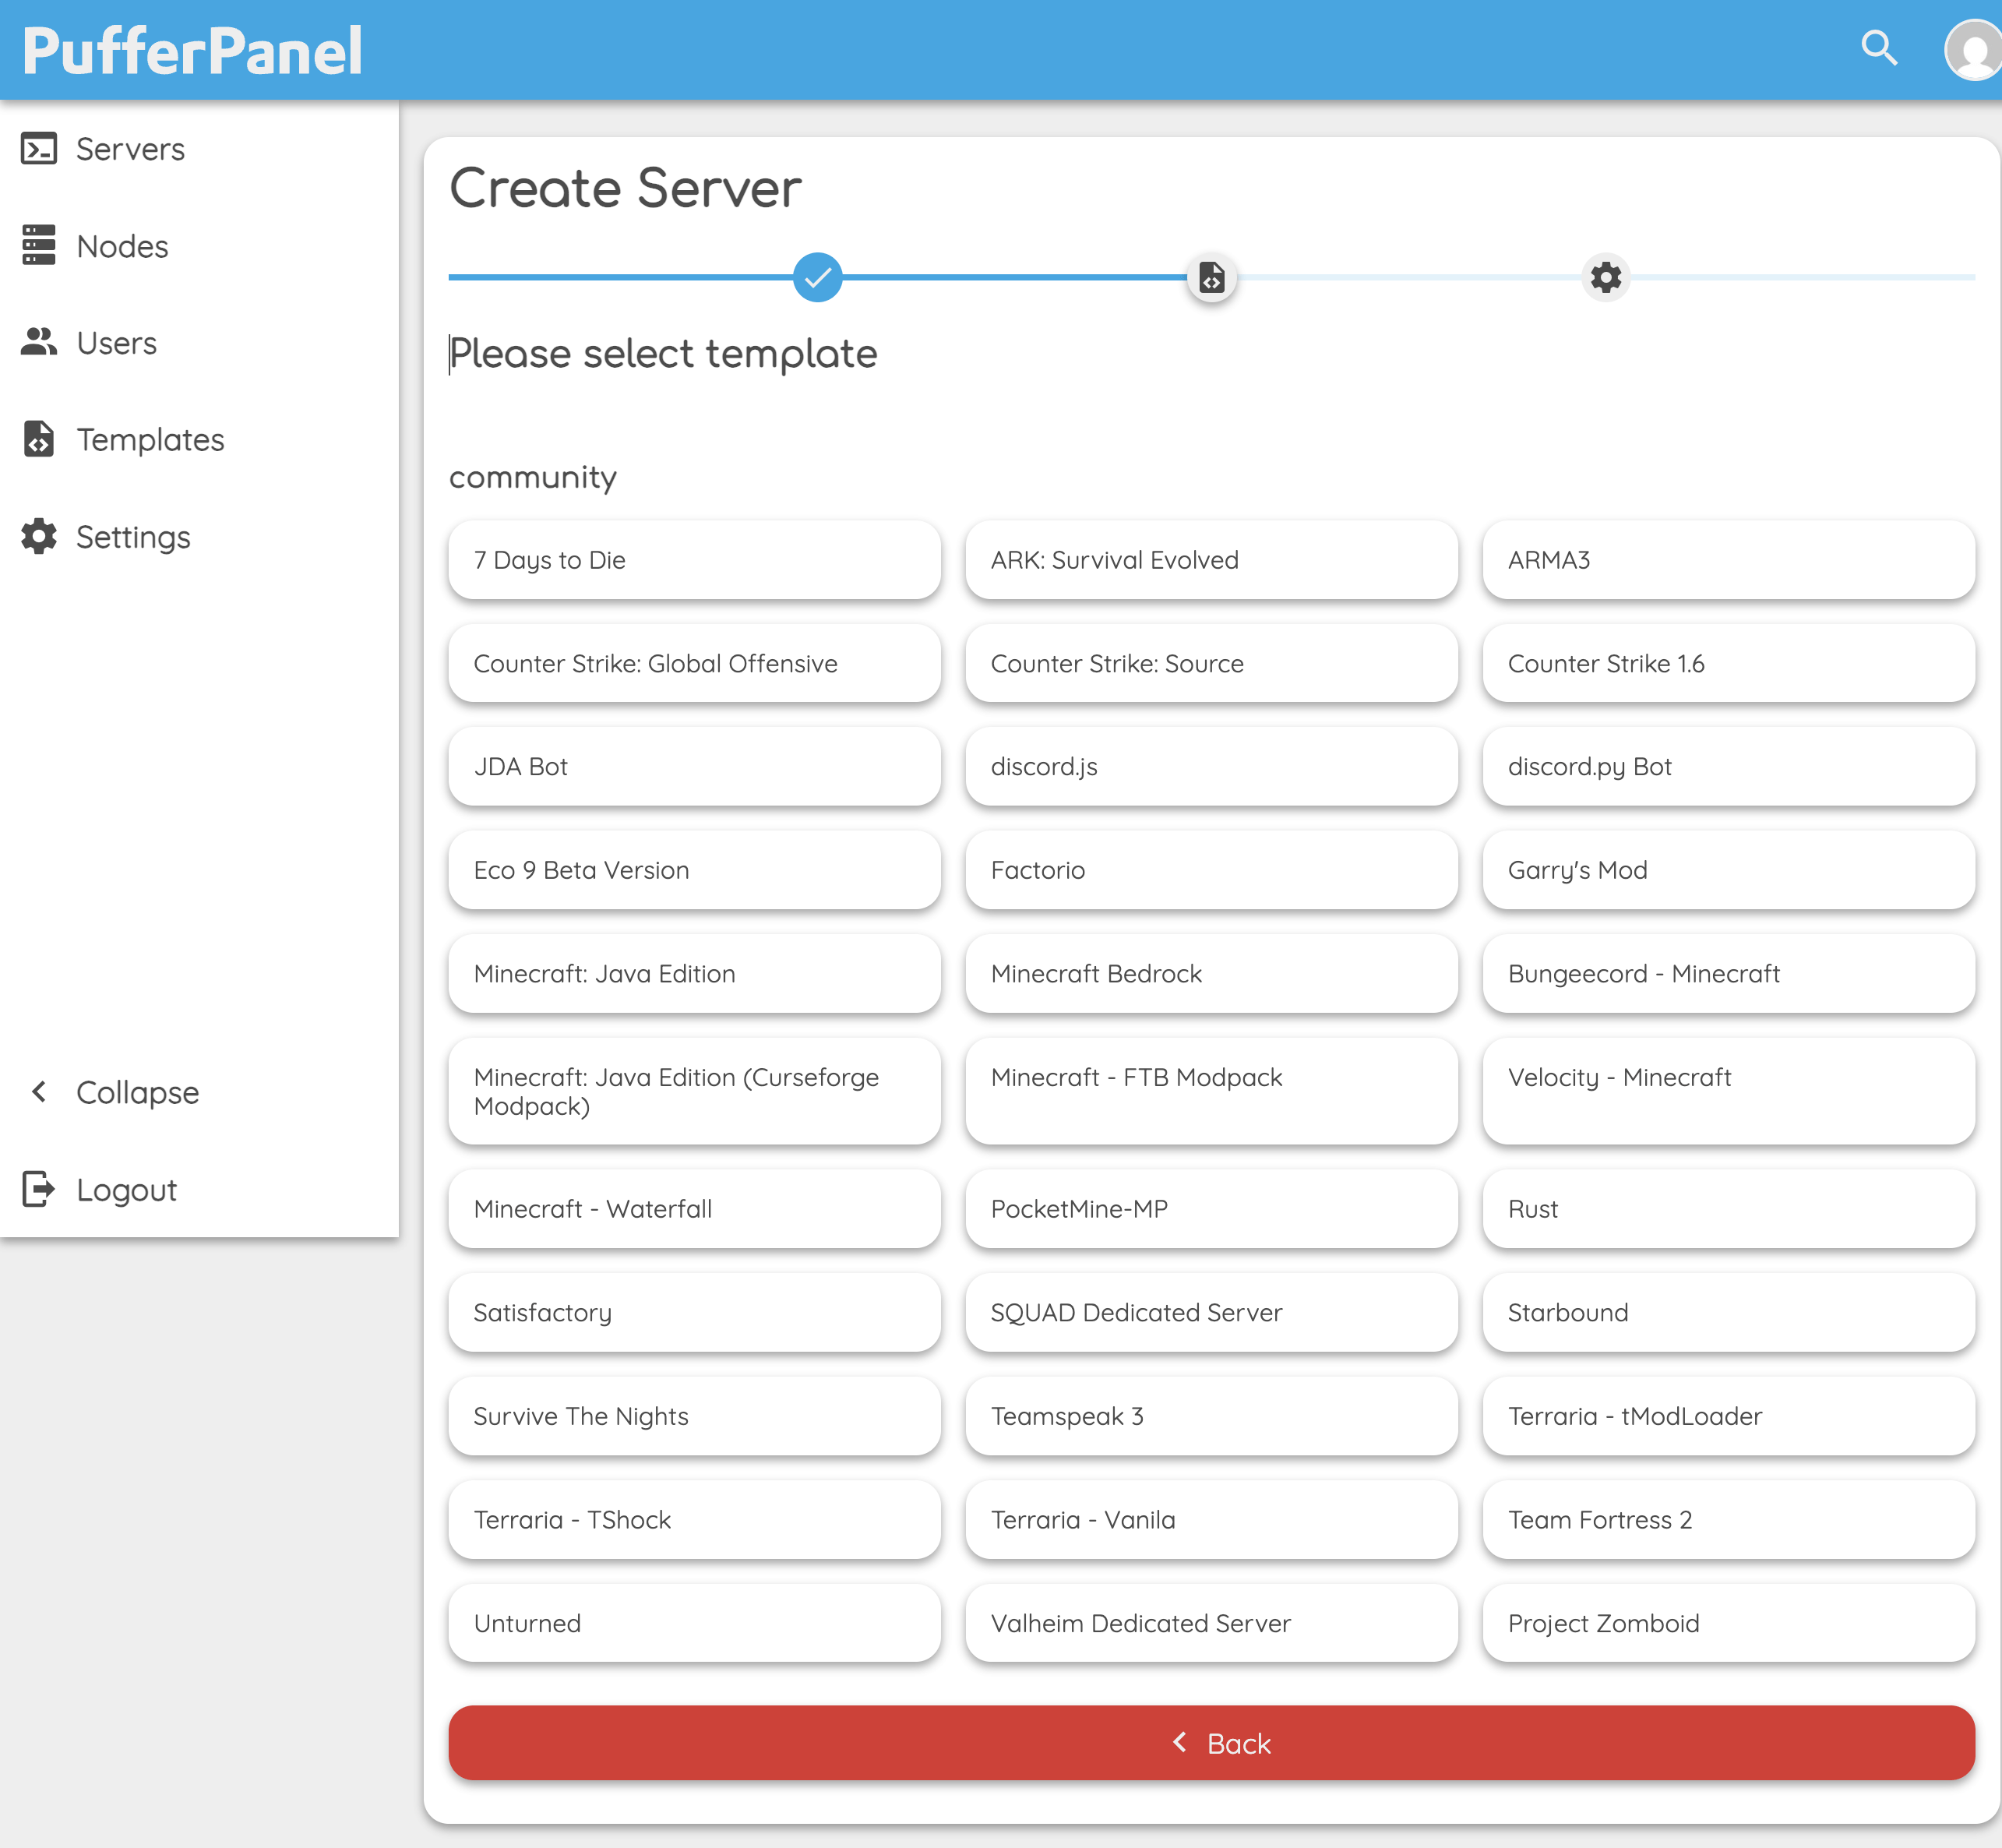
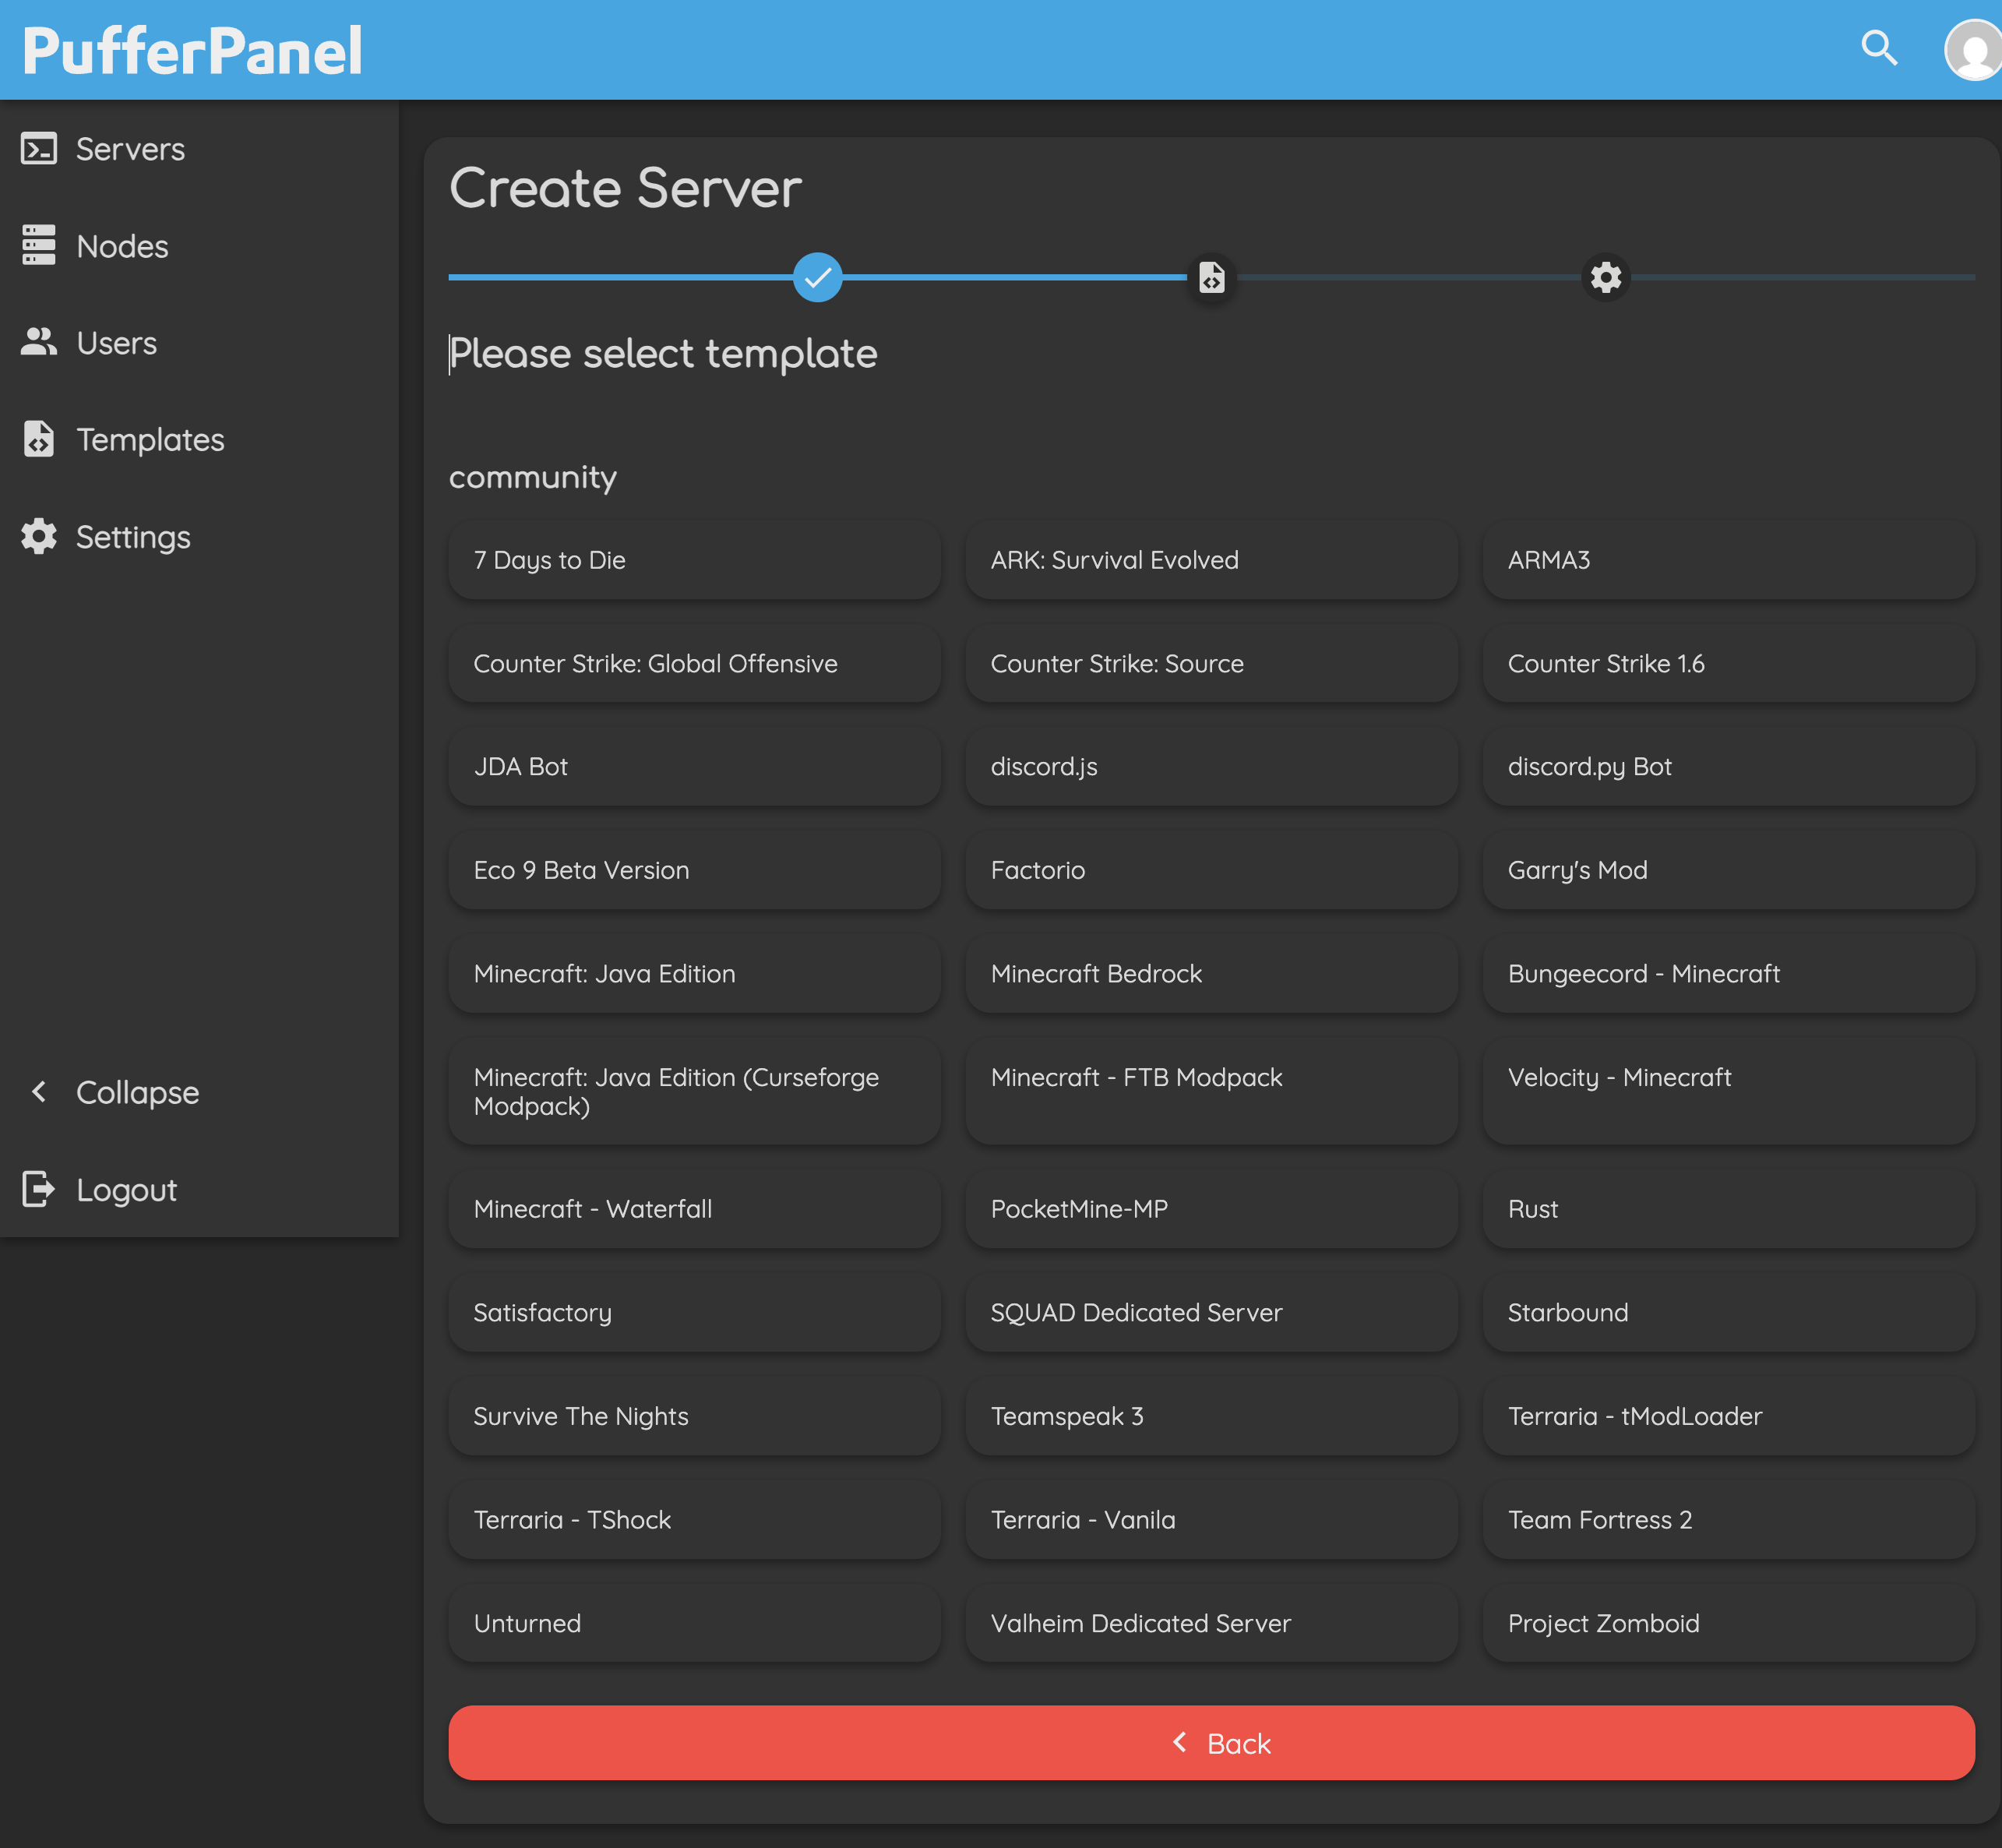
- Choose a template for your new server. Templates in PufferPanel contain all required scripts and settings to quickly deploy popular games and applications. You will see templates for Minecraft (Java, Bedrock, Curseforge, etc.), Counter-Strike, Rust, ARK, Valheim, Discord bots, and more. By selecting a template, you automatically apply recommended launch parameters and environment variables for that game.
Server Management and Monitoring
After creating a server in PufferPanel, you will be taken to the server management page. Here you can monitor and control the server in real time, access all its configuration options, view logs, and manage files and users. The interface is divided into several tabs, making server administration clear and straightforward for both beginners and experienced admins:
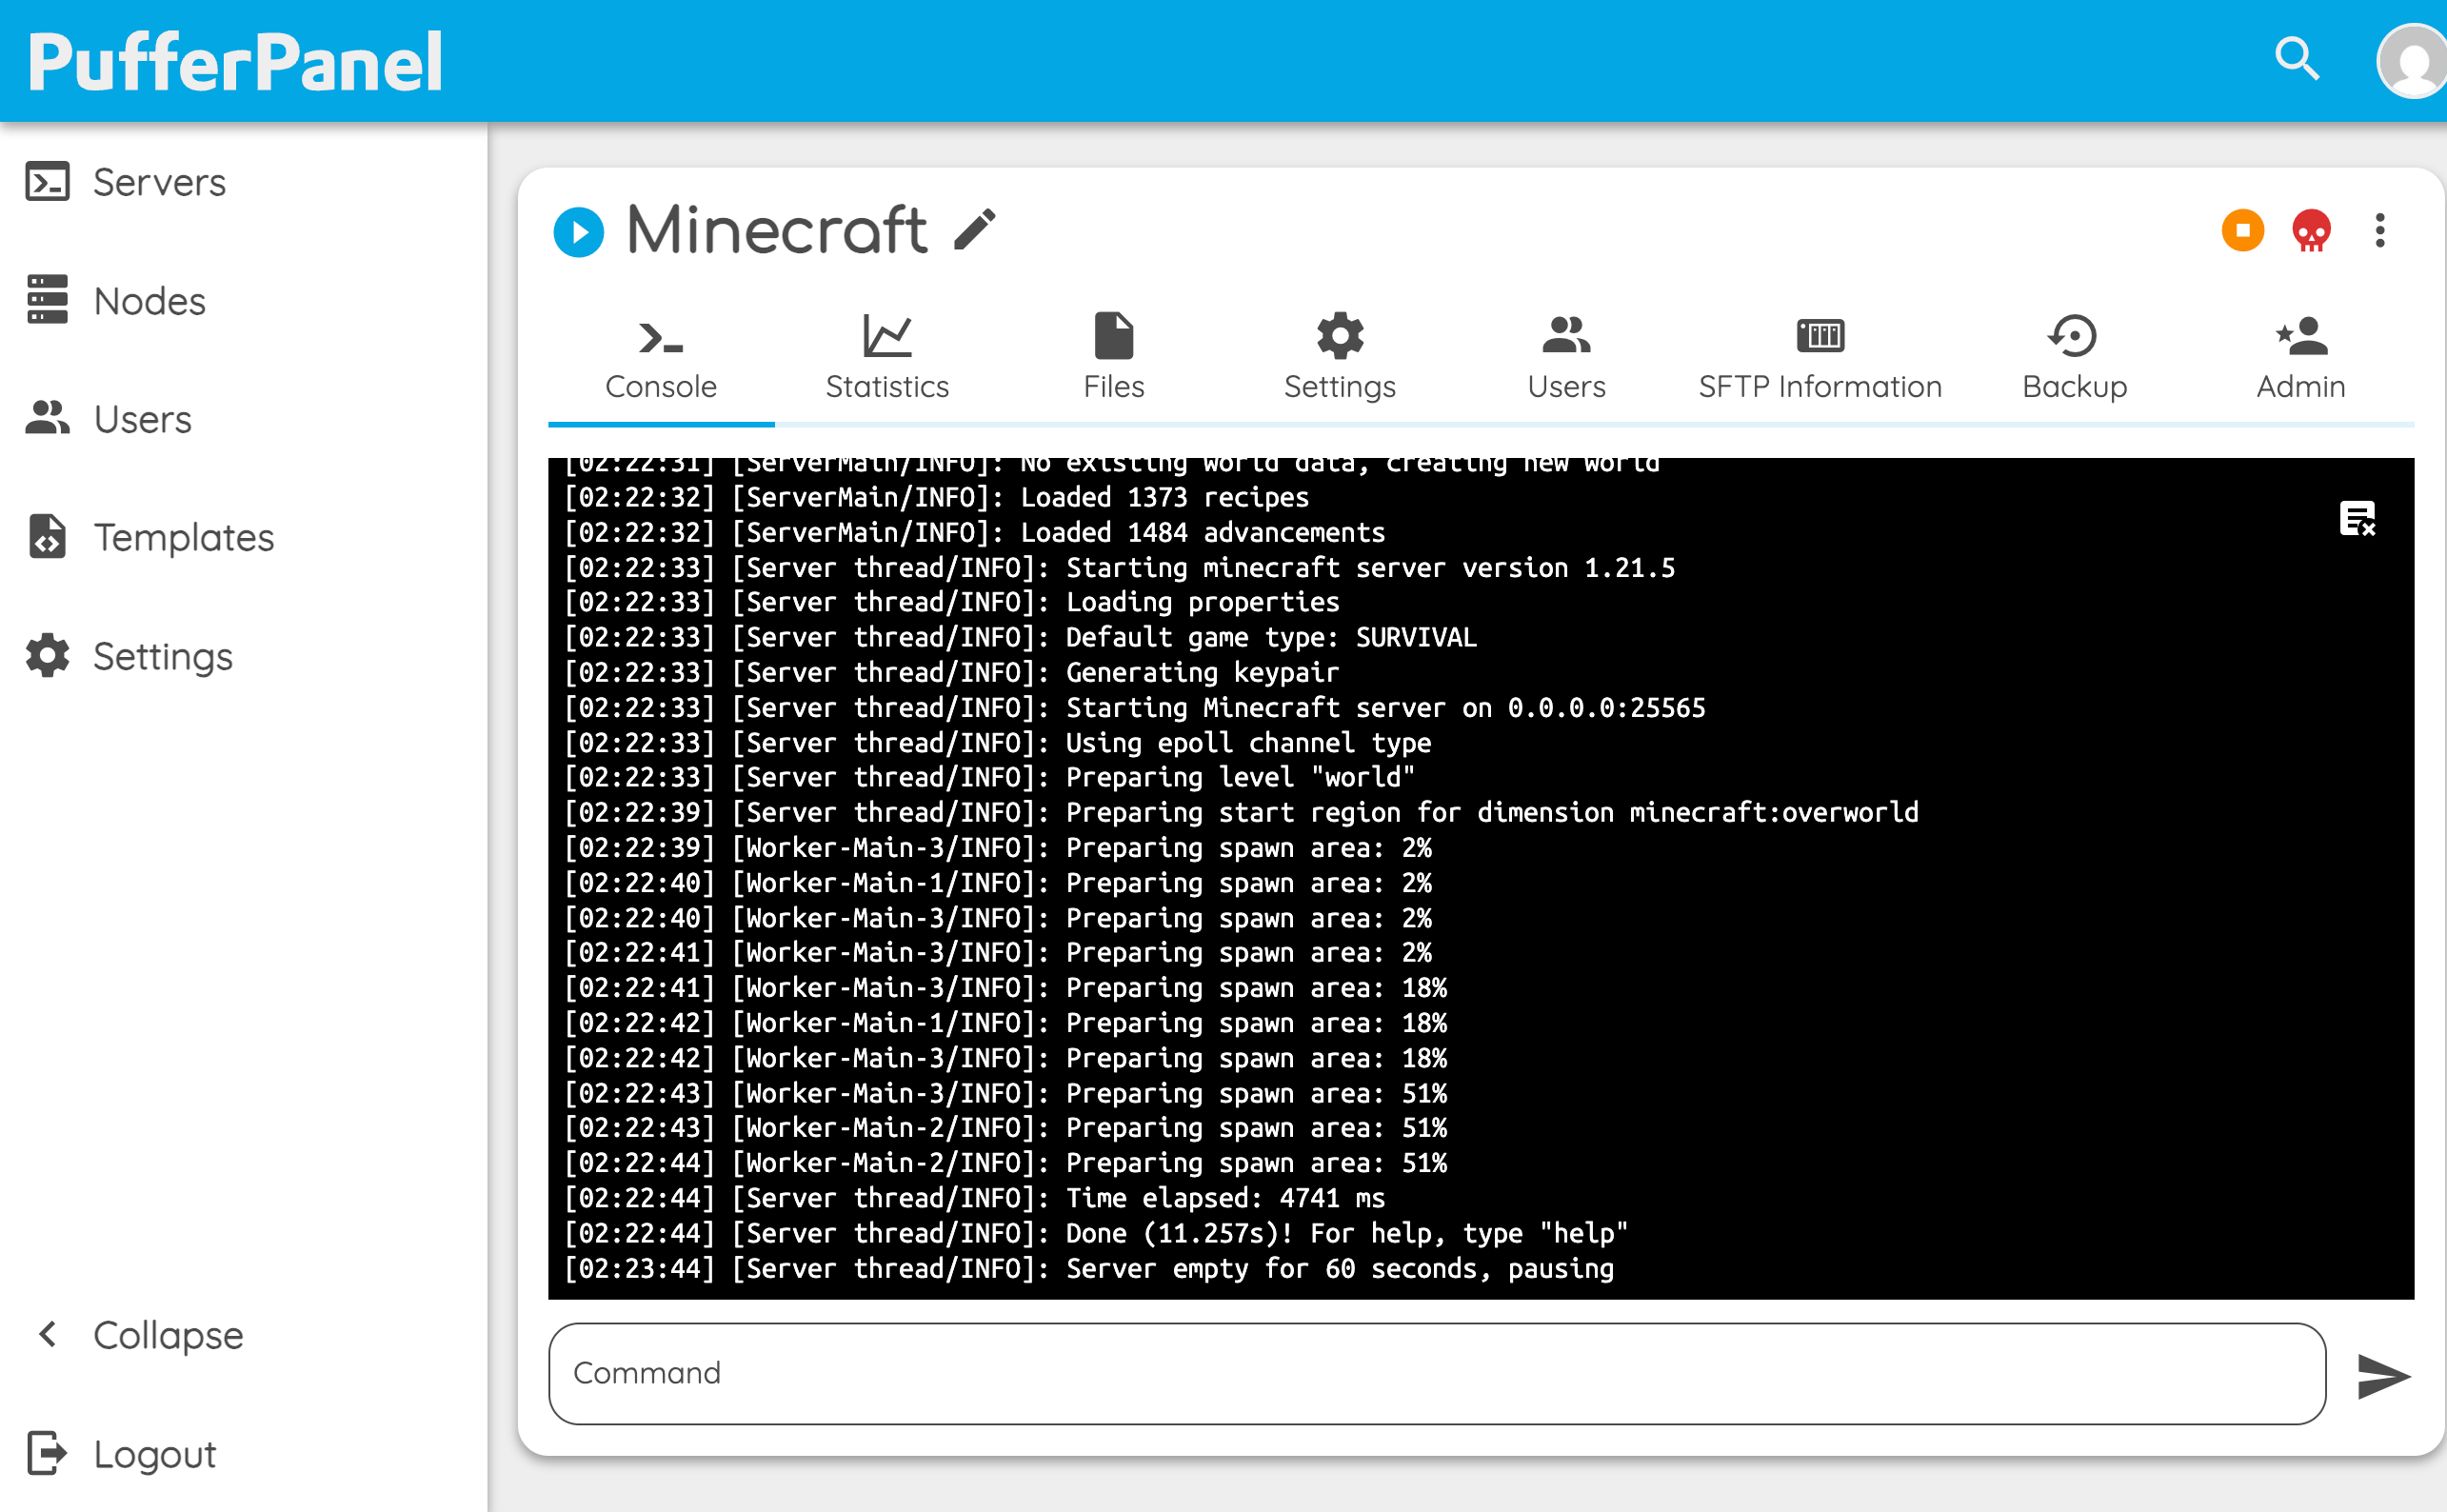
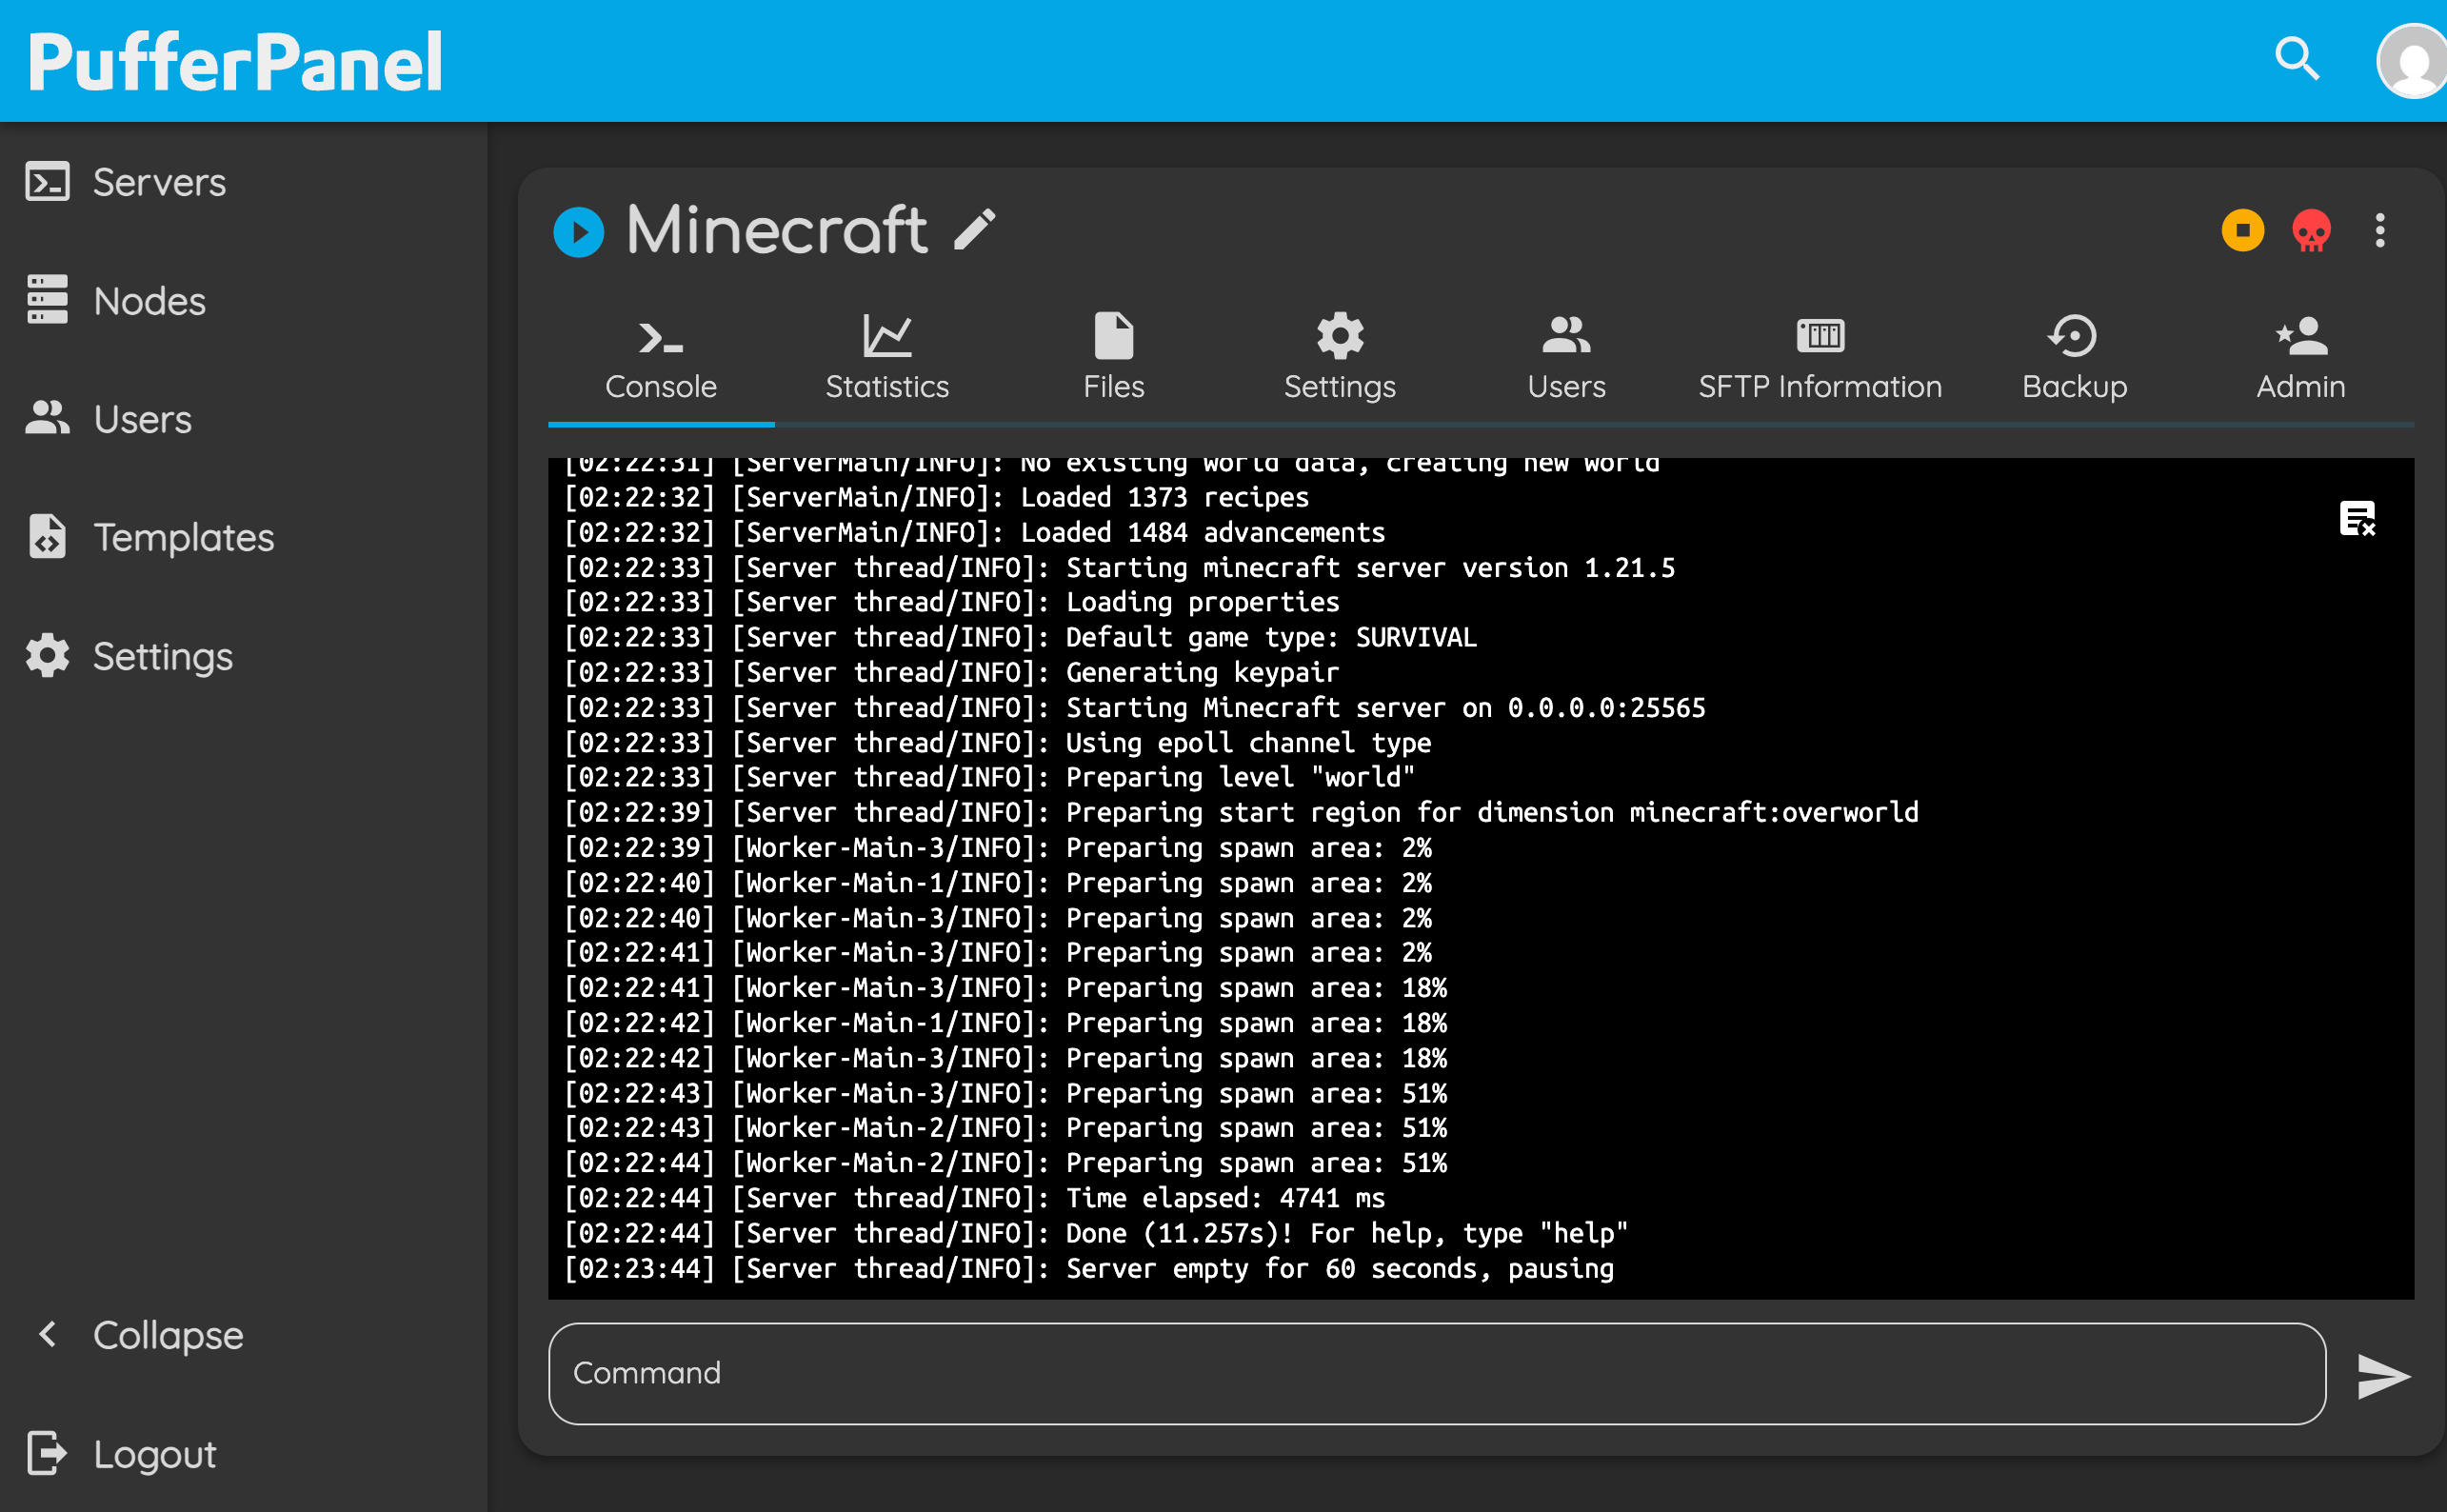
- Console: Displays live logs and allows you to send commands directly to the server for real-time control.
- Statistics: Shows resource usage graphs such as CPU, memory, and disk space for monitoring server performance.
- Files: A built-in file manager for uploading, editing, and organizing server files directly from the browser.
- Settings: Configure server parameters, environment variables, startup commands, and resource limits.
- Users: Manage user access to the server, add new users, and assign roles or permissions.
- SFTP Information: Displays credentials for secure SFTP access, allowing you to upload and manage server files externally.
- Backup: Create, download, and restore server backups to safeguard your data.
- Admin: Administrative actions for advanced control and troubleshooting, available to users with the required permissions.
Updating PufferPanel
When a new version of PufferPanel is released, you can safely upgrade it.
apt-get update
apt-get install --only-upgrade pufferpanelapt-get update
apt-get upgradeyum update pufferpanelyum updateNow you should be able to access the PufferPanel by entering its URL in your web browser. Log in to your account and verify that all main features are working as expected.
DEB-based (Debian, Ubuntu)
RPM-based (AlmaLinux, CentOS)