 Portainer CE
Portainer Community Edition (CE) is an open-source platform for easy container deployment and management. Installable on any Linux server, it lets you run, monitor, and control applications with maximum efficiency. Portainer’s intuitive web interface streamlines container setup, image and network management, and makes it simple for developers and sysadmins to orchestrate projects of any scale.
Core Features
- Container management: deploy, start, stop, and monitor containers with an intuitive web interface.
- Application templates: use pre-configured templates for one-click deployment of common applications.
- Resource management: control CPU and memory allocation for containers to optimize performance.
- Volume and network configuration: manage data volumes and network settings directly from the UI.
- Access control: define user roles and permissions to secure your container environment.
- Integration with Git: deploy stacks and services directly from your Git repositories.
- Real-time logs and console access: view container logs and access the console for troubleshooting.
- Multi-platform support: manage Docker environments across Linux, Windows, and macOS.
Deployment Features
| Installation timeTime | OS | RAM | Disk |
|---|---|---|---|
| 20–30 min | 2Gb | 20Gb |
- Installed software:
Docker CEDocker Compose
- Used containers:
docker.io/portainer/portainer-ce:lts
- Open ports:
8000– Edge agent tunnel (for remote management)9443– Web access (HTTPS)
- Files path:
/opt/portainer
By default, we install the latest stable version of the software from the developer's website or official repositories.
Getting Started After Portainer CE Deployment
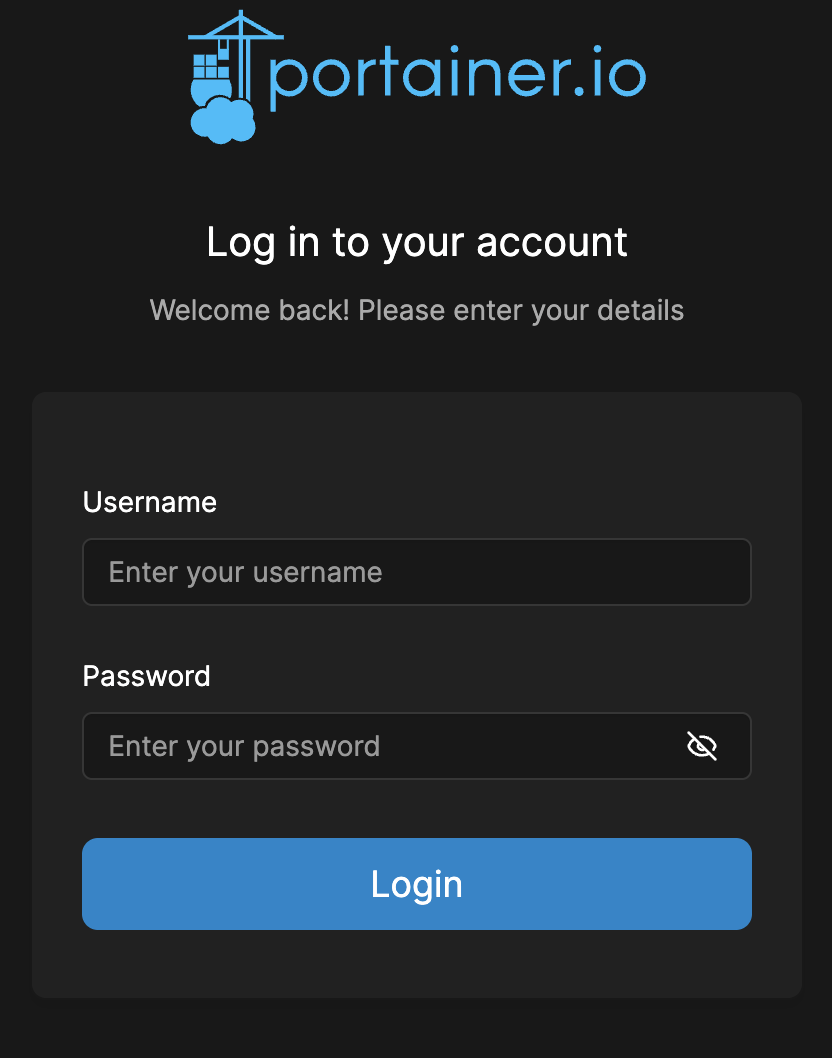
After completing your payment, you will receive an email at the address provided during registration notifying you that your server is ready. This email will include the IP address of your VPS and login credentials to access the Portainer CE web interface:
- Link: https://ip:9443
- User: admin
- Password: ****** (Sent via email)
To access Portainer, log in with your administrator account. Enter your username and password on the login page to securely manage your containers and server settings.

The access credentials for your VPS are listed in the "Virtual Servers" section — select your server and click "Instructions." This information is also provided in the email you receive after installation.
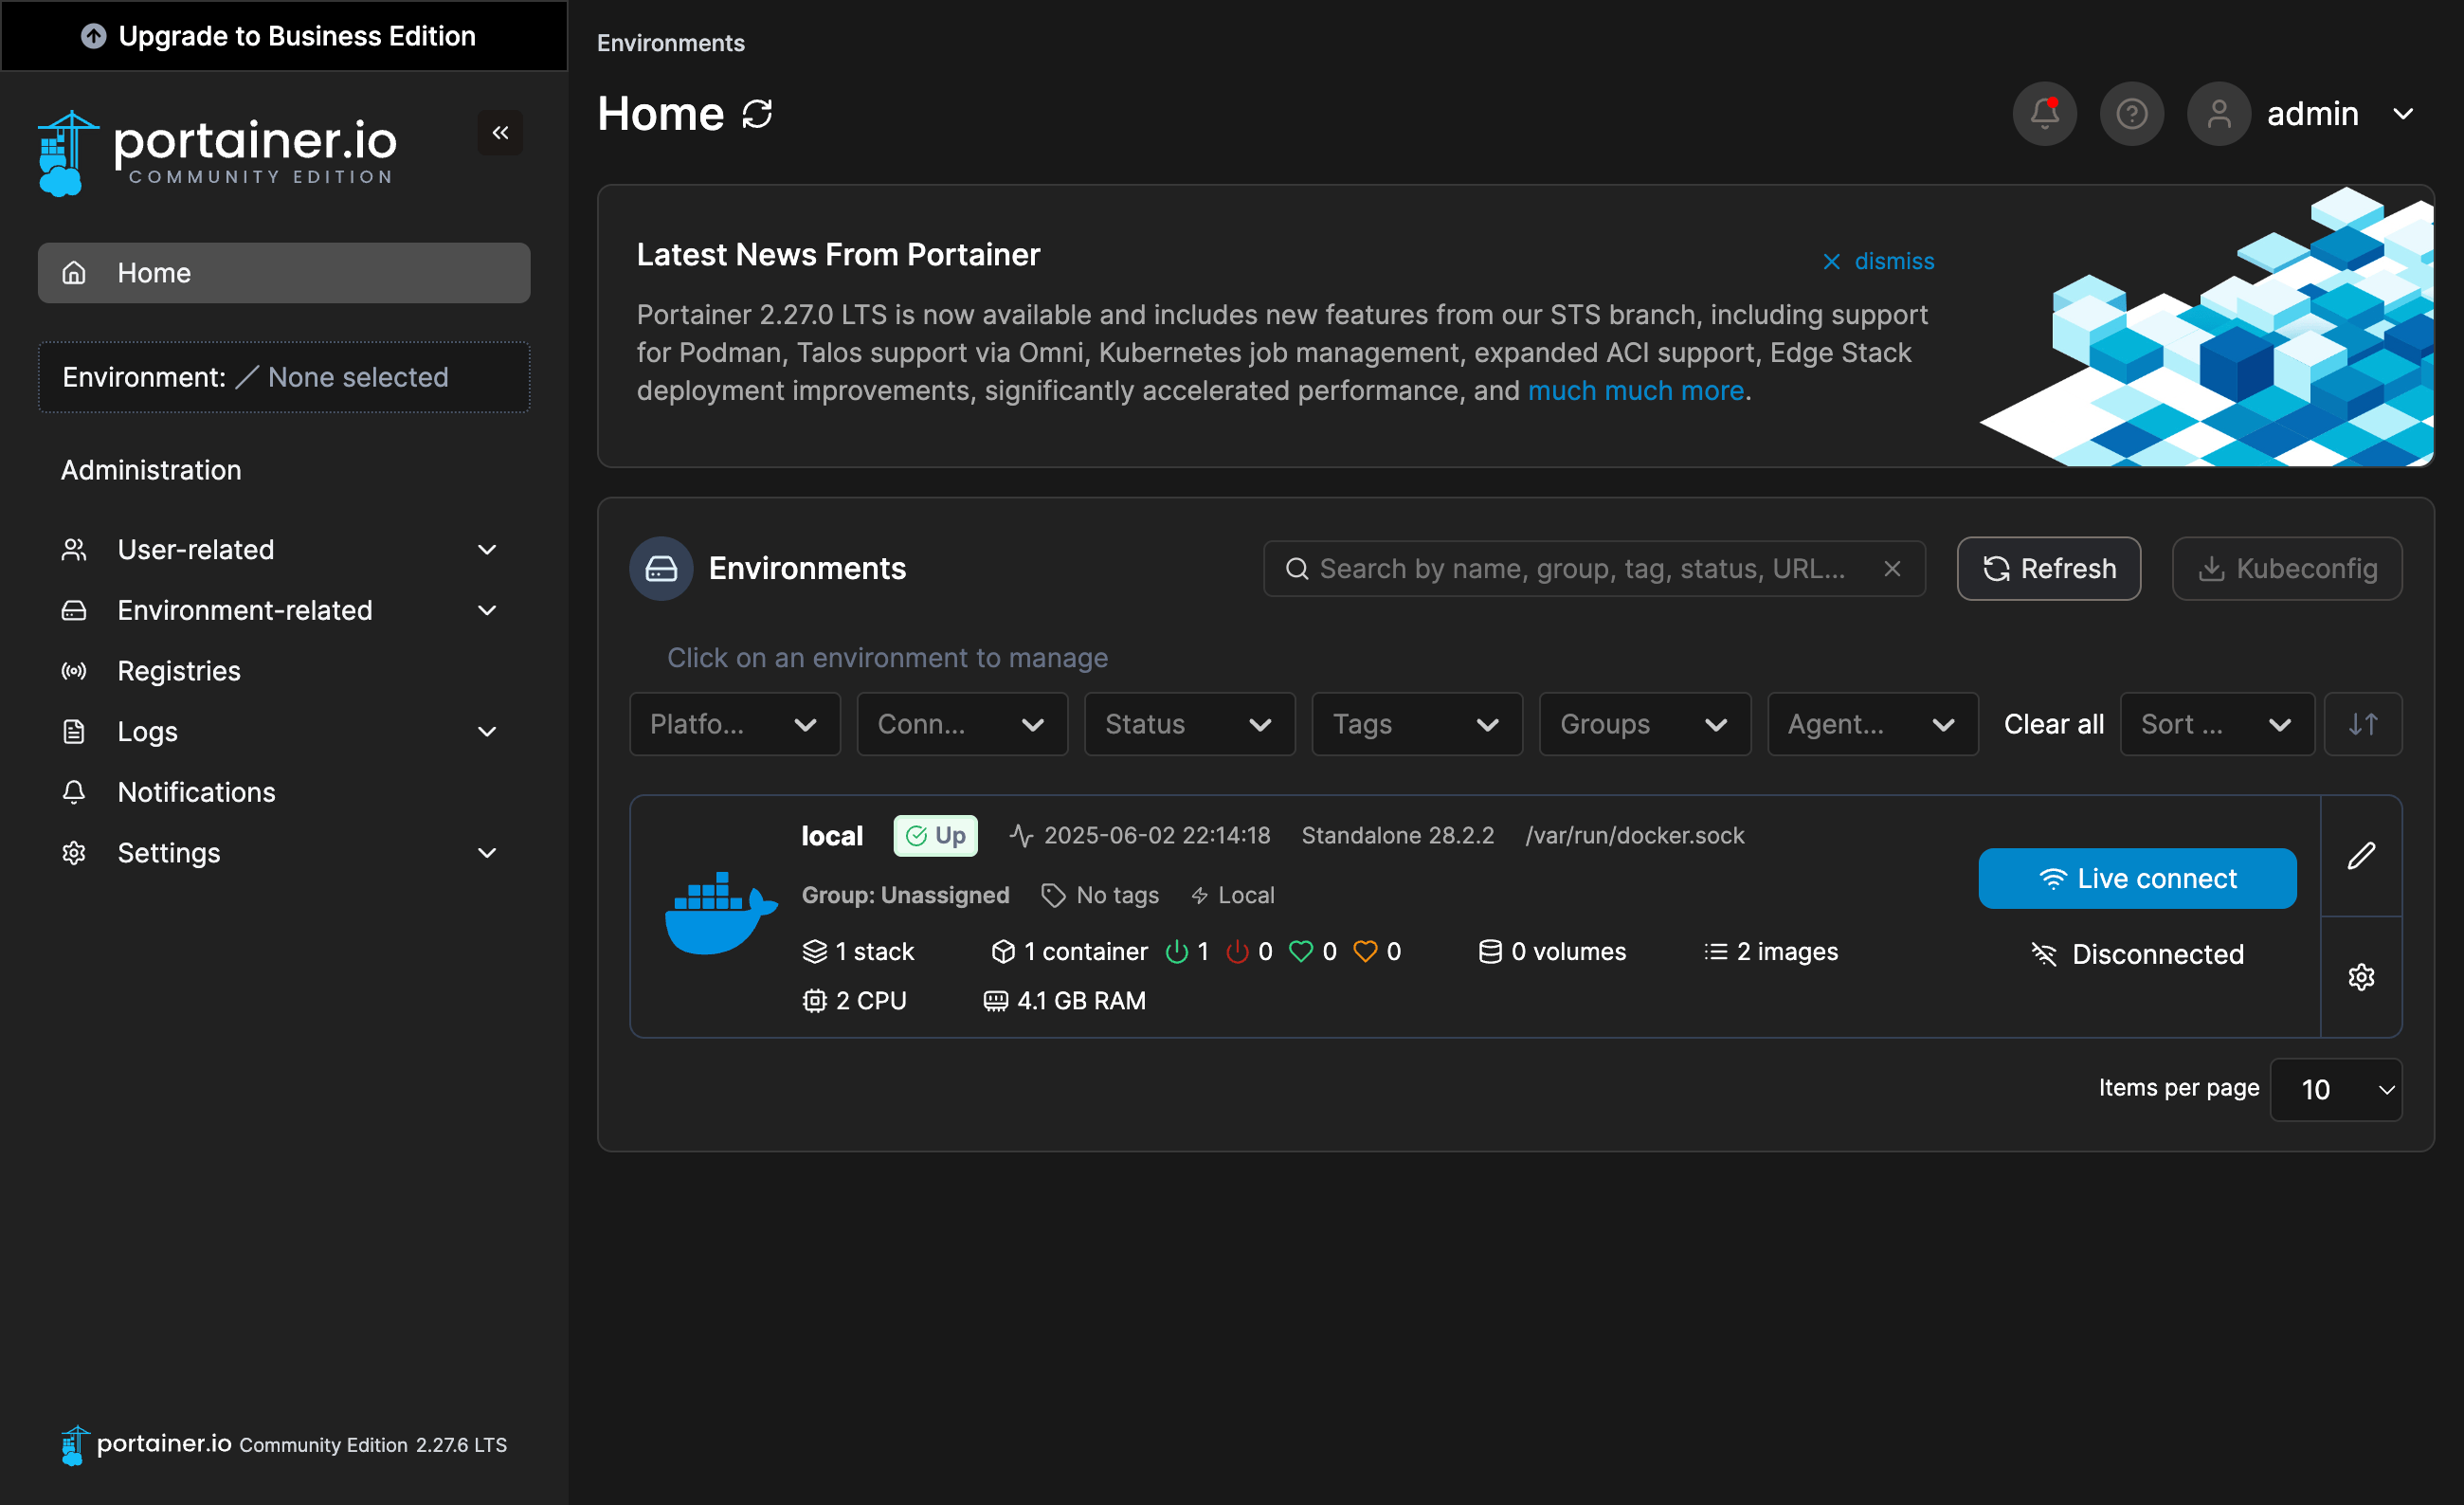
Initial Setup
After logging in, you will see the Portainer dashboard with a list of environments. From here, you can manage your local Docker server or connect to remote environments, access container management features, view usage statistics, and stay up to date with the latest news from Portainer.
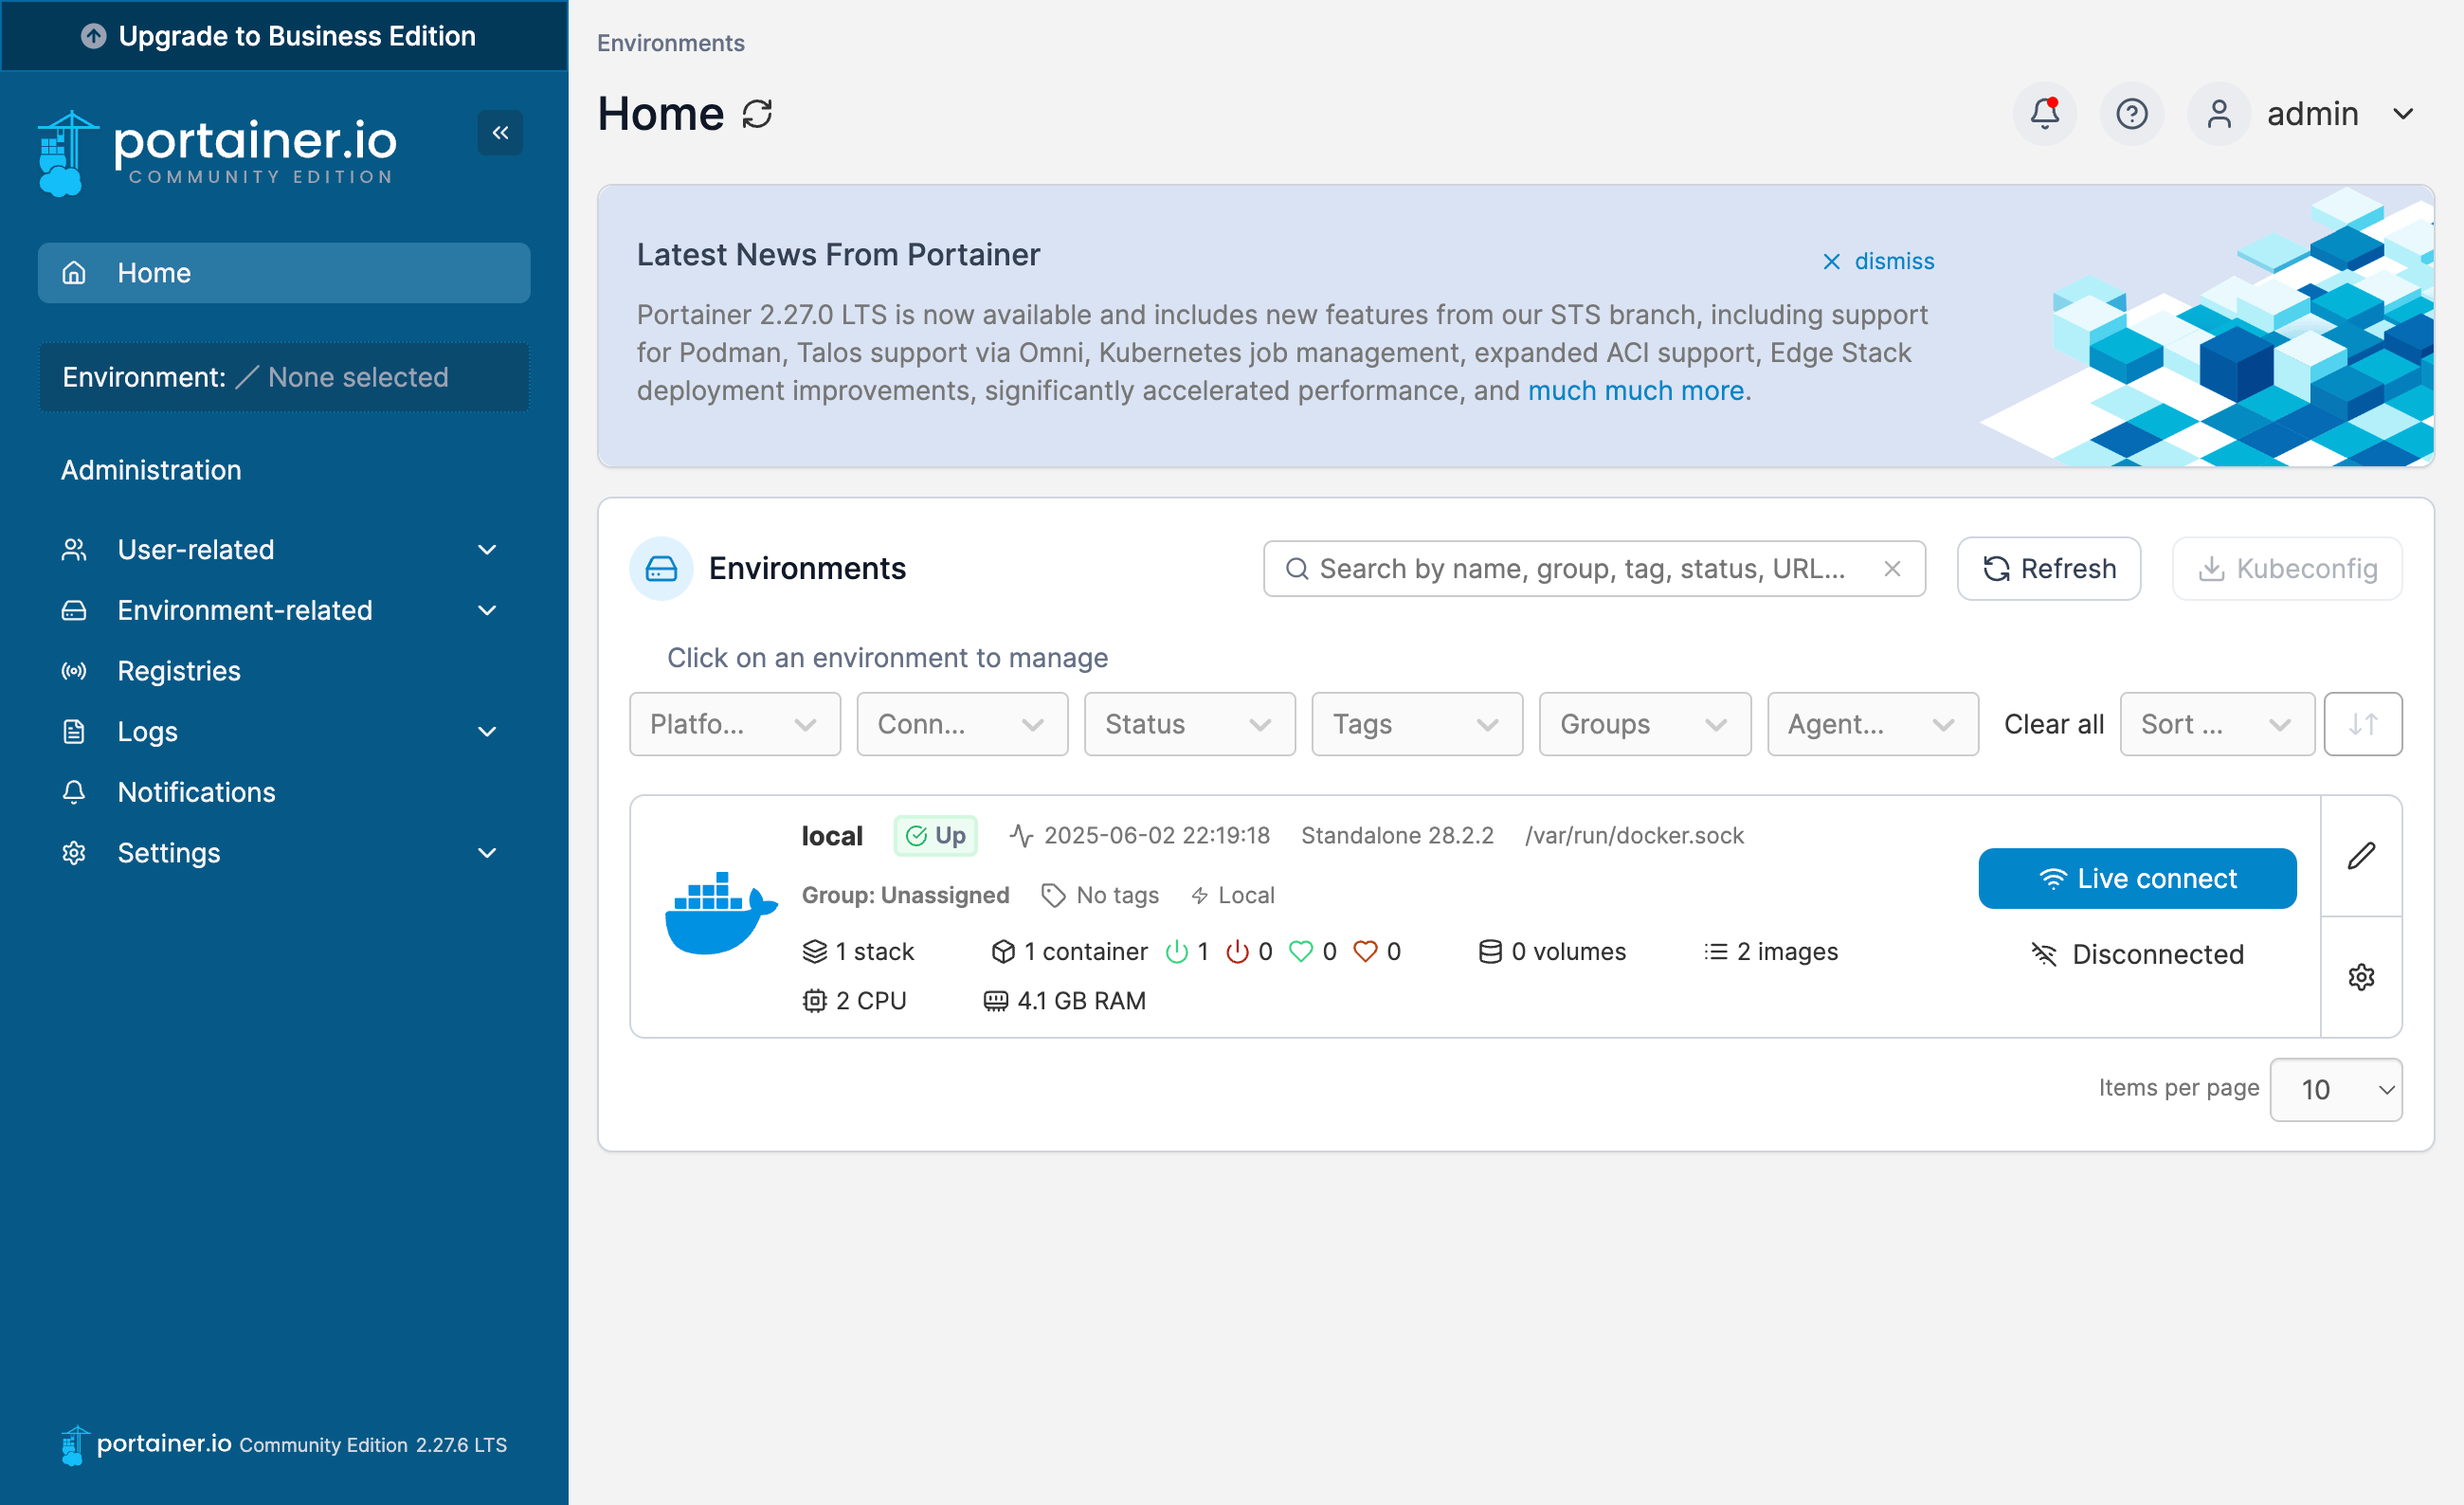
- Add environments: Connect and manage local or remote Docker servers, Kubernetes clusters, or other container platforms.
- Monitor containers: View status, resource usage, and manage stacks, containers, images, volumes, and networks in a few clicks.
- Use templates: Quickly deploy popular applications from ready-made templates directly from the dashboard.
- Access logs & stats: Check container logs and usage metrics to monitor system health and troubleshoot issues.
- Manage users & access: Set up user roles and permissions to control who can access or manage your environments.
Detailed information on the main Portainer CE settings can be found in the developer documentation.
Updating Portainer CE
When a new version of Portainer CE is released, you can safely update the container — only the application version will change, while all your settings and data will be preserved. You can learn about new releases on the official website.
cd /opt/portainer
docker compose pull
docker compose up -d[root@server ~]# cd /opt/portainer
[root@server portainer]# docker compose pull
[+] Pulling 1/1
✔ portainer Pulled
[root@server portainer]# docker compose up -d
[+] Running 1/1
✔ Container portainer RunningOpening SMTP Ports
For security reasons, outgoing TCP ports (25, 465, and 587) are blocked by default on all VPS servers. This measure aims to prevent spam distribution. To lift the block, follow these steps:
- Register your domain zone. The A-record for your domain must point to your server’s IP address.
- Submit a request to technical support specifying that you need to open outgoing SMTP ports for sending email and the domain (or subdomain) from which it will be sent.
- After analyzing your domain name, we will make a decision on opening the SMTP ports and notify you.
Opening SMTP ports may require additional details about your domain name and its intended use.