 CloudPanel
CloudPanel is a modern server management panel optimized for cloud providers and web applications. The panel supports Linux-based servers (including Debian and Ubuntu) and offers an intuitive web interface. CloudPanel is designed to simplify server management, providing high security and performance, and supports PHP applications. Key features include automatic Nginx web server configuration, MySQL database management, flexible monitoring tools, and a built-in backup system.
Core Features
- Web server management: support for Nginx with easy virtual host setup, automatic SSL certificate installation, and options for configuring redirects, caching, and access rules.
- Database management: work with MySQL, MariaDB, and Redis, including database creation and administration, user management, and backup configuration.
- User and access control: flexible role-based system for server administration, with the ability to restrict access to specific features.
- Multisite architecture: host multiple projects on a single server, each with individual settings.
- System monitoring: built-in tools for tracking server load, resource usage, and service logs.
- Automatic updates and security: regular system updates, support for two-factor authentication, and a built-in firewall for server protection.
- Simplified automation: provides an API for automating operations such as domain setup, website management, and administrative tasks.
Deployment Features
| Time | OS | RAM | Disk |
|---|---|---|---|
| 20–30 min | 2Gb | 20Gb |
By default, we install the latest stable version of the software from the developer's website or official repositories.
Getting Started After CloudPanel Deployment
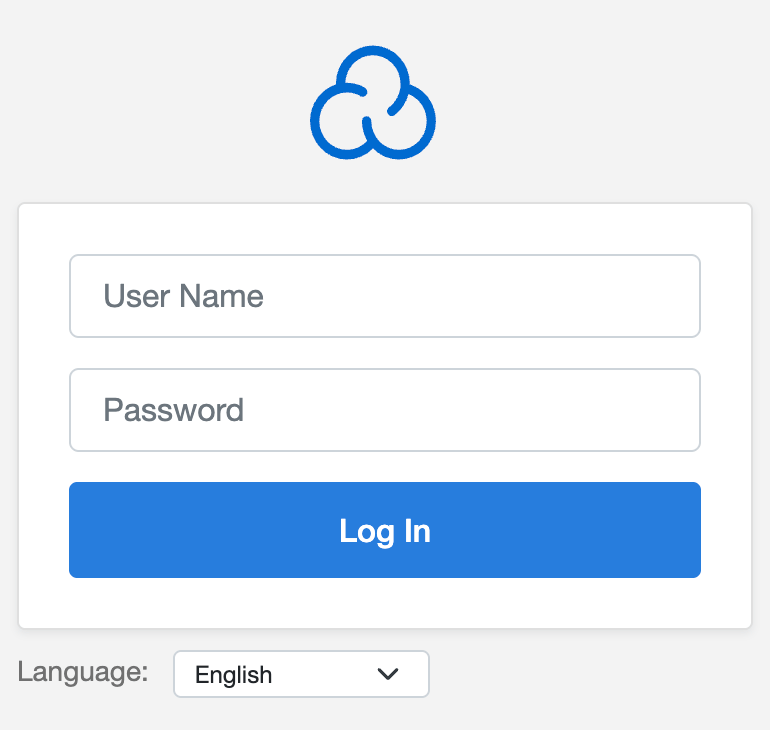
After completing your payment, you will receive an email at the address provided during registration notifying you that your server is ready. This email will include the IP address of your VPS and login credentials to access the CloudPanel web interface:
- Link: https://ip:8443
- User: admin
- Password: ****** (Sent via email)
The access credentials for your VPS are listed in the "Virtual Servers" section — select your server and click "Instructions." This information is also provided in the email you receive after installation.
Initial Setup
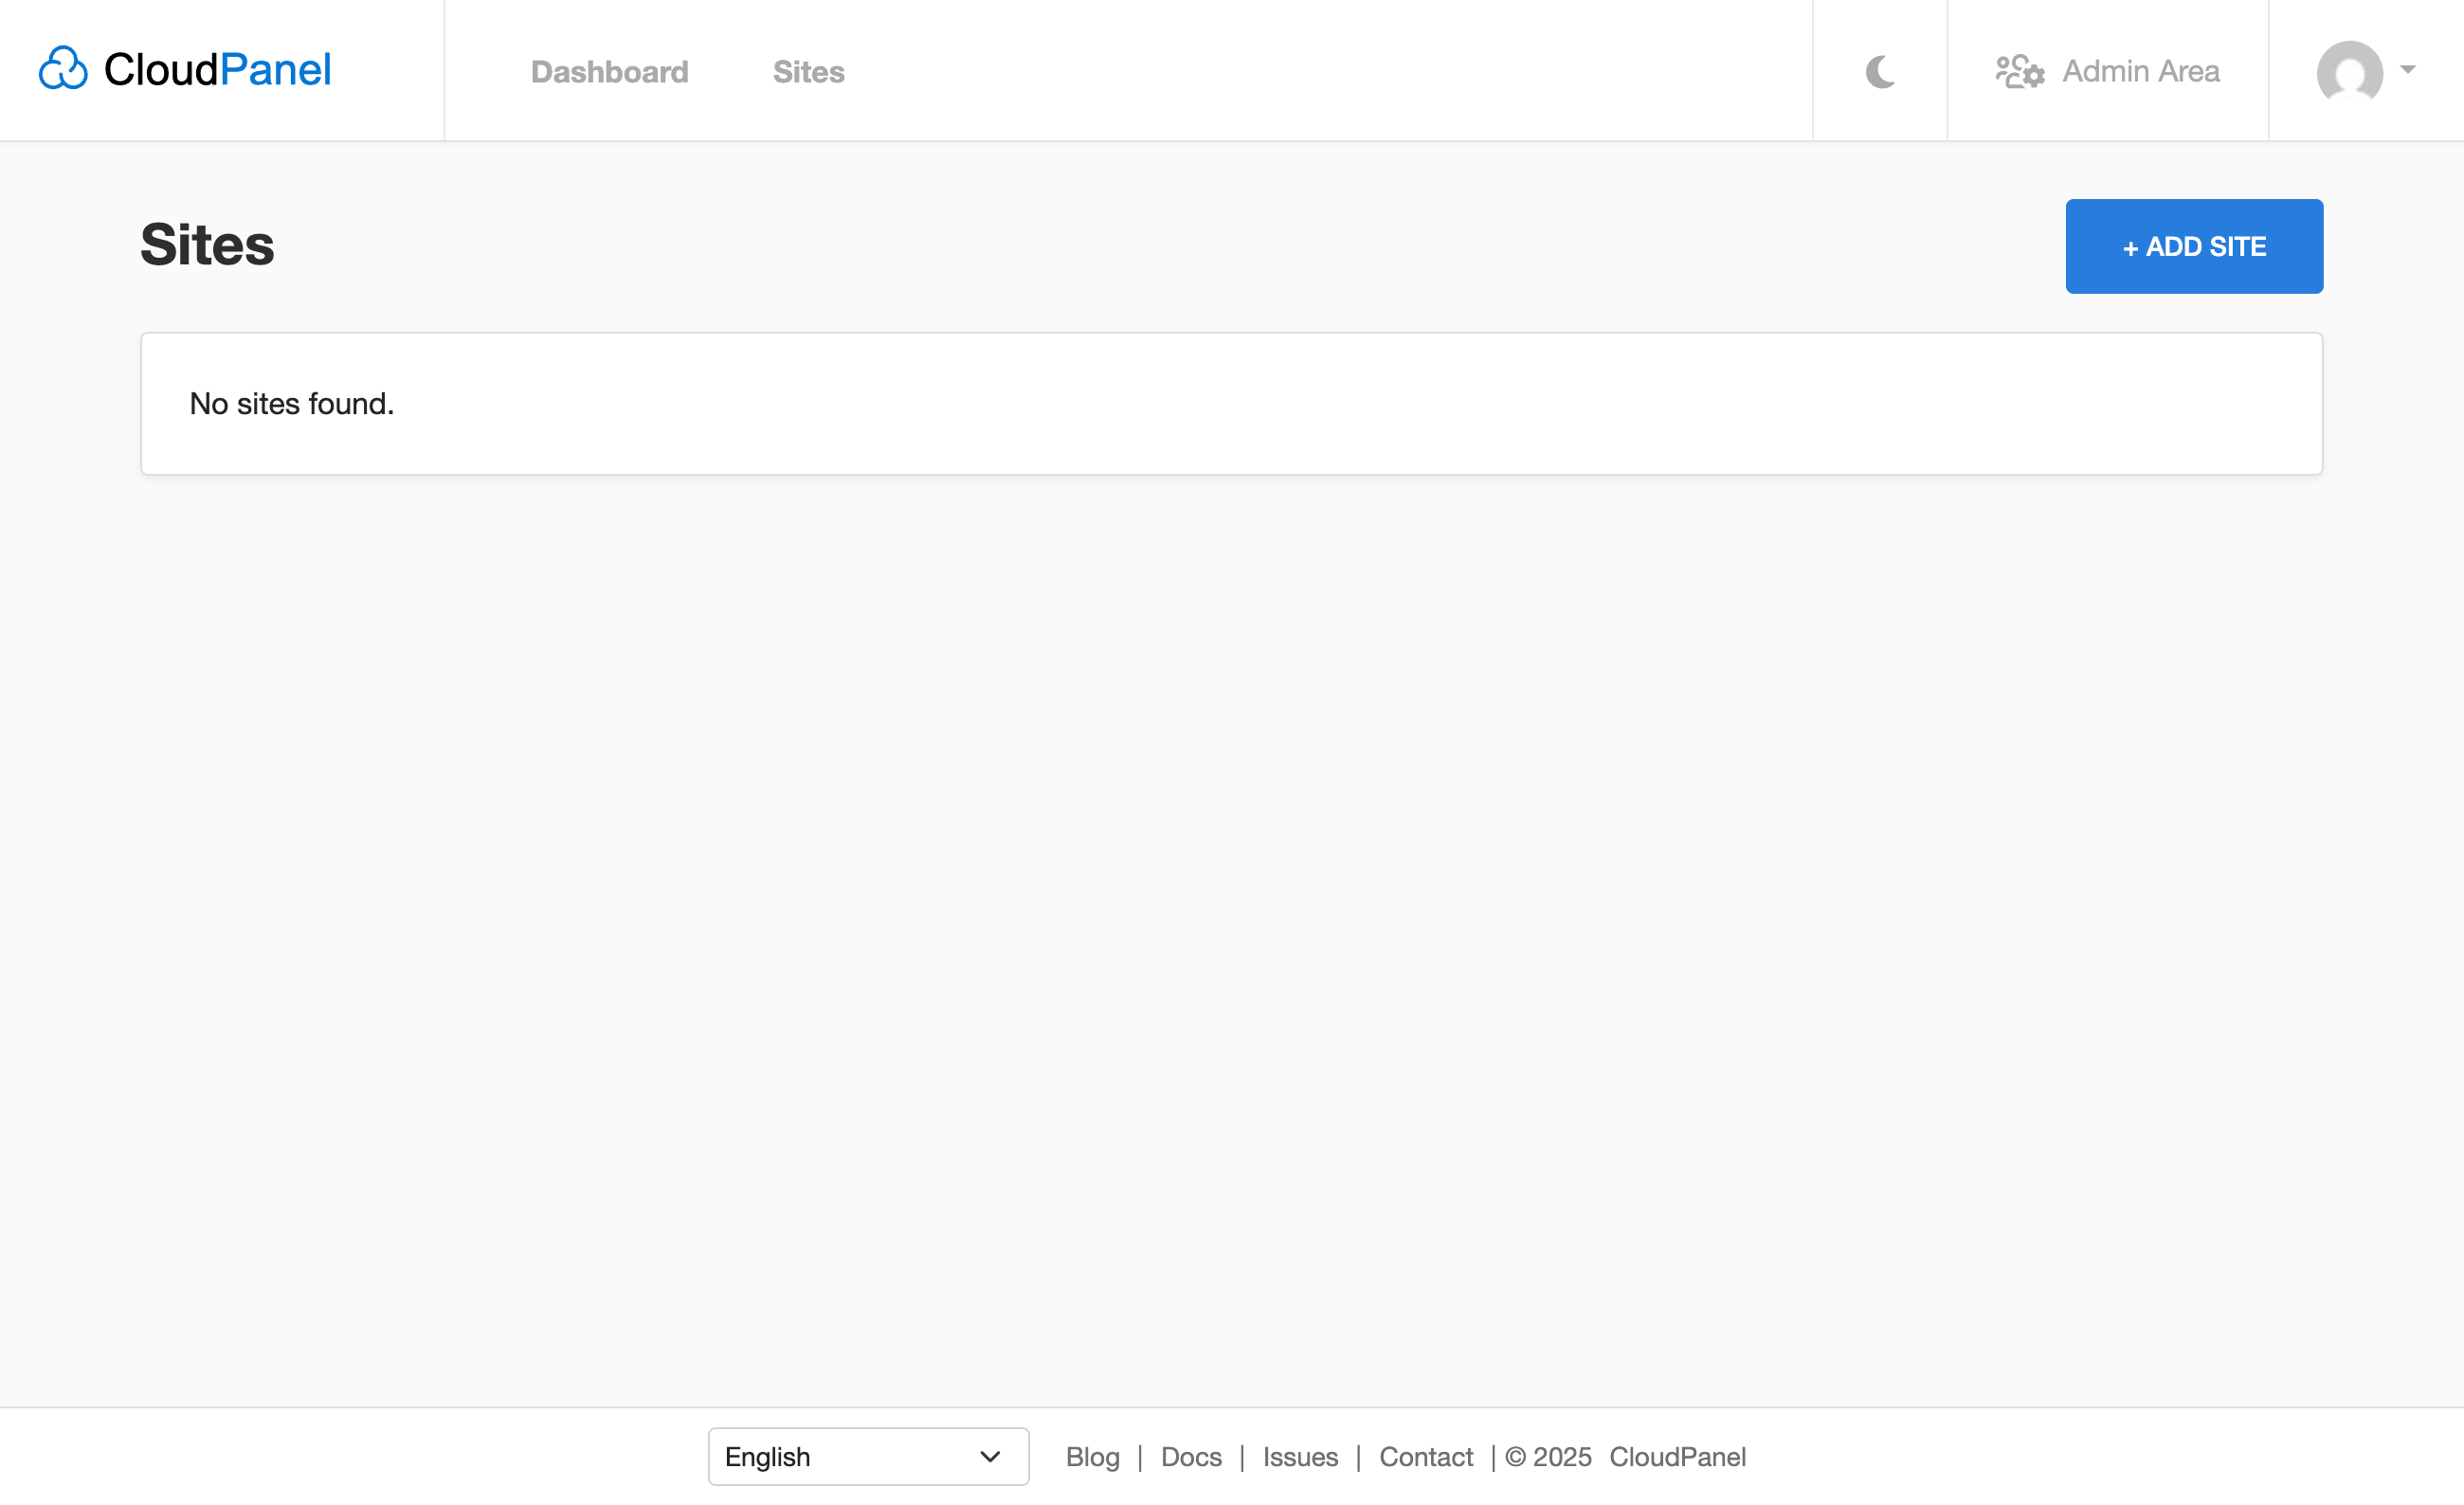
After logging into CloudPanel, users are presented with the main menu that organizes panel management:
- Dashboard: This tab displays a summary of server status, resource usage, and overall performance.
- Sites: This section is dedicated to website management. You can:
- Add new sites using the "+ Add Site" button.
- Configure hosting settings for each site. If no sites have been added yet, a notification "No sites found" will appear.
- Admin Area: Access administrative settings, including user management, backups, and system parameters.
- Interface Mode: A switch in the top right corner allows you to toggle between light and dark themes for the interface.
- Language Settings & Additional Options: At the bottom of the screen or through the menu, you can select the interface language and access other system settings.
Detailed information on the main CloudPanel settings can be found in the developer documentation.
Adding a Site to CloudPanel
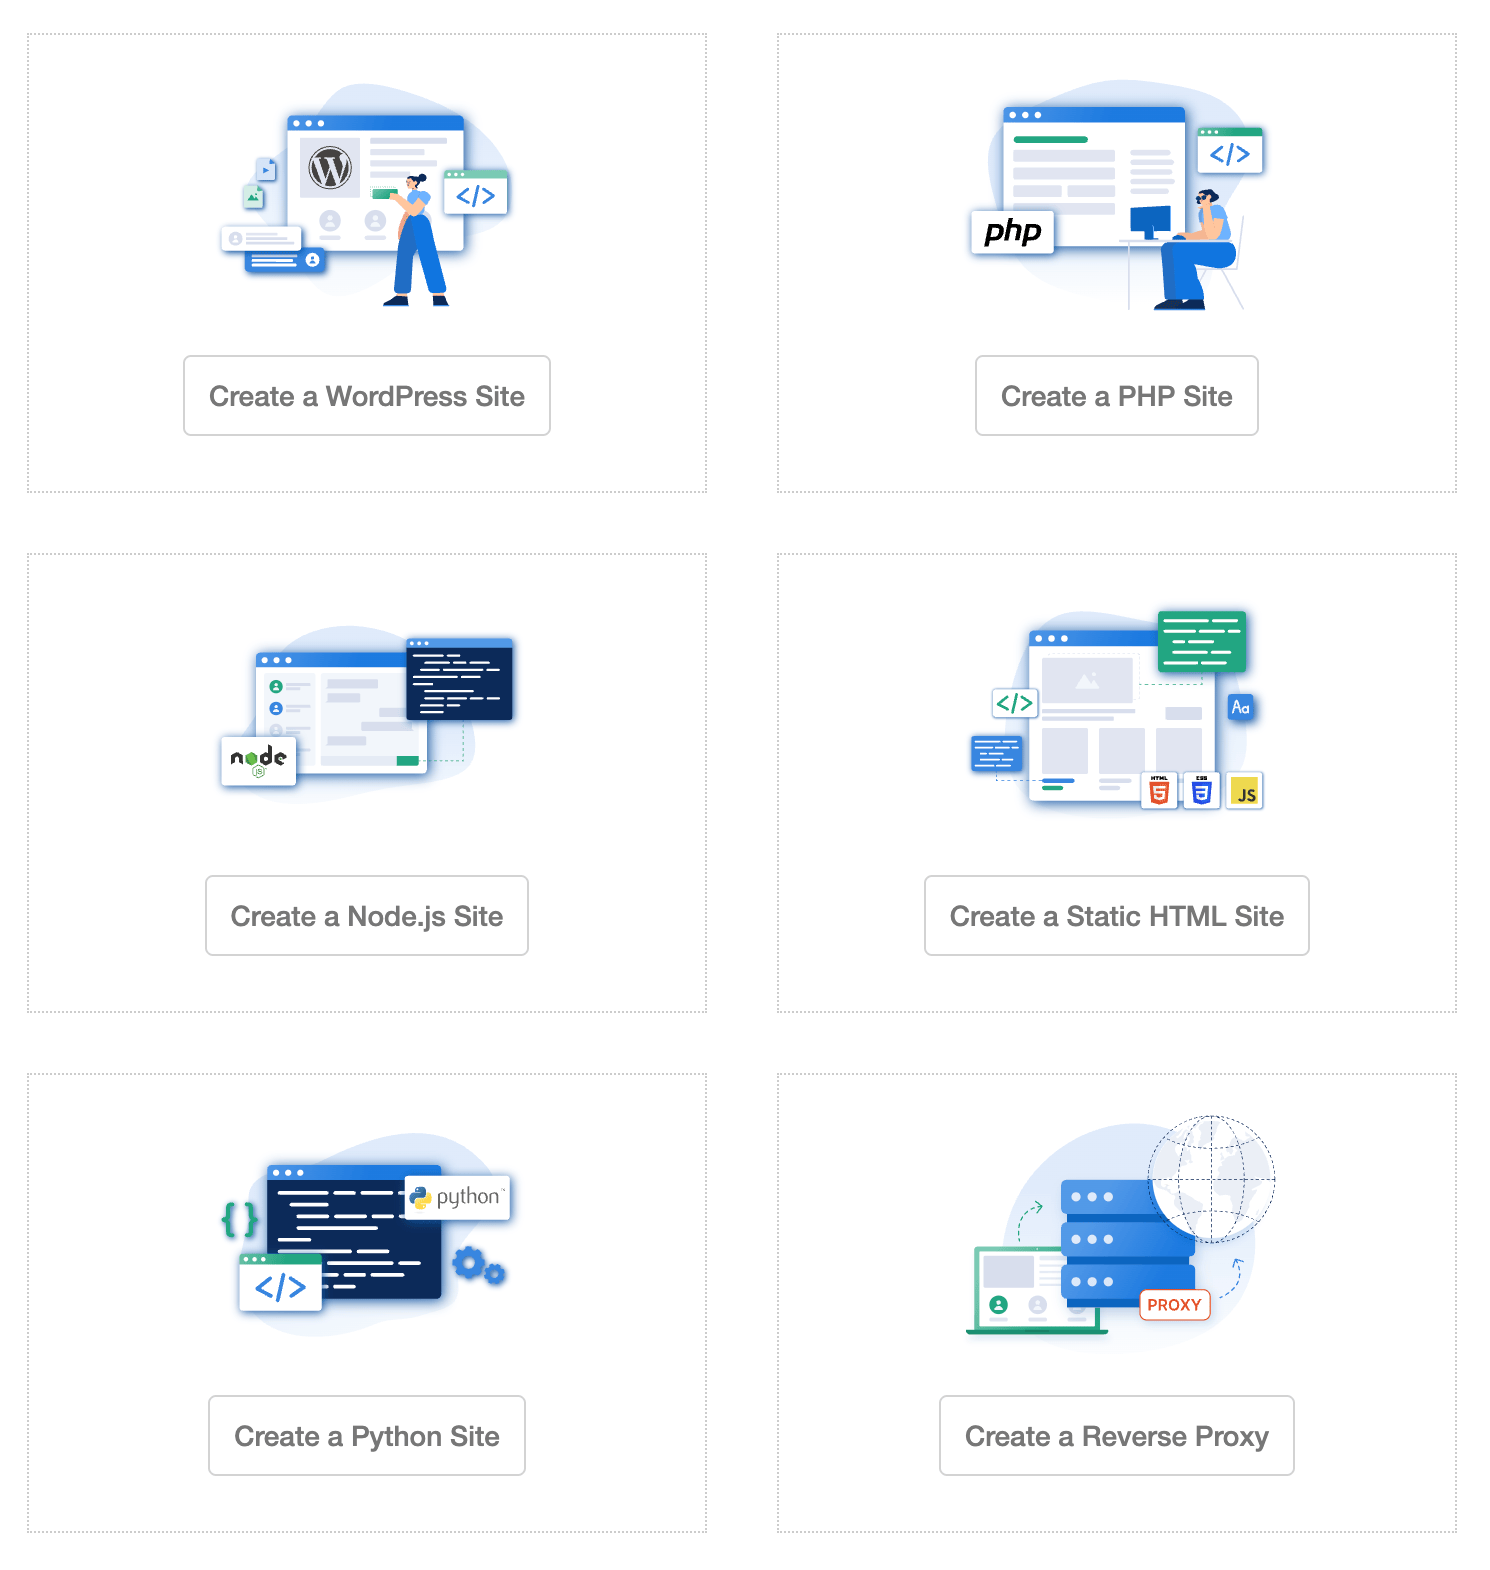
CloudPanel offers several ways to install a site:
- Create a WordPress Site: Install and manage a WordPress website with support for necessary configurations.
- Create a PHP Site: Deploy a PHP-based website.
- Create a Node.js Site: Create a website using Node.js, suitable for modern web applications.
- Create a Static HTML Site: Install a static HTML site for simple and lightweight projects.
- Create a Python Site: Configure a Python-based website.
- Create a Reverse Proxy: Set up a reverse proxy to route requests between servers.
The "Create a WordPress Site" feature in CloudPanel allows you to quickly create a WordPress website by filling out the following configuration fields:
- Domain Name: The domain name for your site (e.g.,
www.example.com). - Site Title: The title of your site (e.g., "My Blog").
- Site User: The username for SSH access, automatically created for managing the website.
- Site User Password: The password for the specified SSH user.
- Admin User Name: The username for accessing the WordPress admin panel (defaults to
admin). - Admin Password: The password for accessing the WordPress admin panel.
- Admin E-Mail: The email address of the site administrator.
- Multisite: Choose between the standard website mode (No) and the multisite mode (Yes).
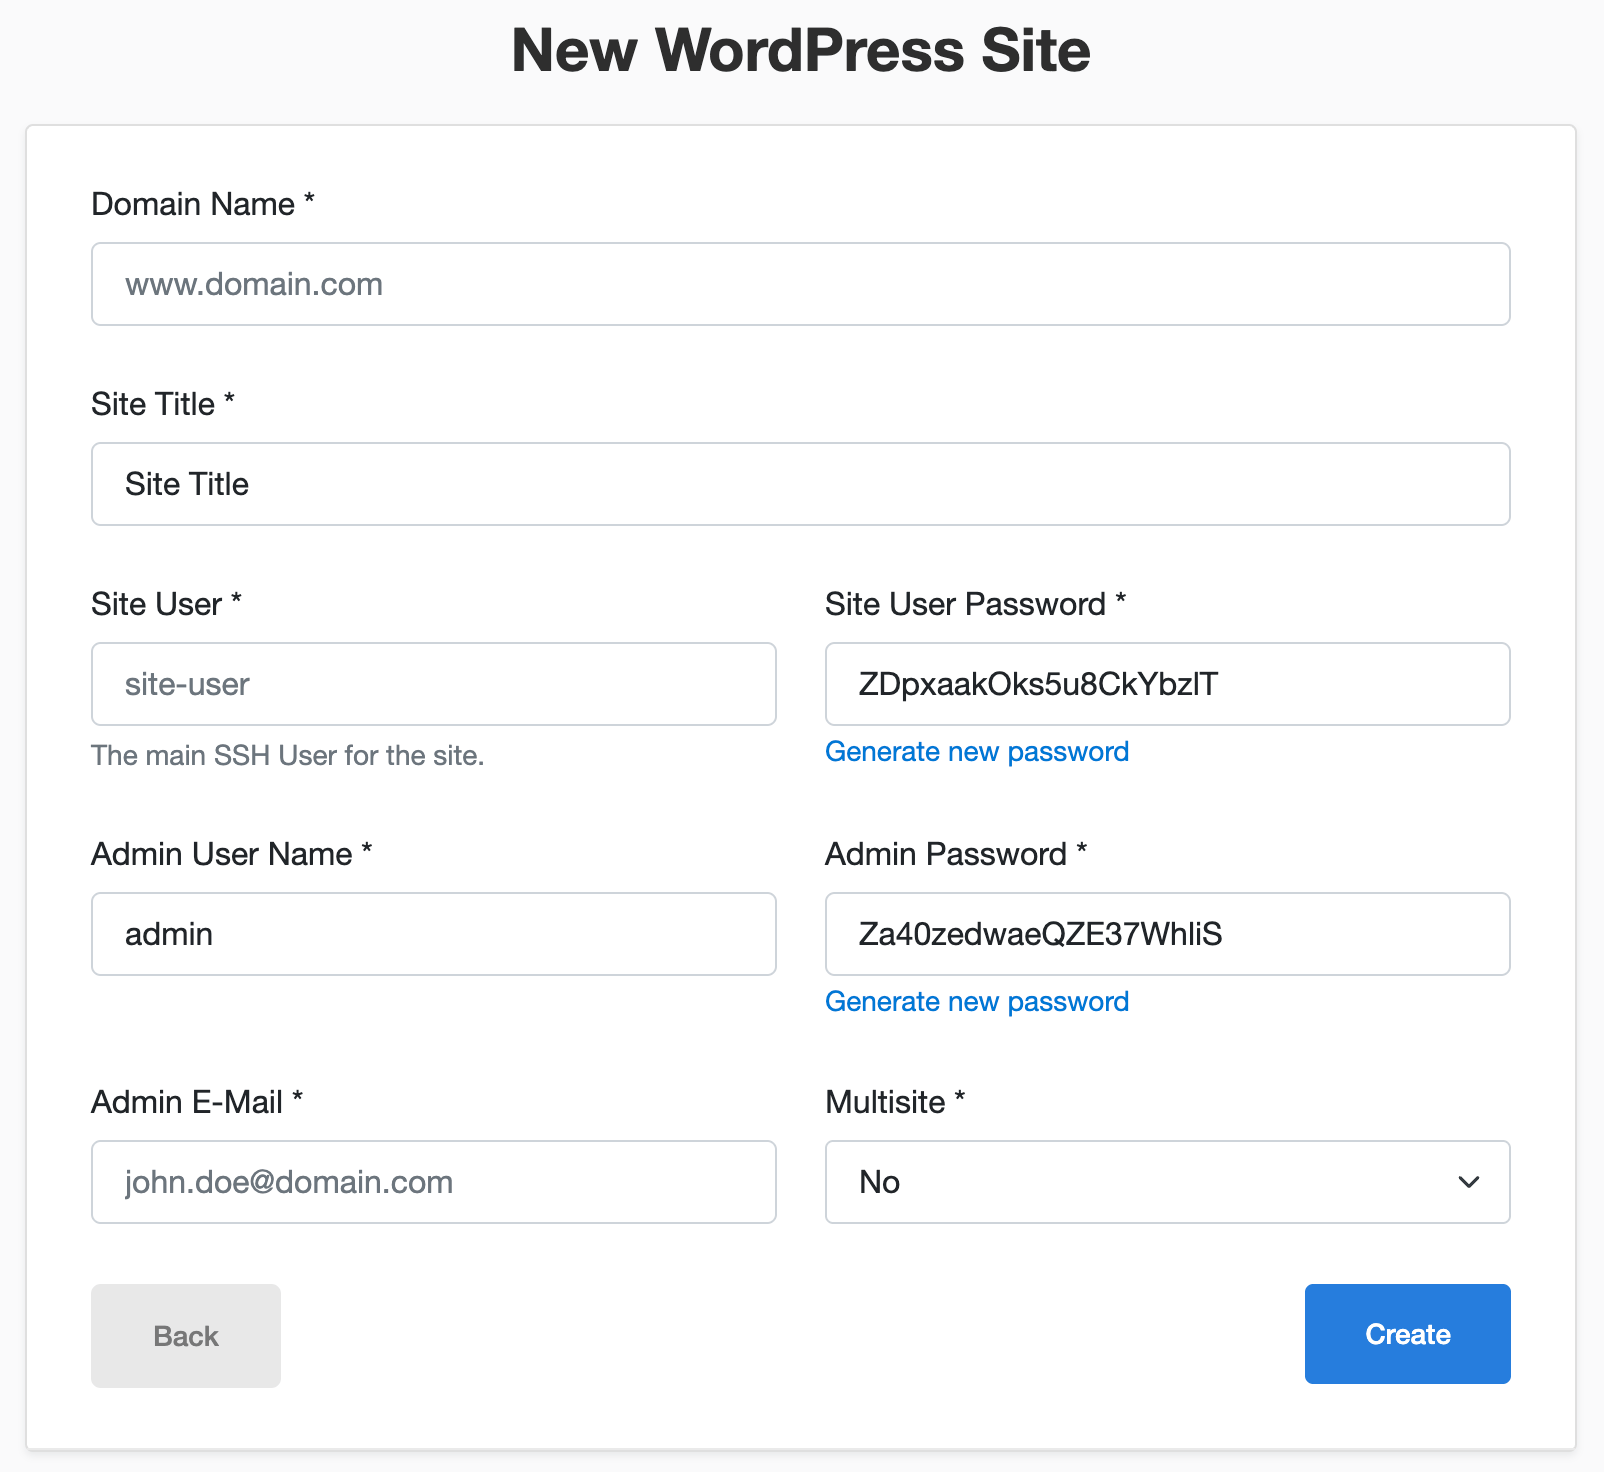
Fields marked with an asterisk (*) are mandatory. After entering the data, click the "Create" button to complete the setup and automatically install WordPress.
Opening SMTP Ports
For security reasons, outgoing TCP ports (25, 465, and 587) are blocked by default on all VPS servers. This measure aims to prevent spam distribution. To lift the block, follow these steps:
- Register your domain zone. The A-record for your domain must point to your server’s IP address.
- Submit a request to technical support specifying that you need to open outgoing SMTP ports for sending email and the domain (or subdomain) from which it will be sent.
- After analyzing your domain name, we will make a decision on opening the SMTP ports and notify you.
Opening SMTP ports may require additional details about your domain name and its intended use.