 BillionMail
BillionMail is an open-source, all-in-one email and newsletter server that makes it easy to run your own secure mail system and send bulk emails from your server or VPS. With a user-friendly web interface, you can manage domains, users, mailboxes, newsletter campaigns, analytics, templates, and SSL certificates — everything you need for business or personal communication, with no subscription fees and full privacy.
Core Features
- Modern web interface: manage domains, users, mailboxes, newsletters, and all settings from a clean, user-friendly panel.
- Bulk email campaigns: send newsletters and manage subscriber lists directly from your server.
- Analytics and tracking: view detailed stats for email opens, clicks, bounces, and delivery.
- Integrated webmail: check your mail with the built-in Roundcube web client.
- Anti-spam and antivirus: built-in protection for your emails and newsletters.
- Automatic SSL certificates: secure your connections with built-in Let’s Encrypt support.
- Self-hosted and open-source: run BillionMail on your own server for privacy and total control.
Deployment Features
| Installation timeTime | OS | RAM | Disk |
|---|---|---|---|
| 20–30 min | 4Gb | 40Gb |
- Installed software:
Docker CEDocker Compose
- Used containers:
docker.io/roundcube/roundcubemailbillionmail/corebillionmail/dovecotbillionmail/postfixbillionmail/rspamddocker.io/postgresdocker.io/redis
- Open ports:
80,443– Web access (HTTP/HTTPS)25(SMTP),465(SMTPS),587(SMTP Submission)993(IMAPS),995(POP3S),143(IMAP),110(POP3)
- Files path:
/opt/BillionMail
By default, we install the latest stable version of the software from the developer's website or official repositories.
Getting Started After BillionMail Deployment
After completing your payment, you will receive an email at the address provided during registration notifying you that your server is ready. This email will include the IP address of your VPS and login credentials to access the BillionMail web interface:
- Link: https://example.com/mail
- User: admin
- Password: ****** (Sent via email)
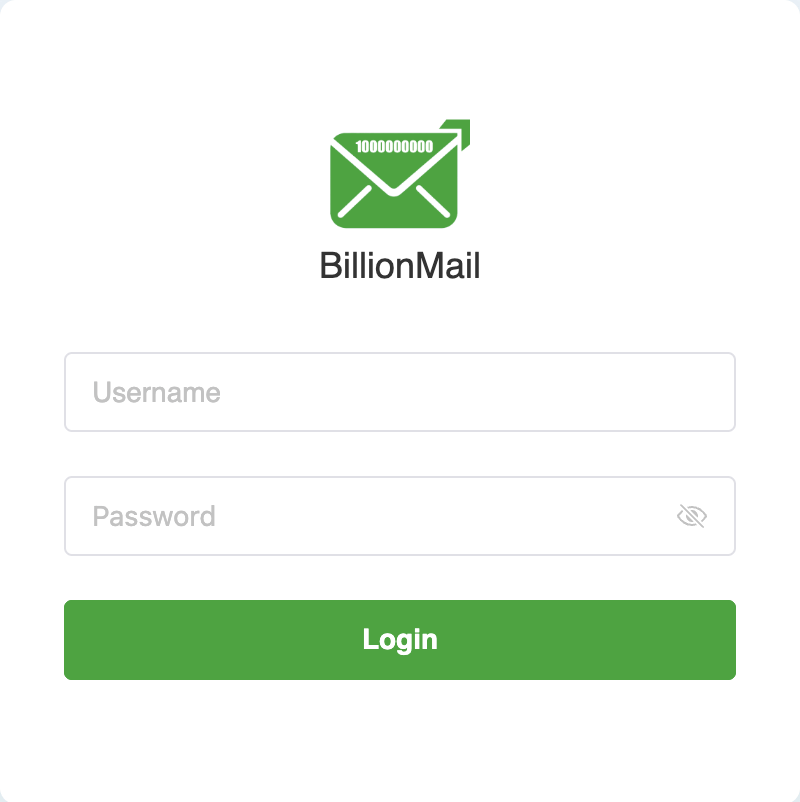
To access BillionMail, log in with your administrator account. Enter your username and password on the login page to securely manage and server settings.
The access credentials for your VPS are listed in the "Virtual Servers" section — select your server and click "Instructions." This information is also provided in the email you receive after installation.
Initial Setup
After logging into BillionMail, you’ll see an advanced dashboard with detailed statistics for all your domains and mailing activity. The menu on the left gives instant access to email marketing tools, contact lists, domain and mailbox management, and system settings. Every section is logically grouped for quick navigation and efficient administration:
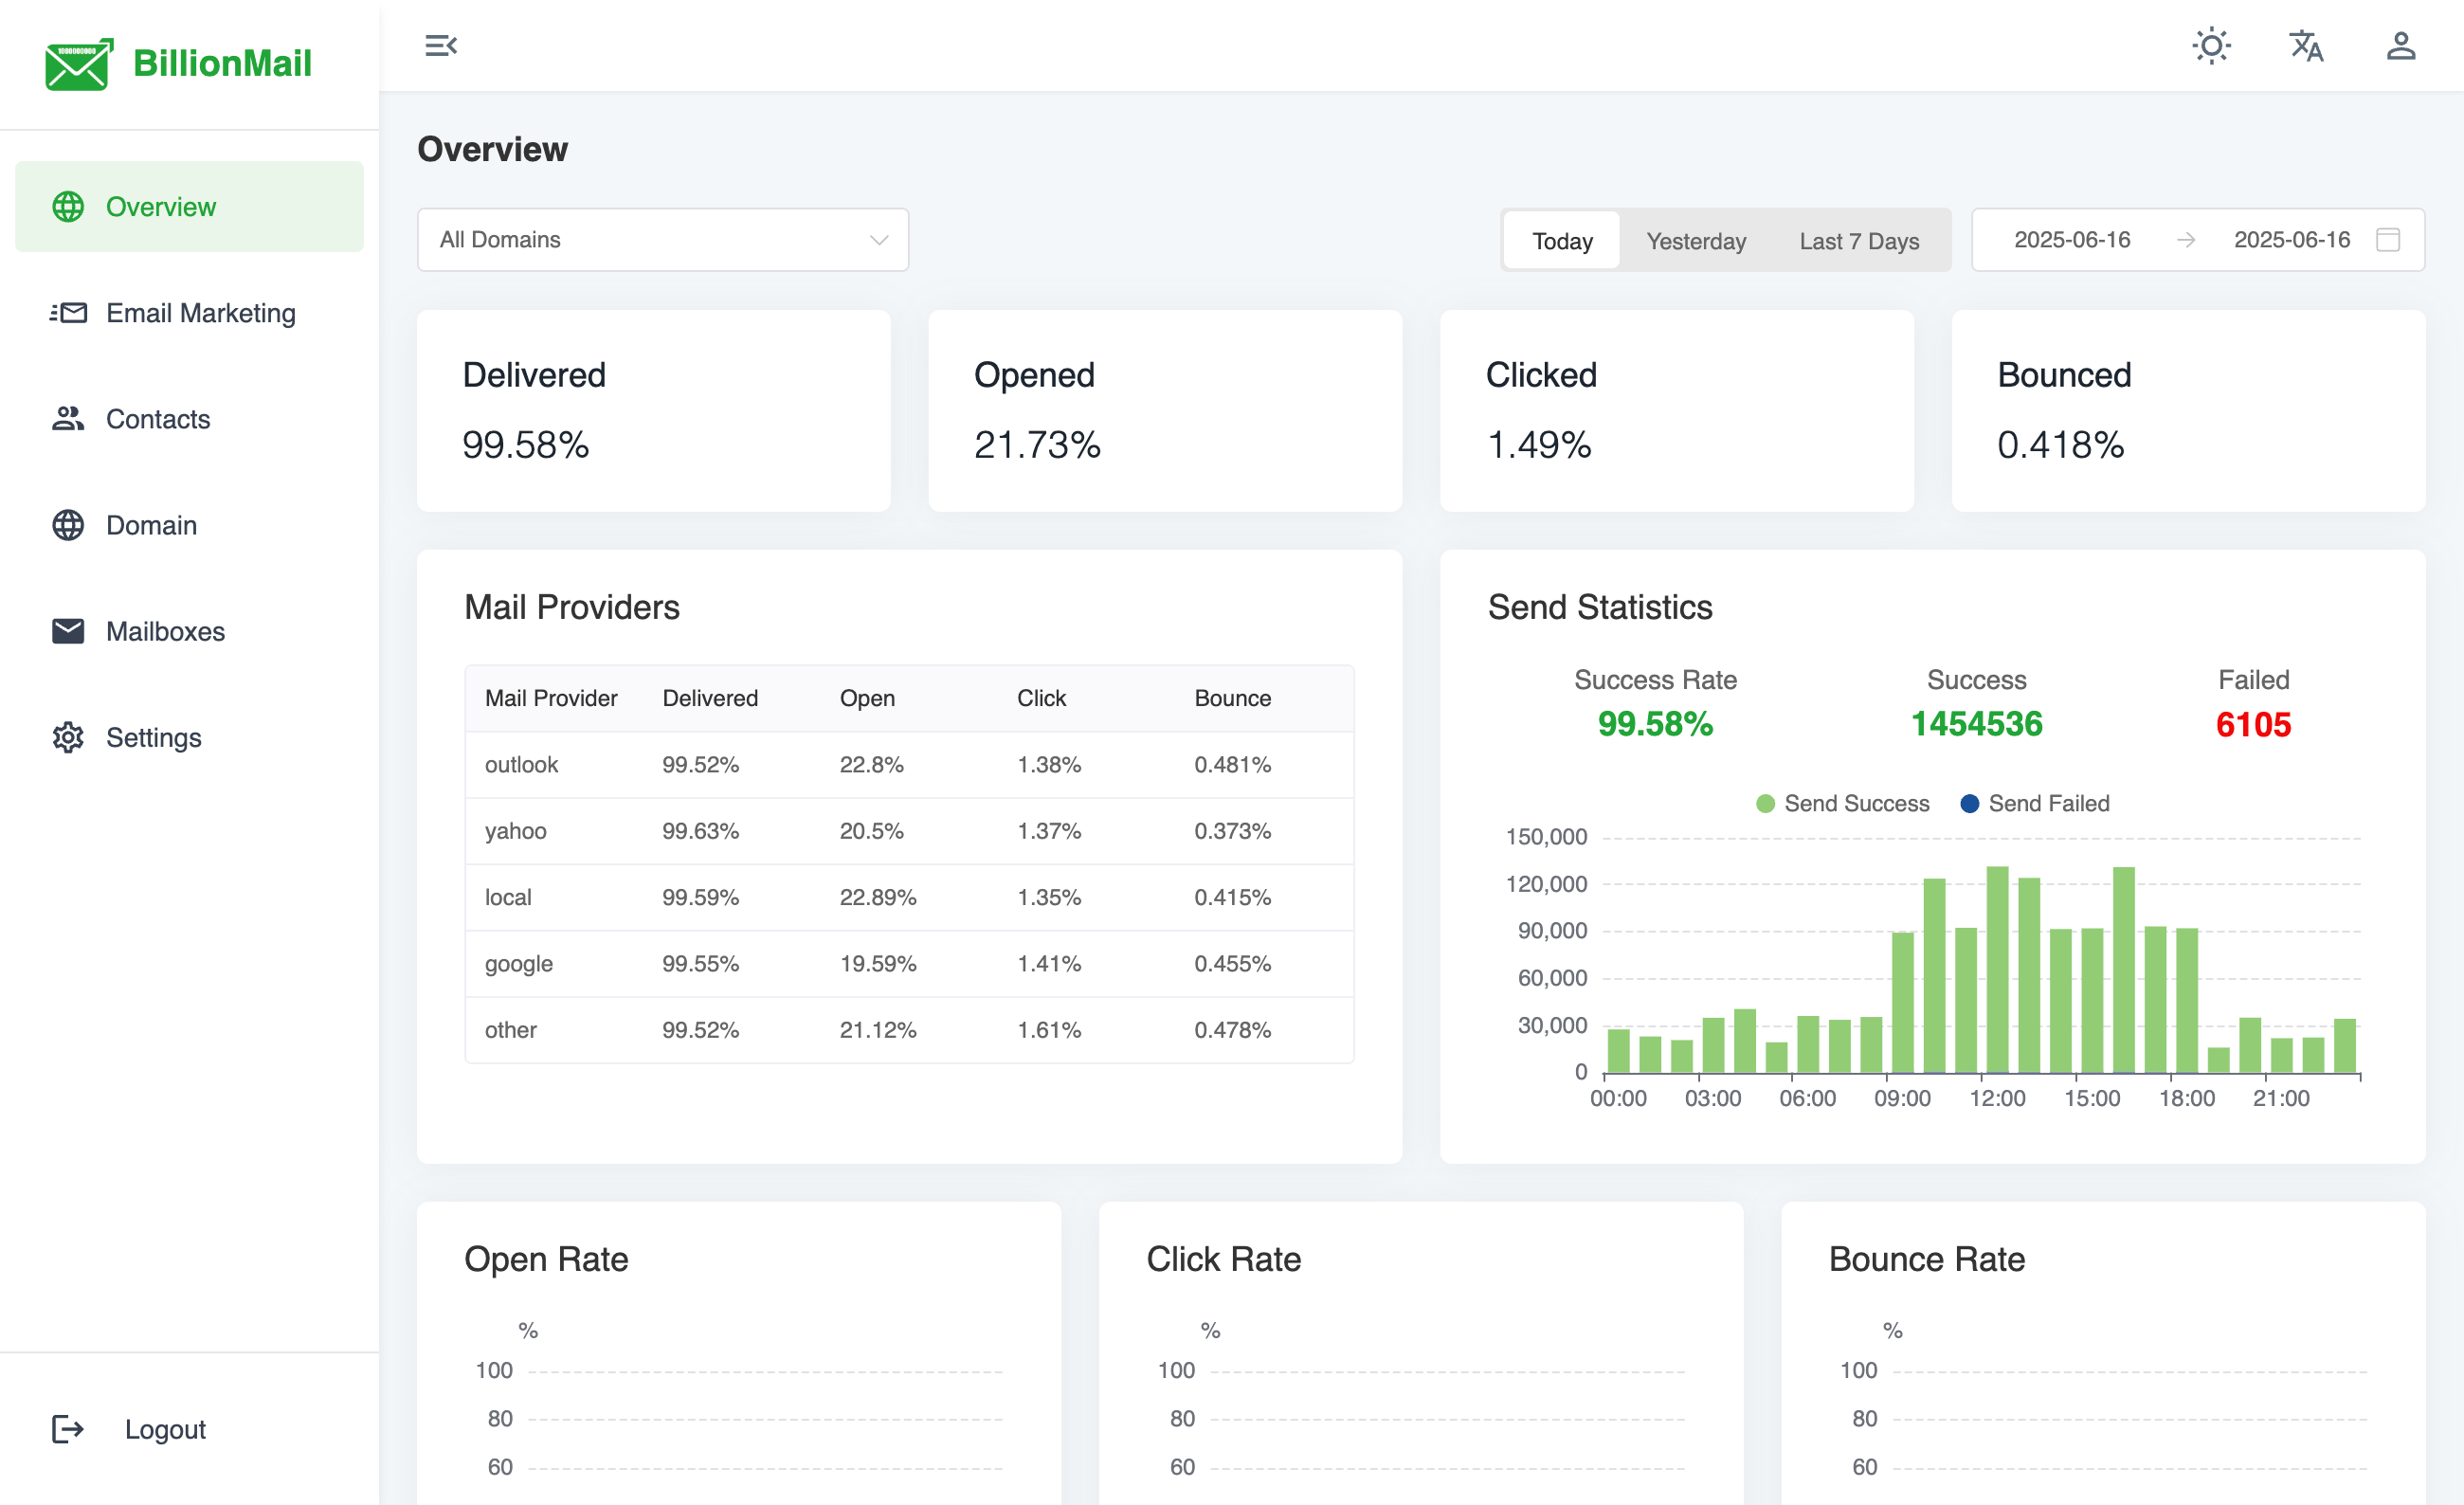
- Dashboard: See detailed stats for delivery, open/click rates, bounces, mail providers, and recent activity.
- Email Marketing: Launch bulk campaigns, manage templates, schedule sends, and track newsletter performance.
- Contacts: Import, export, and segment subscriber lists for targeted mailing.
- Domain management: Add and configure sending domains, monitor domain health and DNS settings.
- Mailboxes: Create and manage individual mailboxes for incoming and outgoing mail.
- Settings & security: Configure SSL, anti-spam, analytics, notifications, language, and advanced options.
- User account & logout: Manage your account profile or securely sign out in one click.
Detailed information on the main BillionMail settings can be found in the developer documentation.
Updating BillionMail
When a new version of BillionMail is released, you can safely update the container — only the application version will change, while all your settings and data will be preserved. You can learn about new releases on the official website.
cd /opt/BillionMail
bash update.sh
Opening SMTP Ports
For security reasons, outgoing TCP ports (25, 465, and 587) are blocked by default on all VPS servers. This measure aims to prevent spam distribution. To lift the block, follow these steps:
- Register your domain zone. The A-record for your domain must point to your server’s IP address.
- Submit a request to technical support specifying that you need to open outgoing SMTP ports for sending email and the domain (or subdomain) from which it will be sent.
- After analyzing your domain name, we will make a decision on opening the SMTP ports and notify you.
Opening SMTP ports may require additional details about your domain name and its intended use.